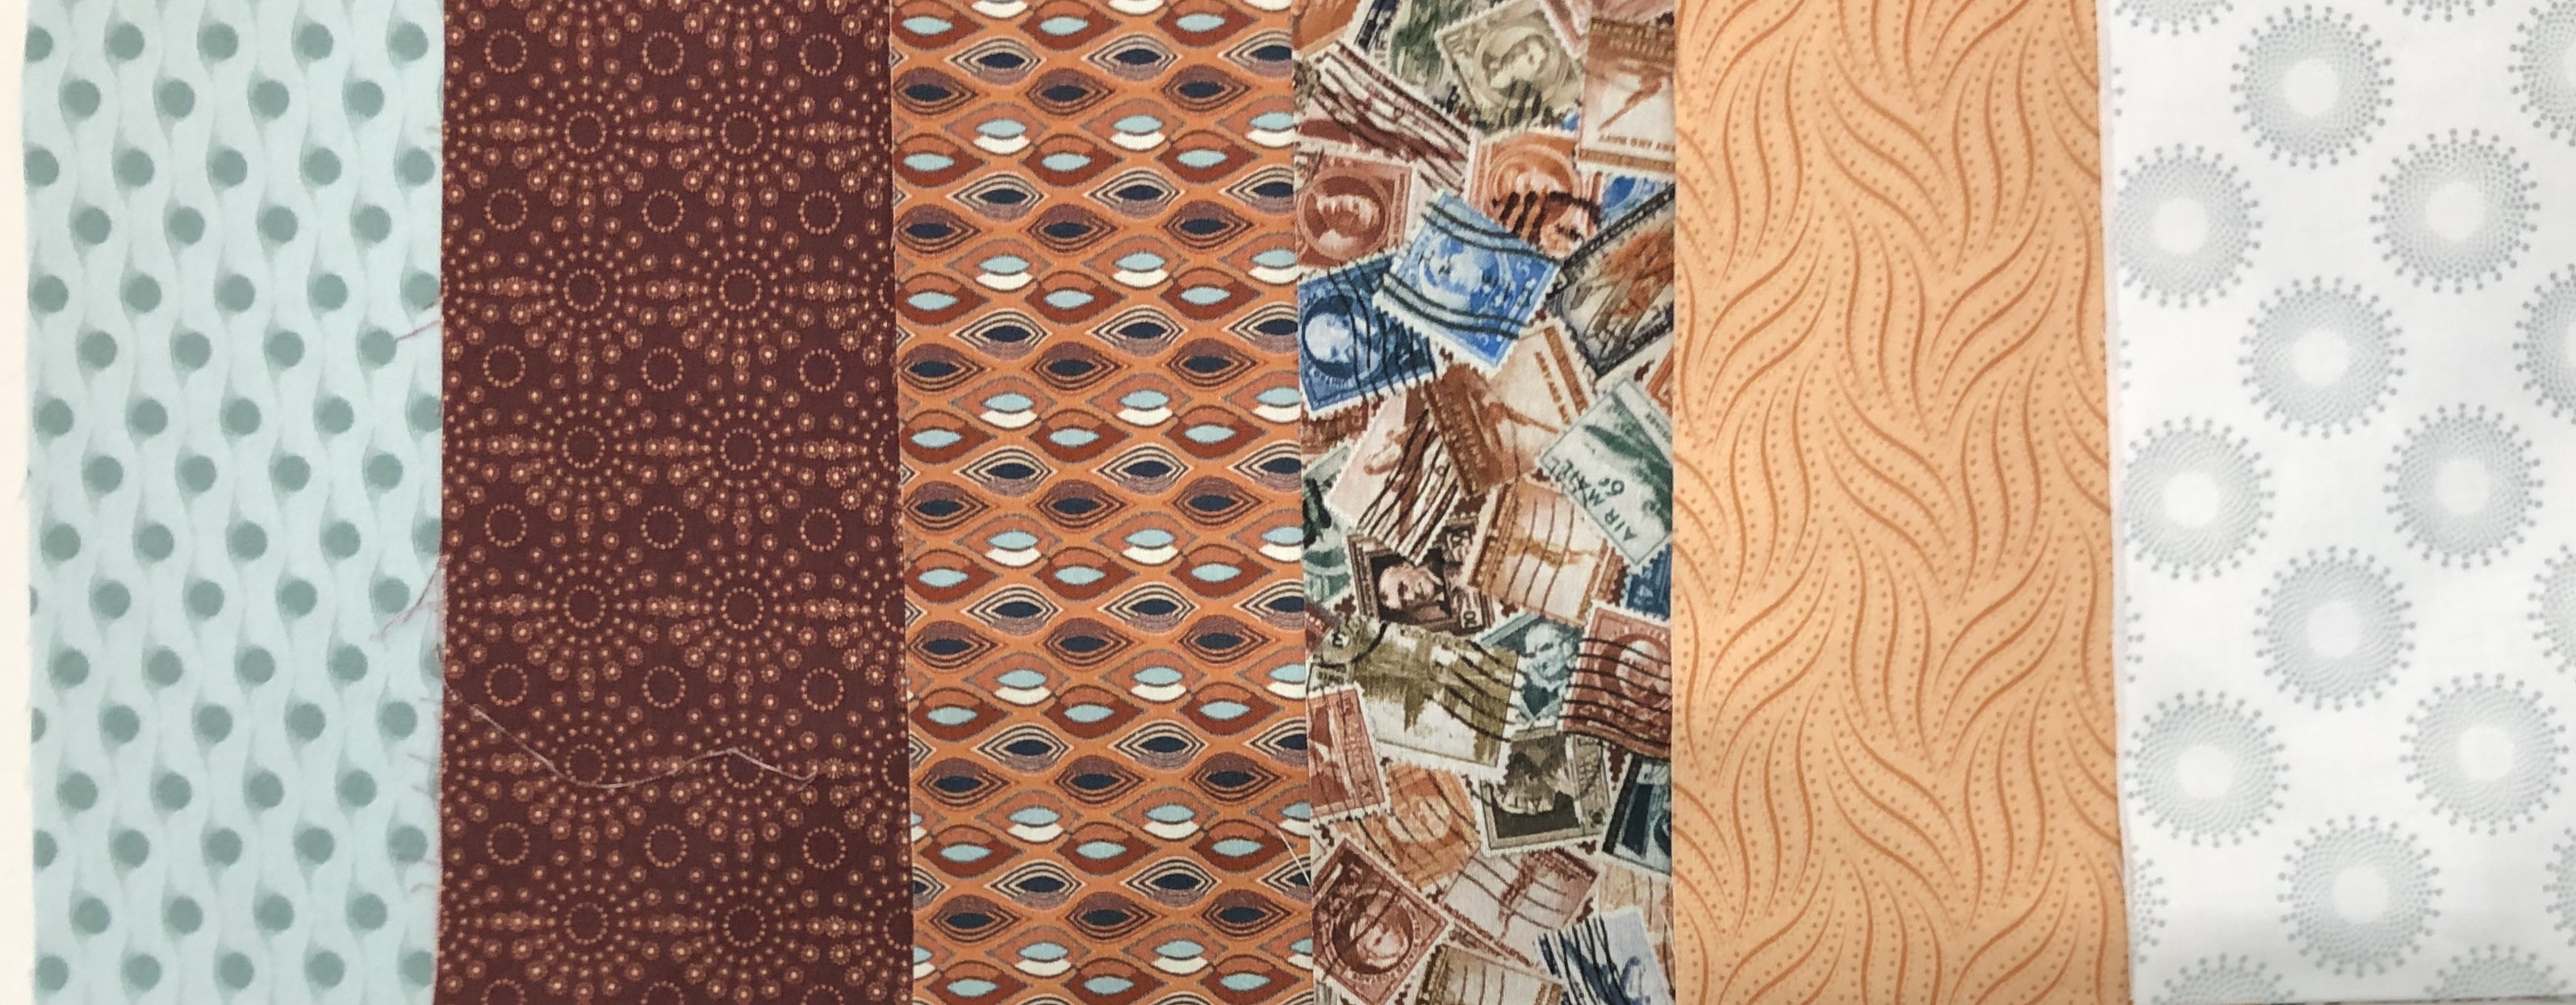
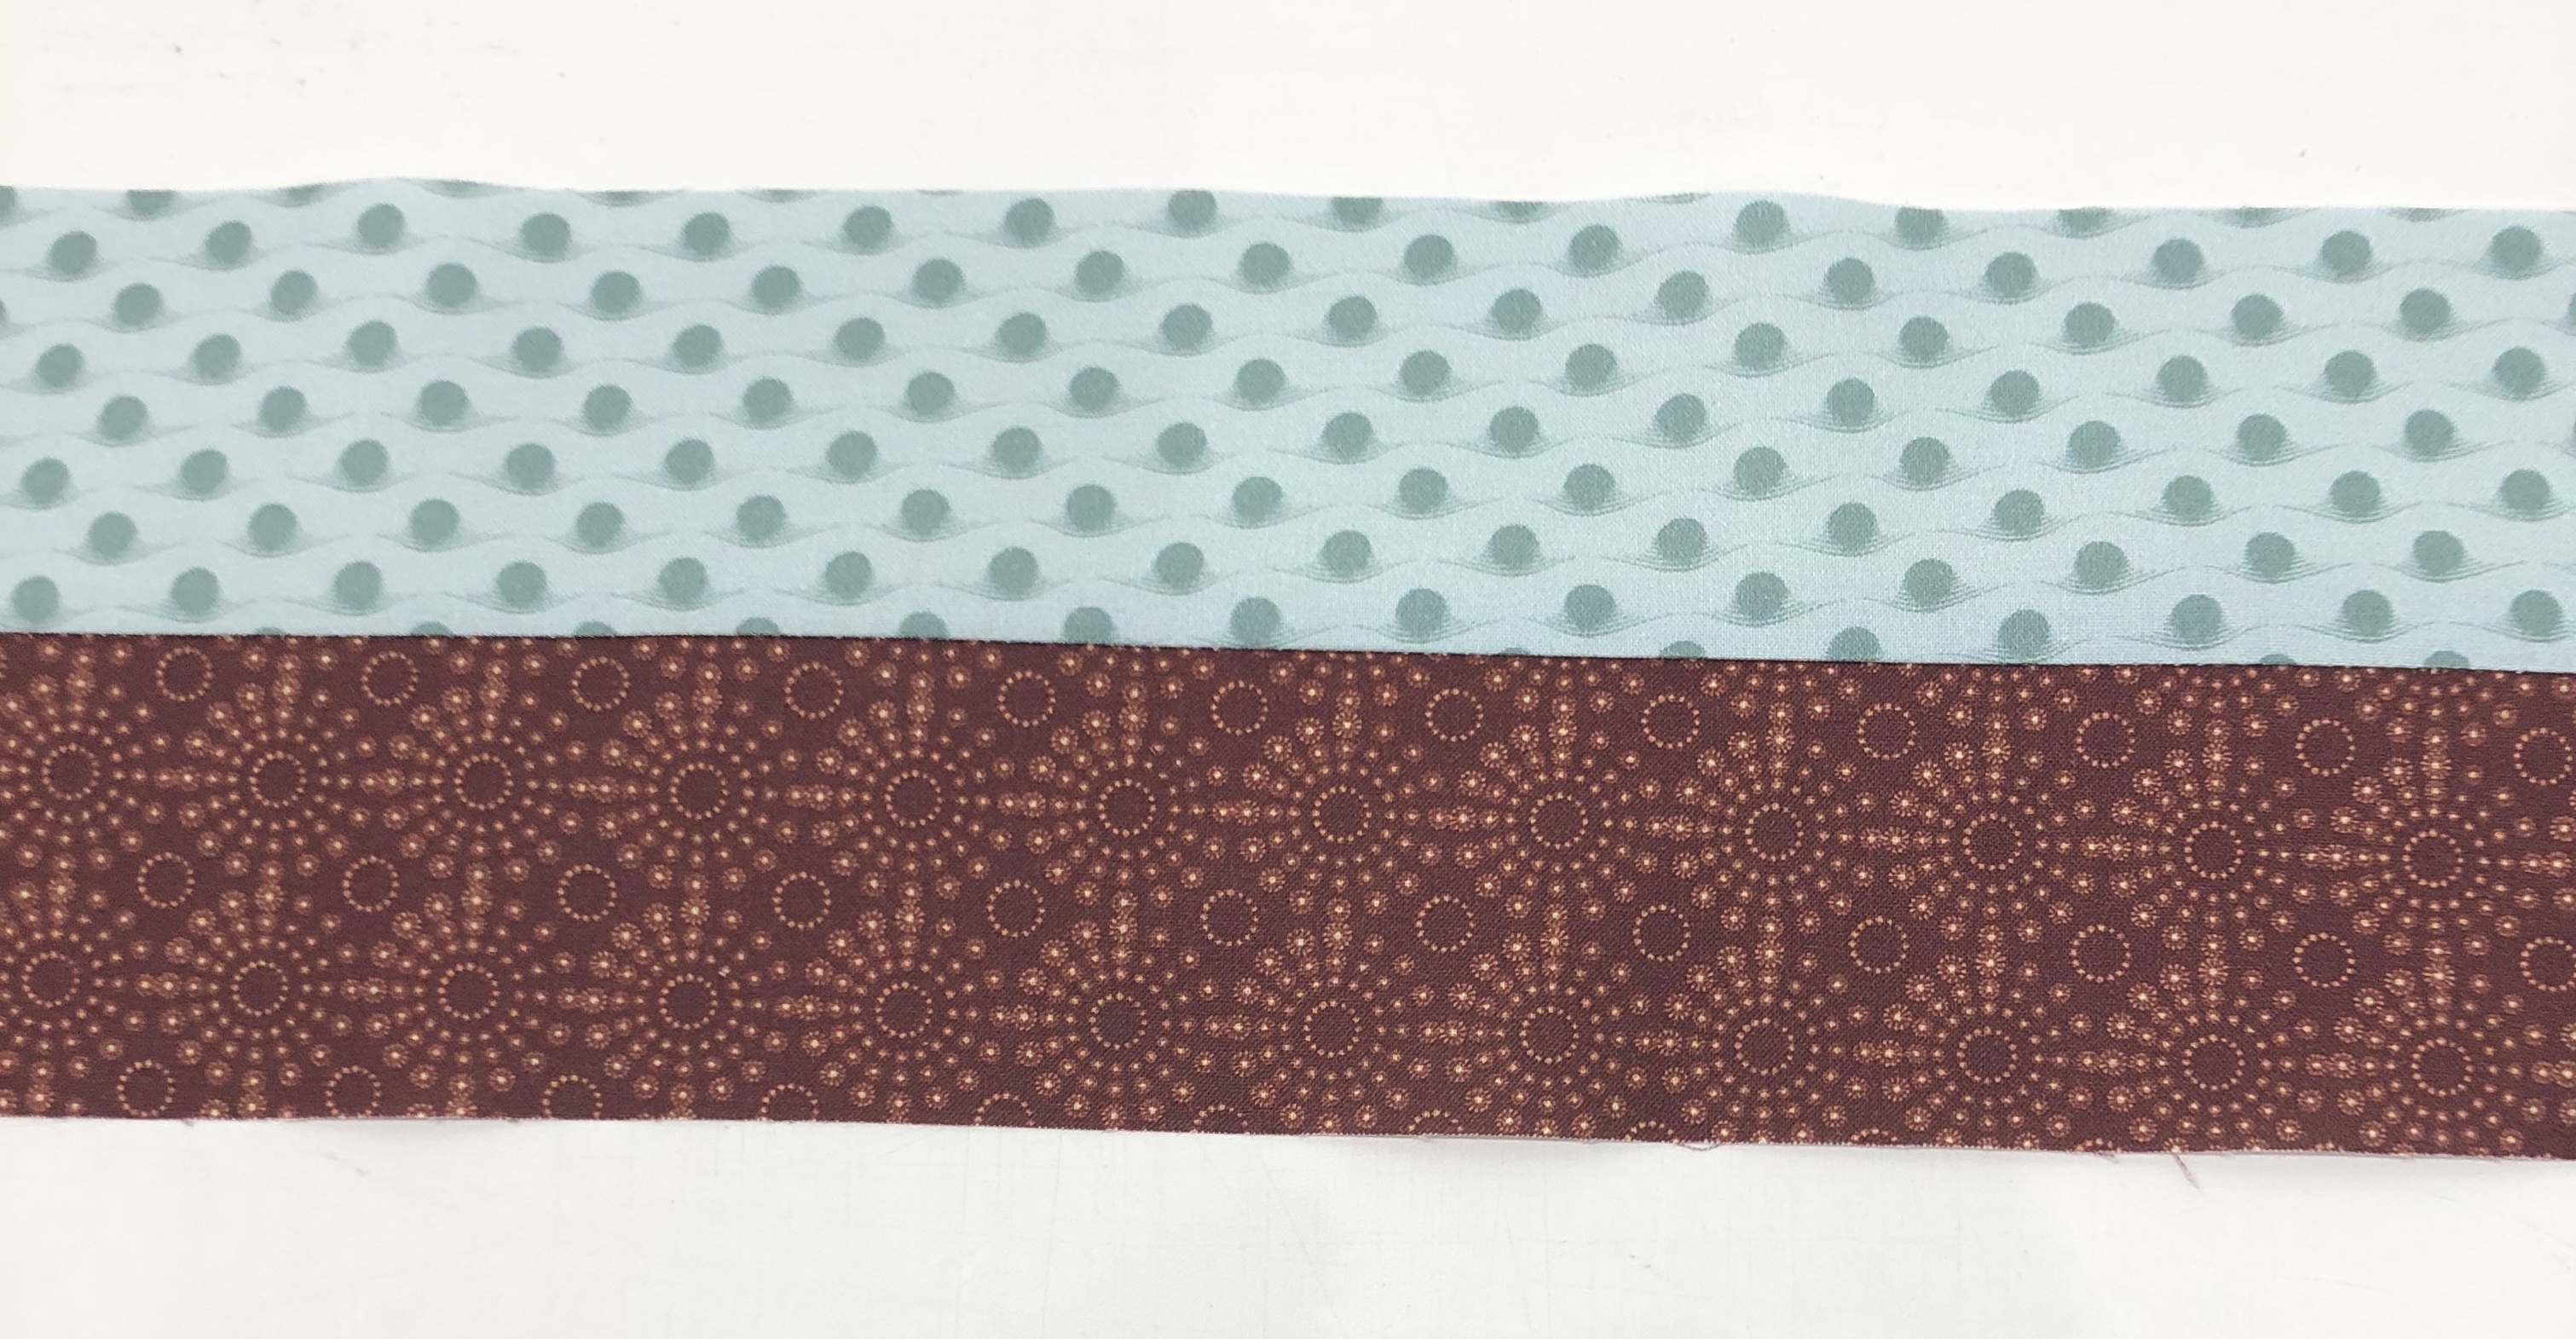
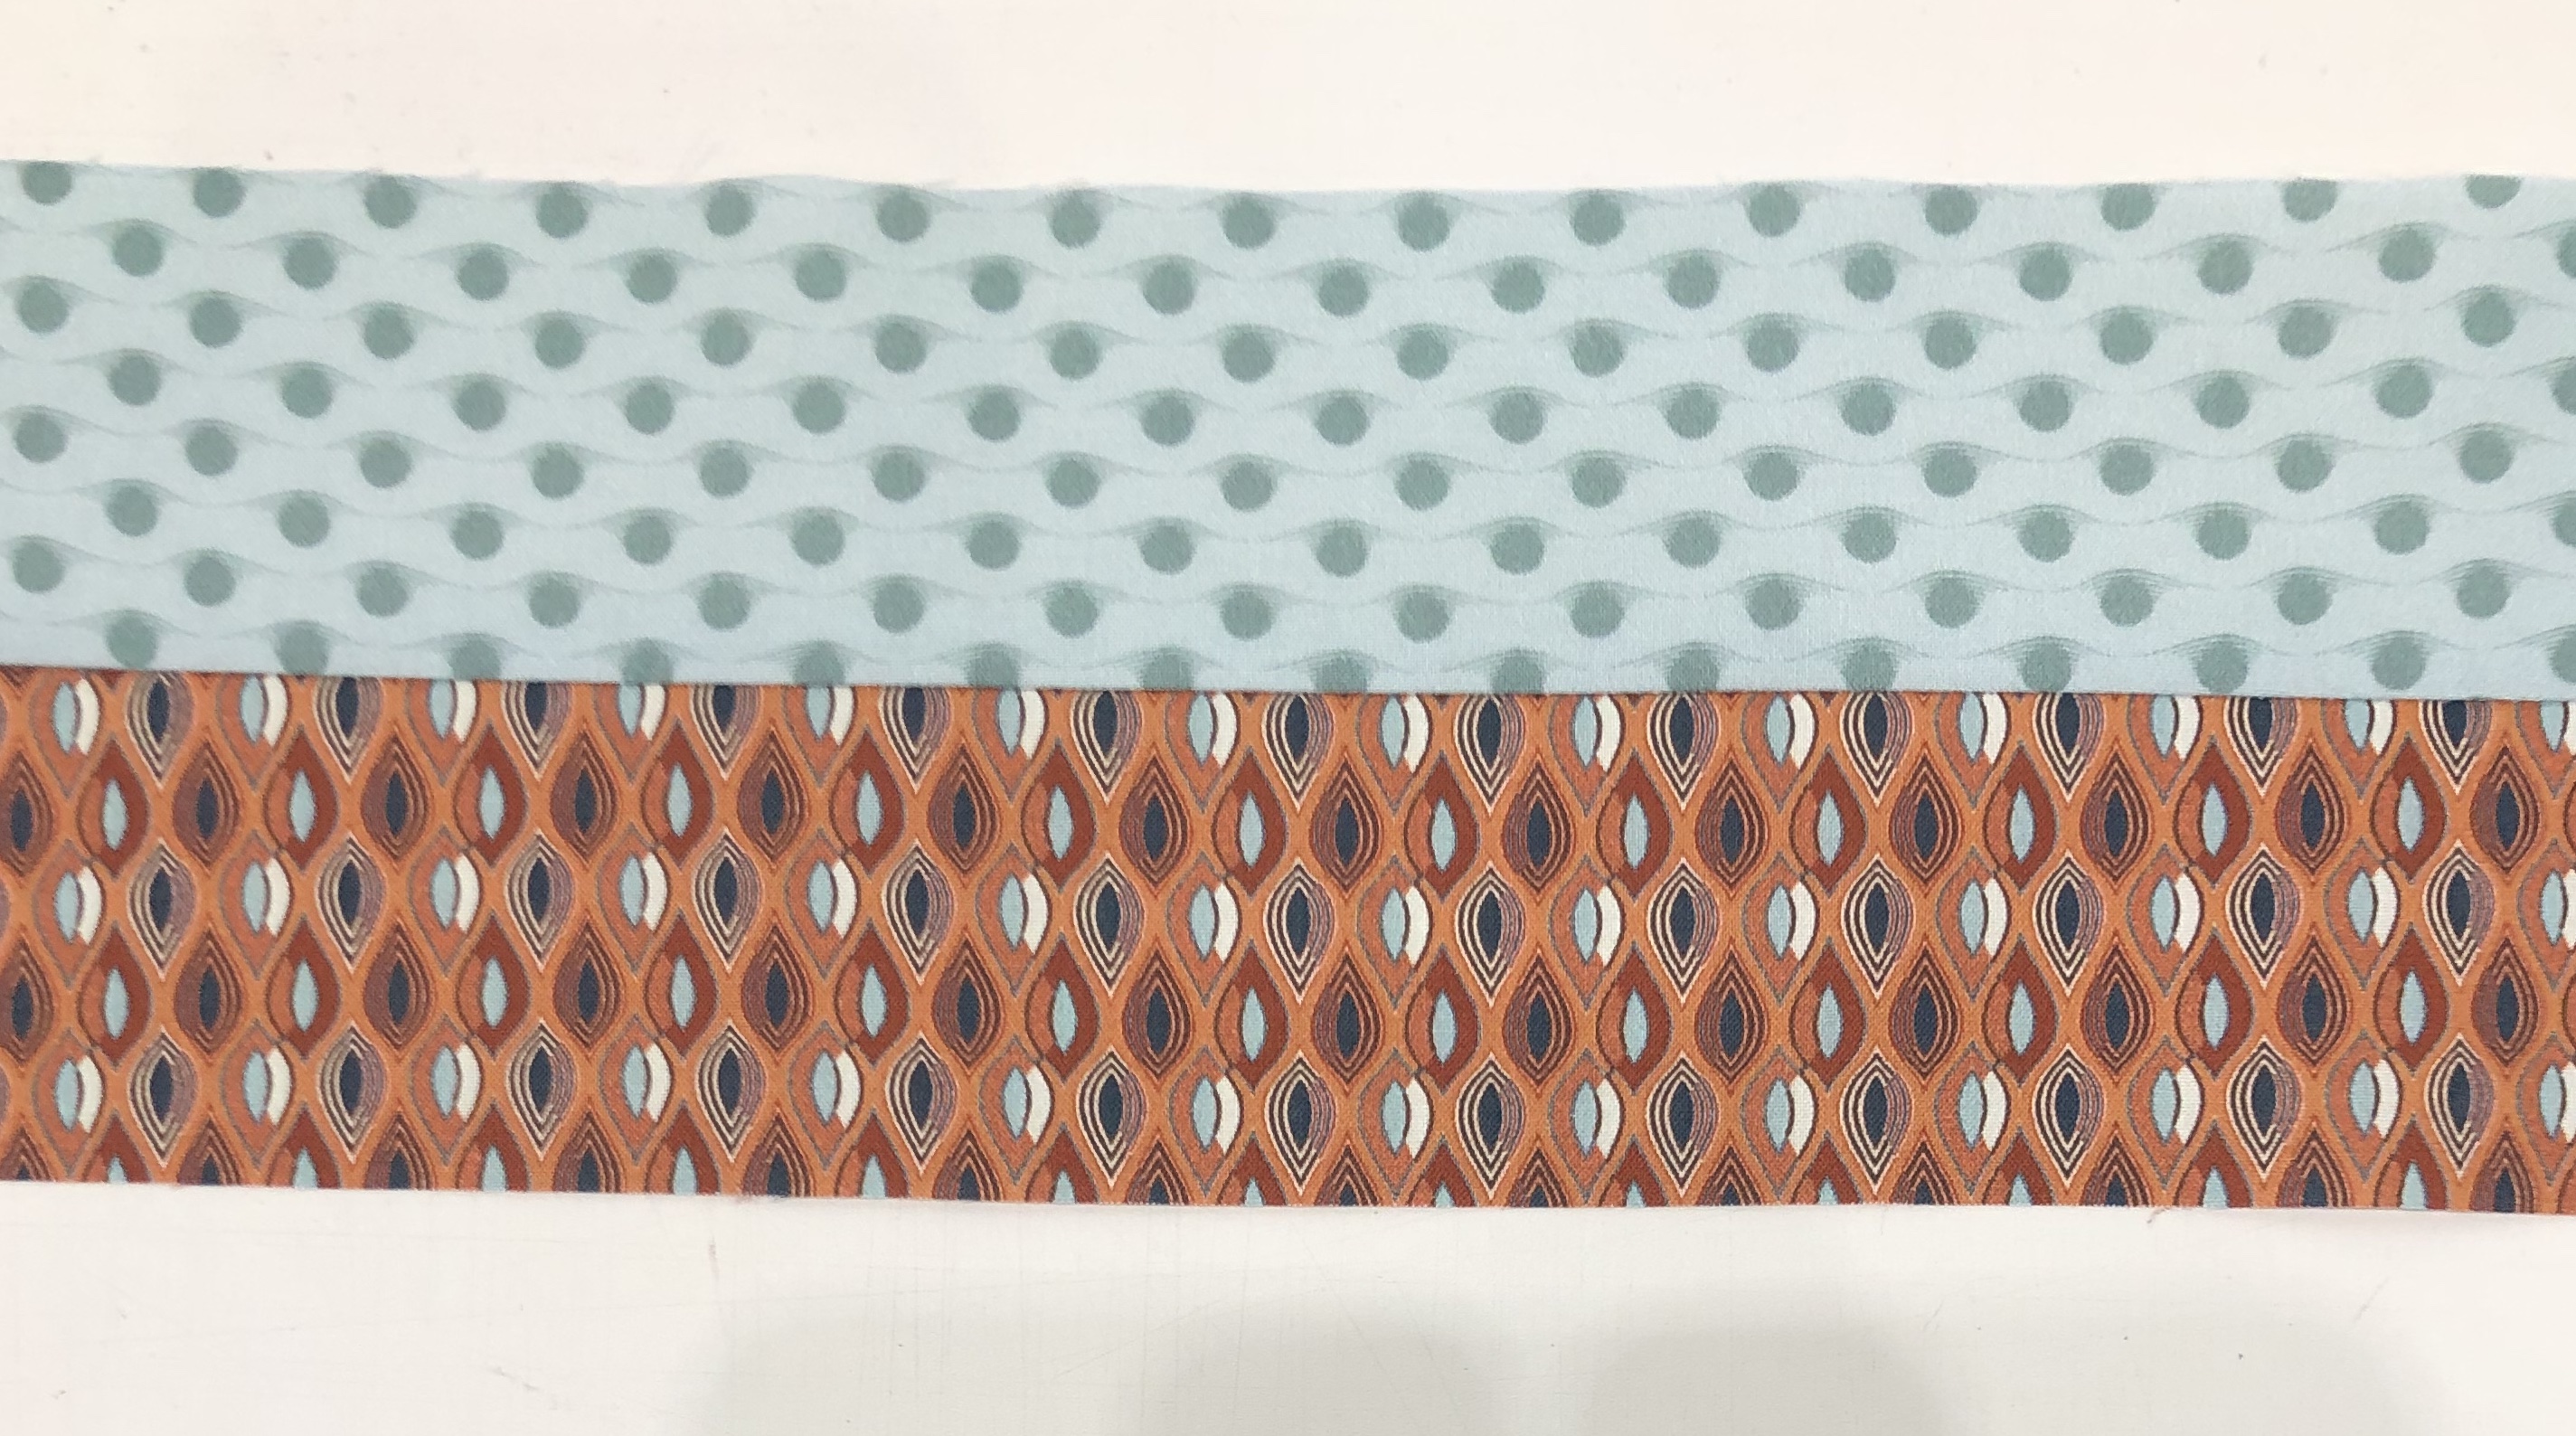
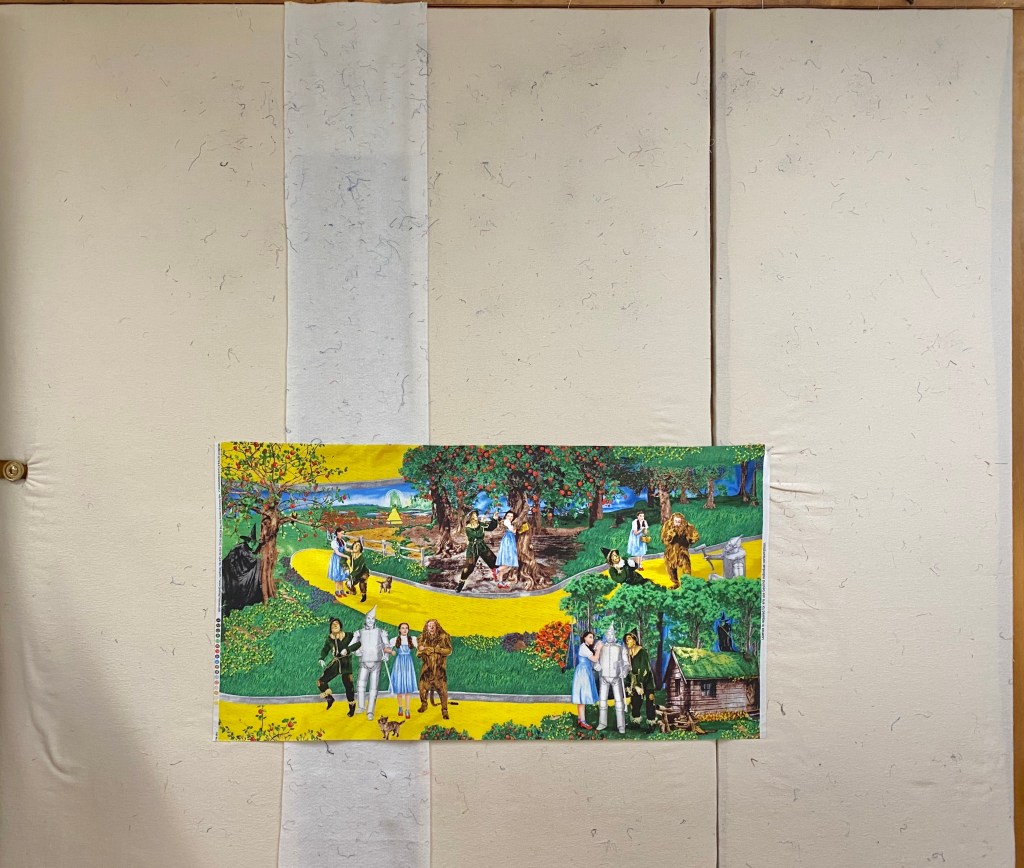
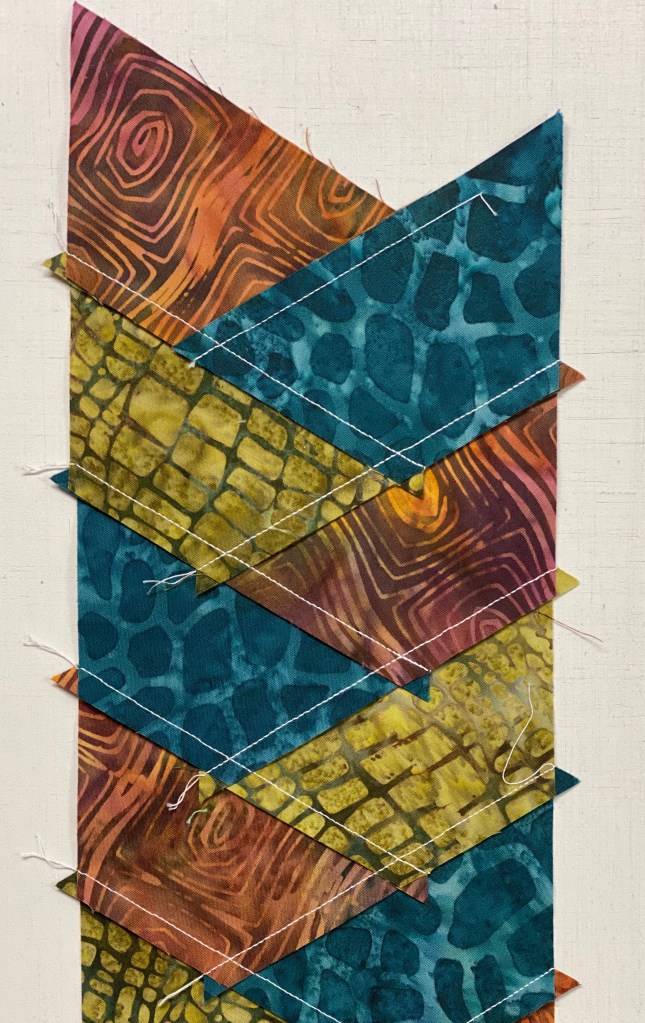
Something Fishy was made with fabric called Atlantis by Sentimental Studios for Moda. I have had this 6 yard piece in my One Block Wonder (OBW) stash for 12 o 13 years. Evidently I like to age my fabric before I cut it up.

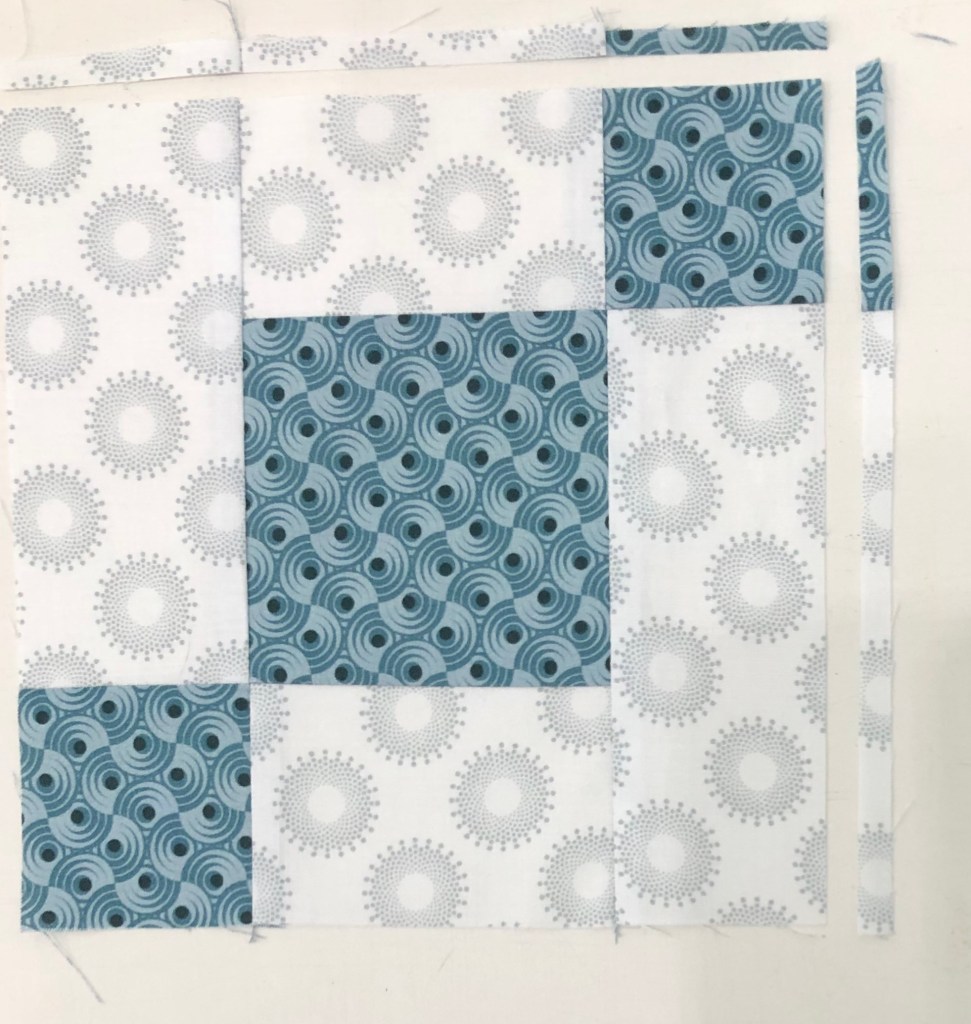
This is my second octagon OBW. Like hexagon OBW’s, octagon OBW’s can be made in many sizes. I will show you how to use the Wedge Star Tool Instructions to choose different size octagons and add different octagon blocks to your quilt. The numbered steps in this post refer to steps outlined in the Wedge Star Tool Instructions. The basic octagon OBW is made with 45 degree wedges as sown below. The Wedge Star tool instructions refer to this as the Wedge Block. We use the Wedge Block instructions to make the basic octagon OBW.

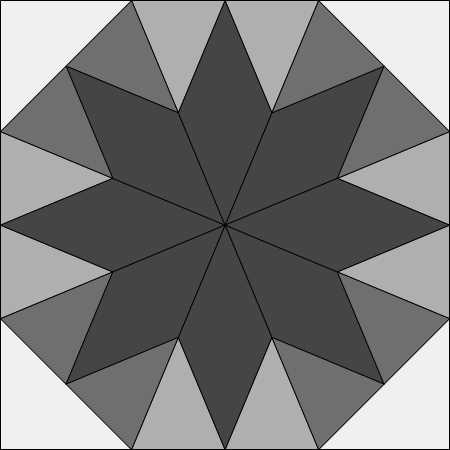

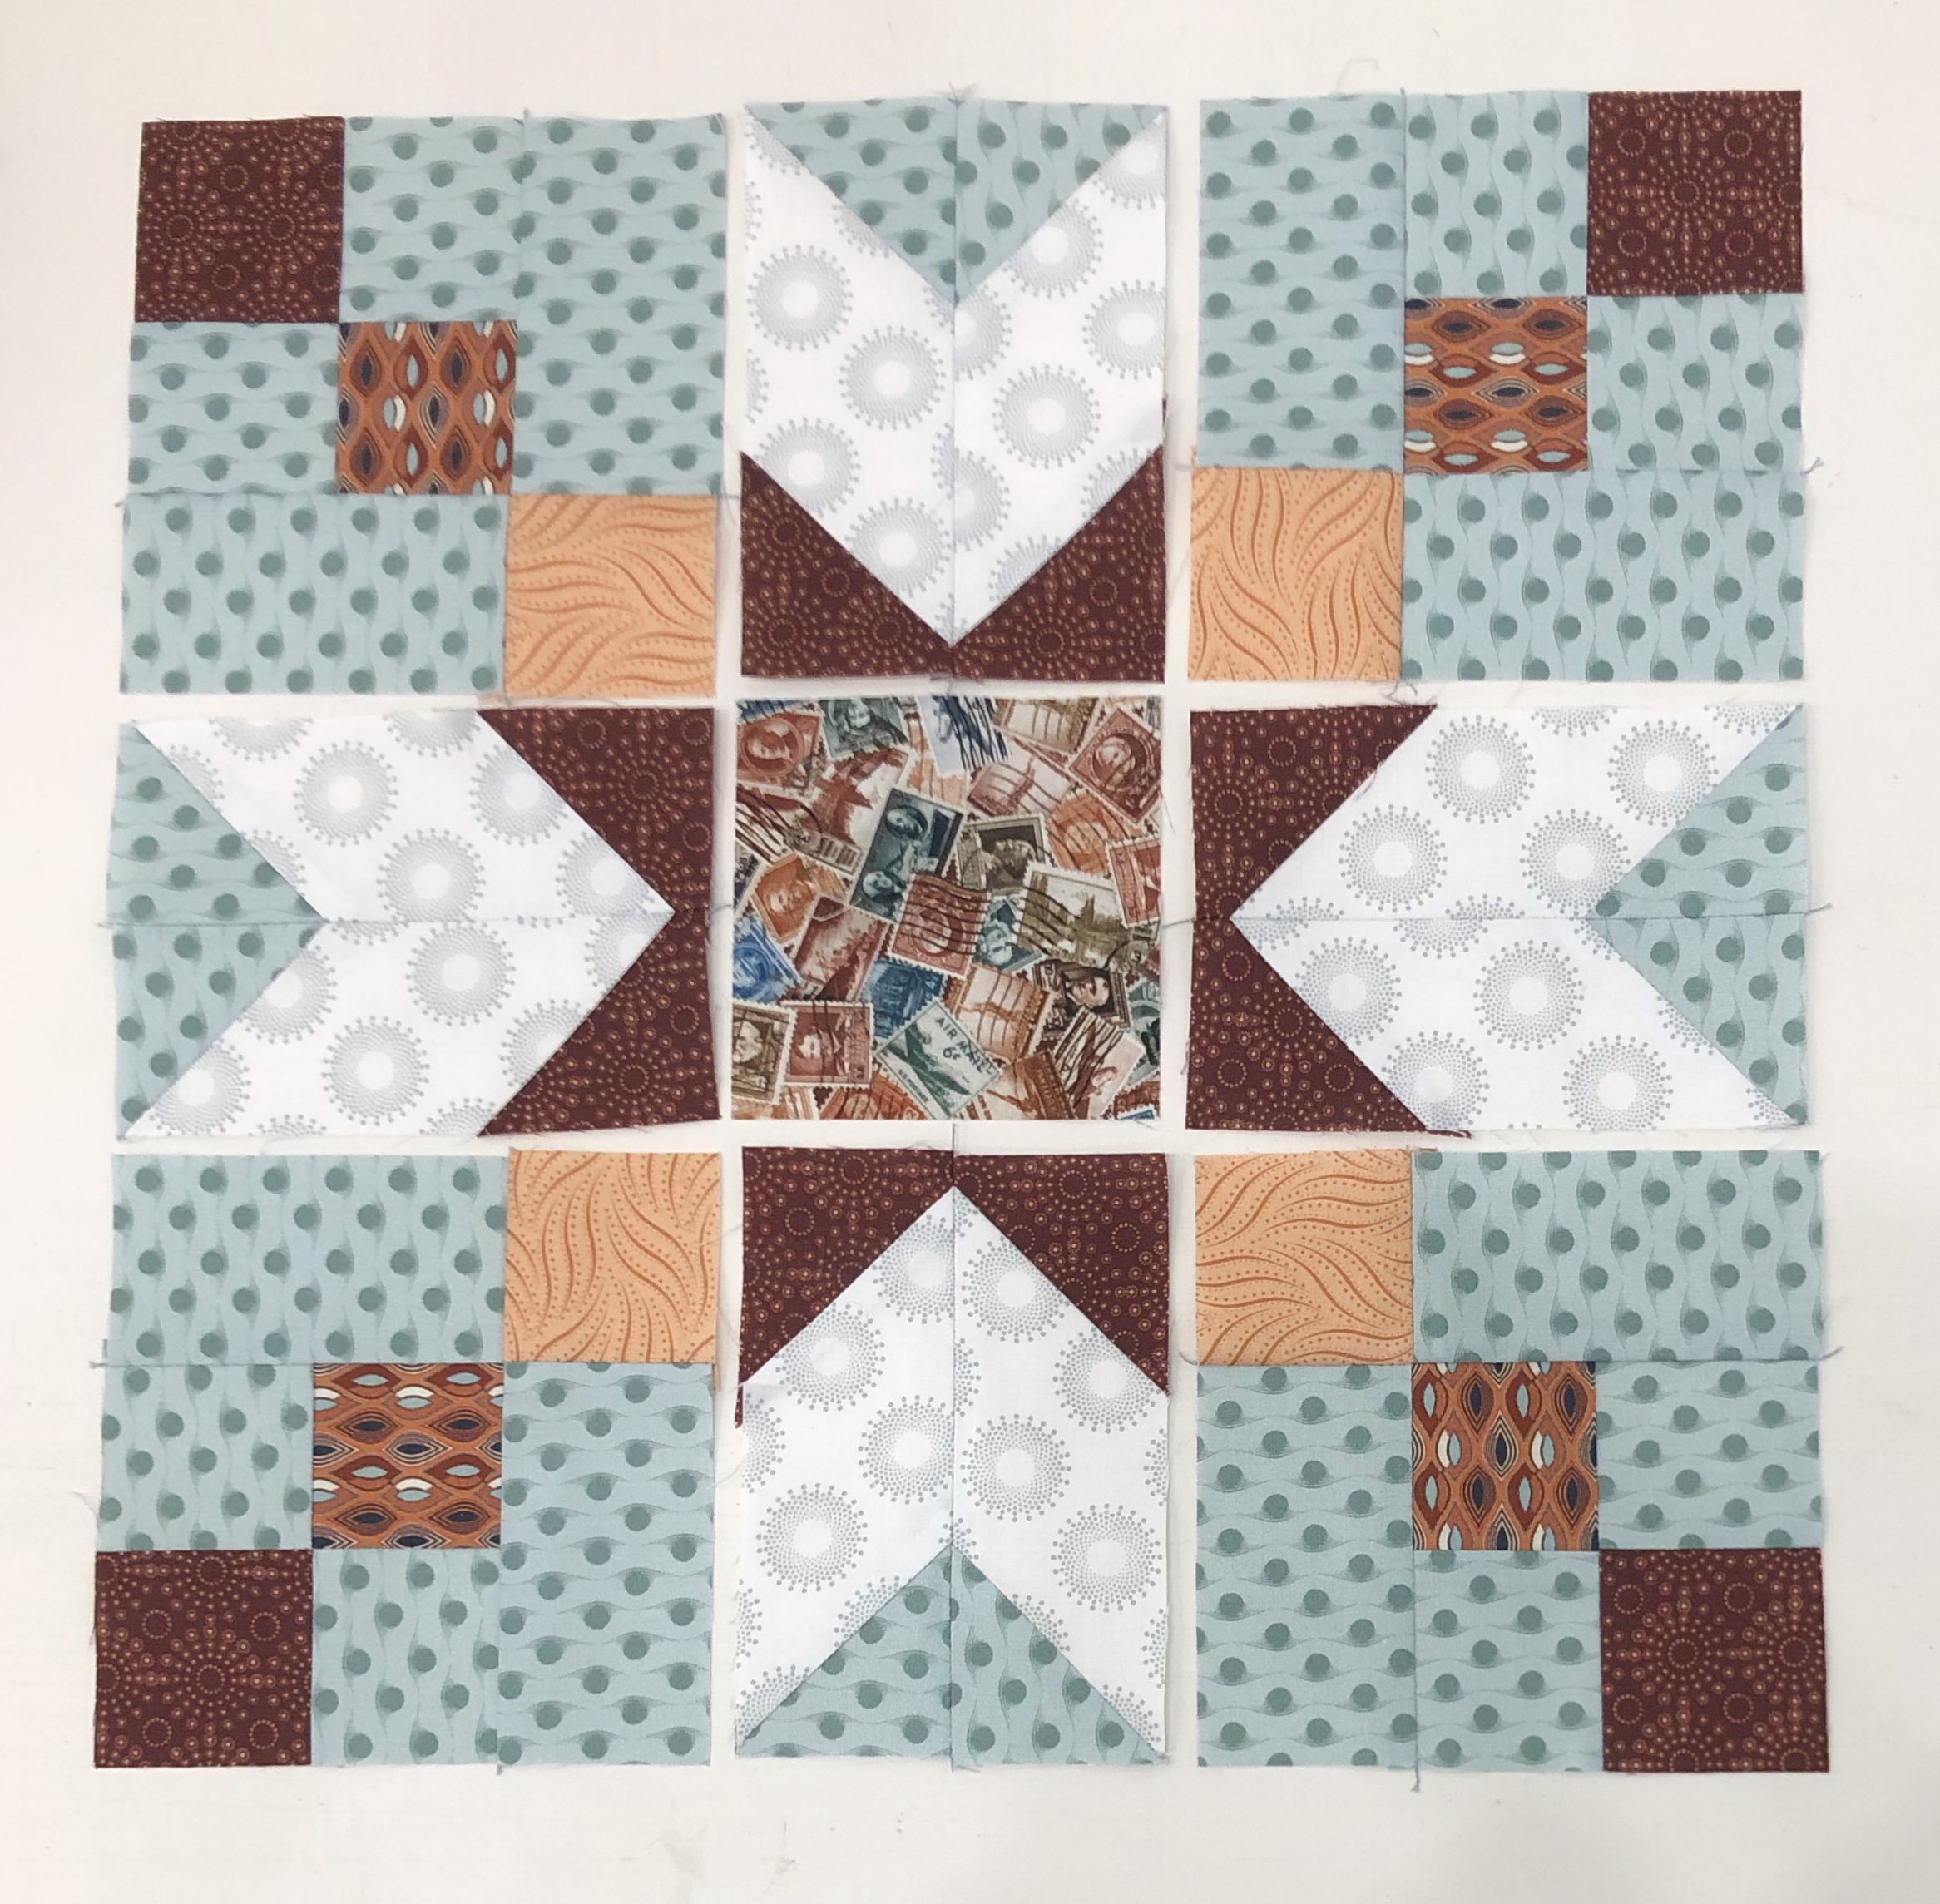
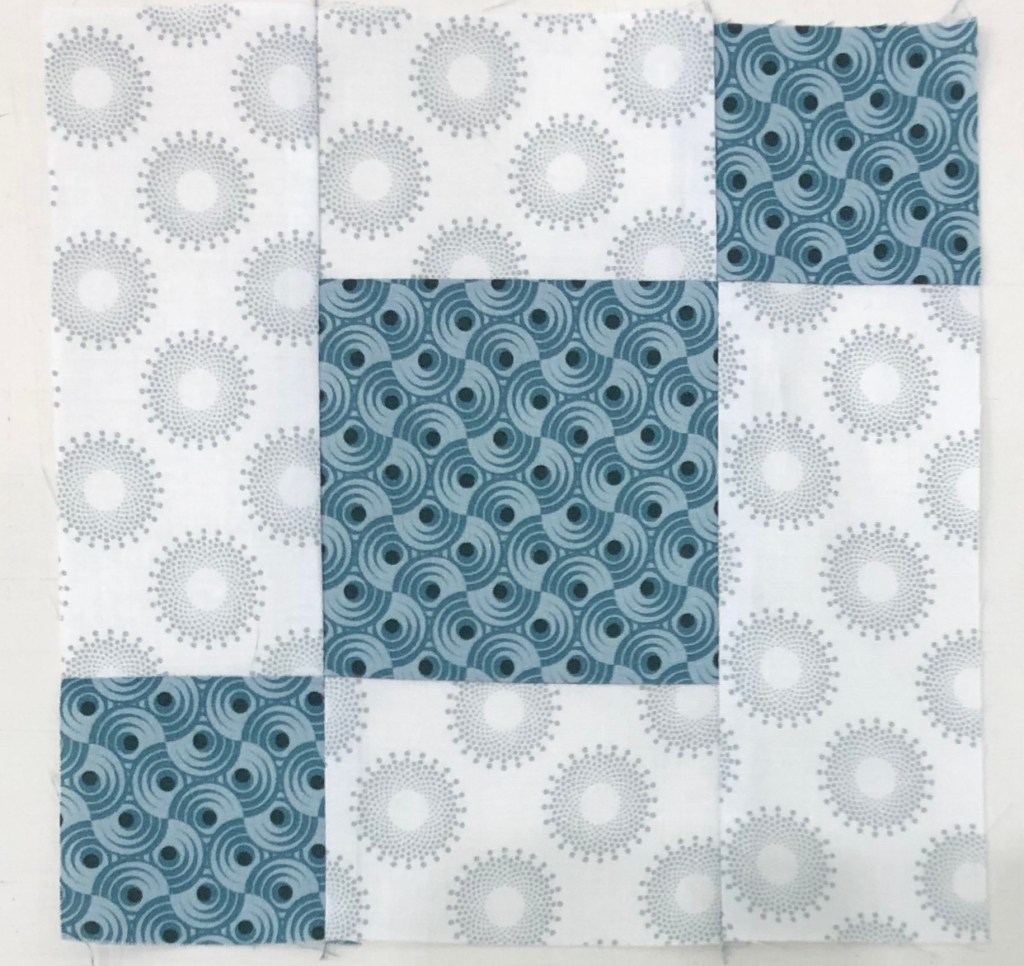
The Mixed Block can be made up of any combination of Diamond Wedges and Large Wedges, plus four corner triangles.
Download the Wedge Star Instructions here:
Cutting Chart
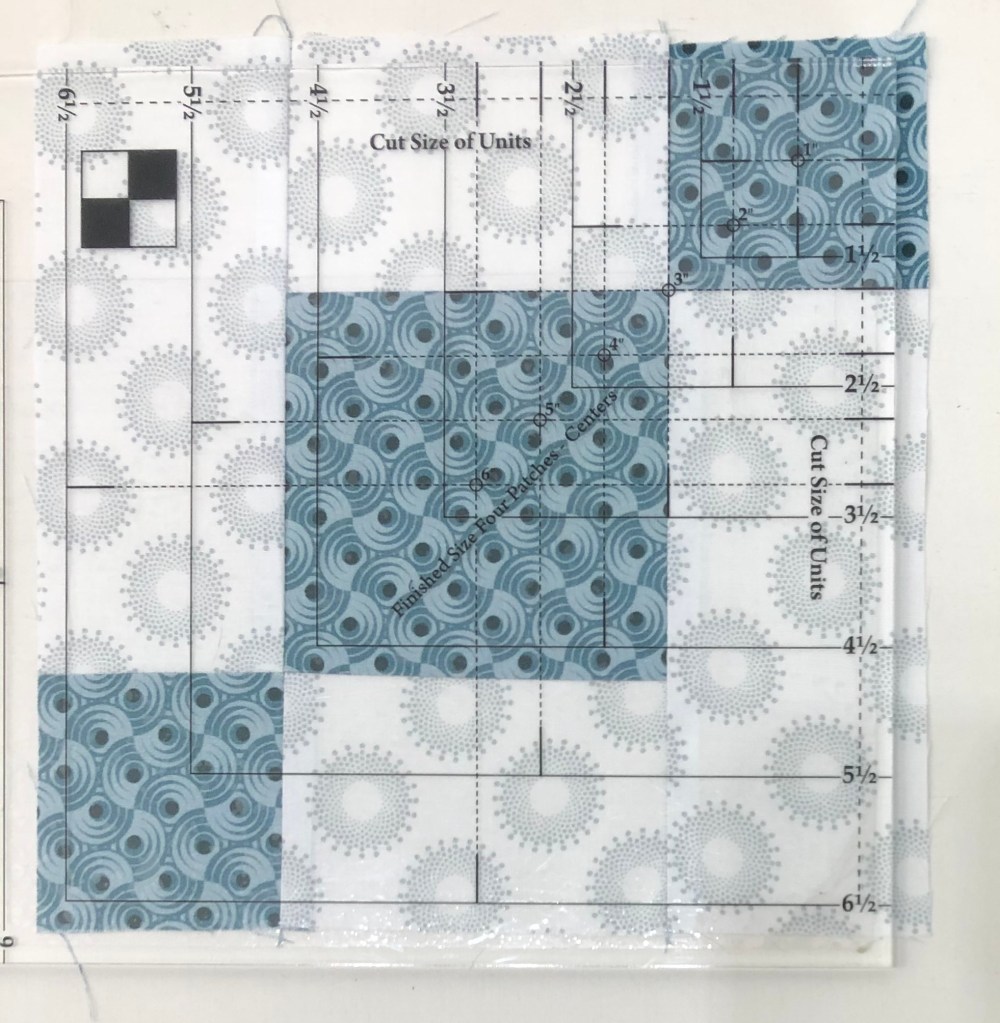
Use the chart on page 2 of the Wedge Star instructions, find your desired finished block size (first column), then follow the row across to determine the strip and square sizes you need to cut.
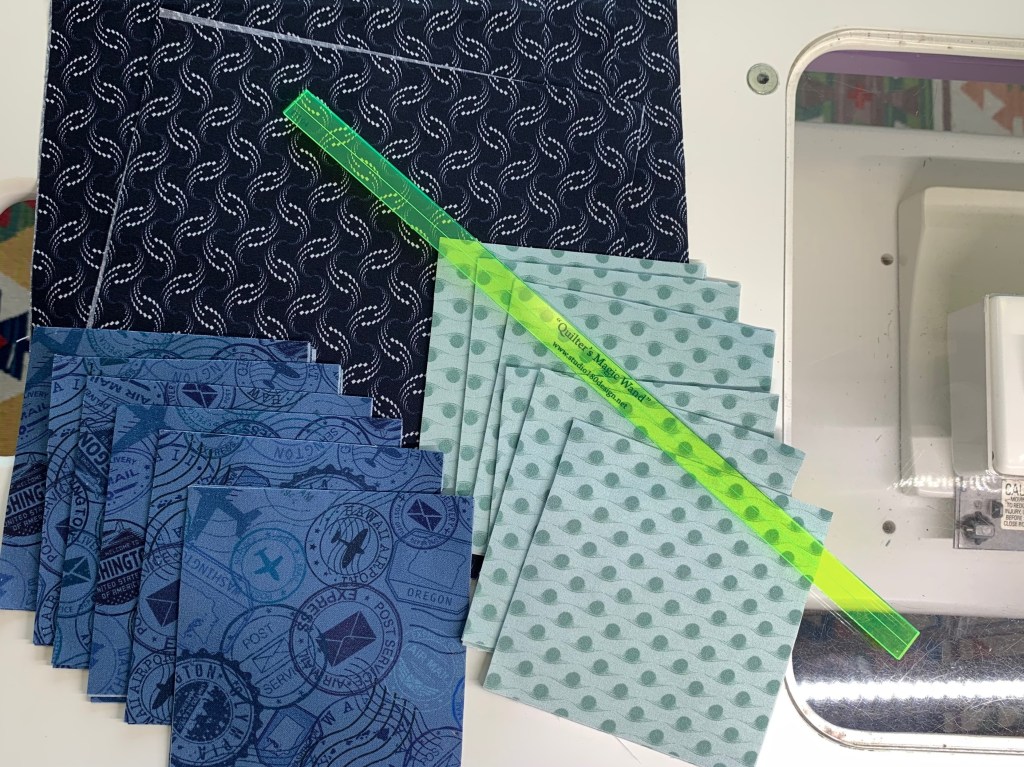
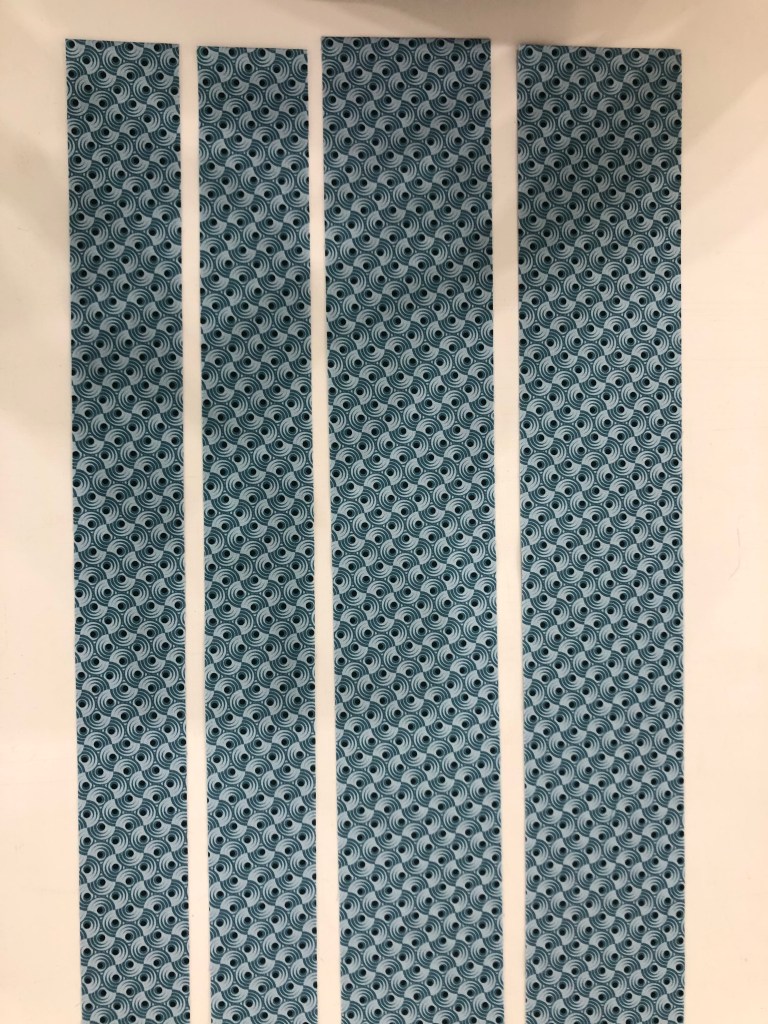
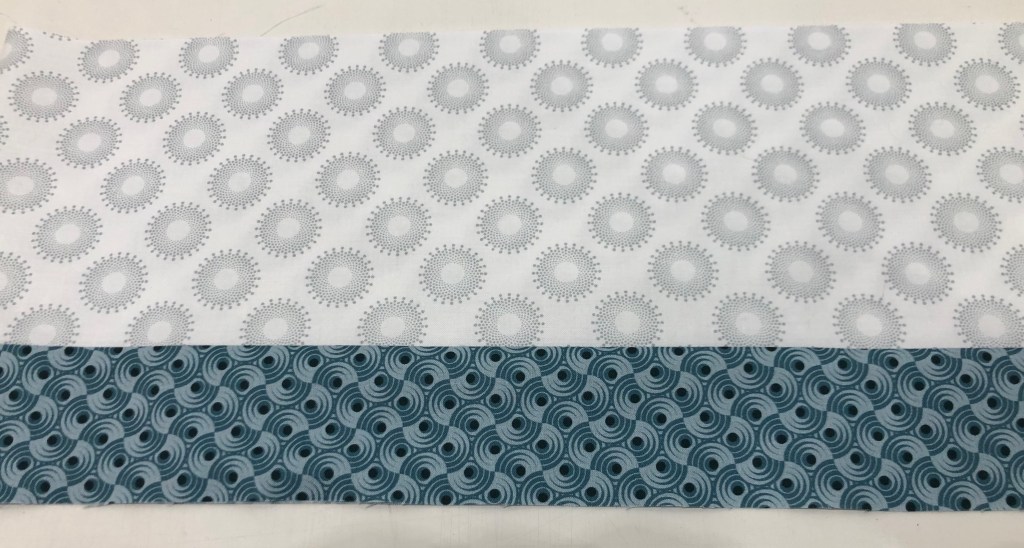
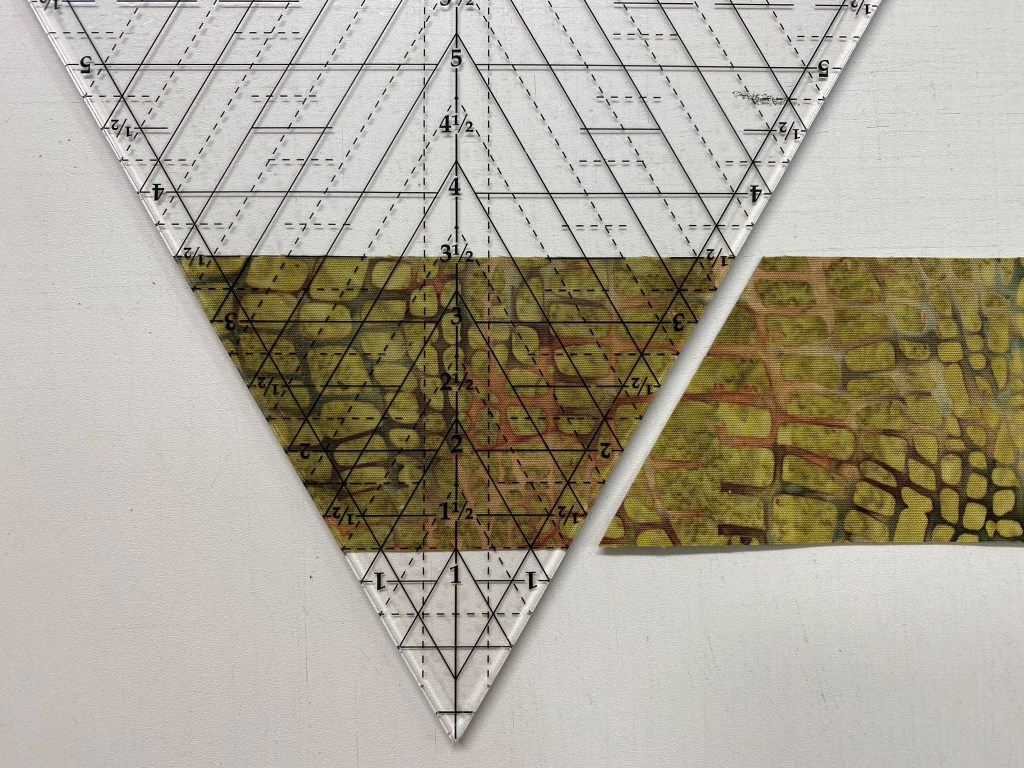
I chose 6″ finished blocks. From the first column follow to right to the “Large Wedge Strip” and see to cut the wedge strips 4″ Width of Fabric (WOF) and “Corner Square” strips 3″ by WOF.

After I have aligned my 8 repeats and trimmed one long edge so all the repeats end in the same place, I re-measure my repeat to verify how many strips I can cut.
Note: For every 2 Large Wedge strips you will need to cut 1 Corner Square strip.

I ended up with 22″ trimmed repeats, so I was able to cut four 4″ Large Wedge WOF Strips and two 3″ WOF Corner Square strips for 6″ finished octagons.
Wedge Block
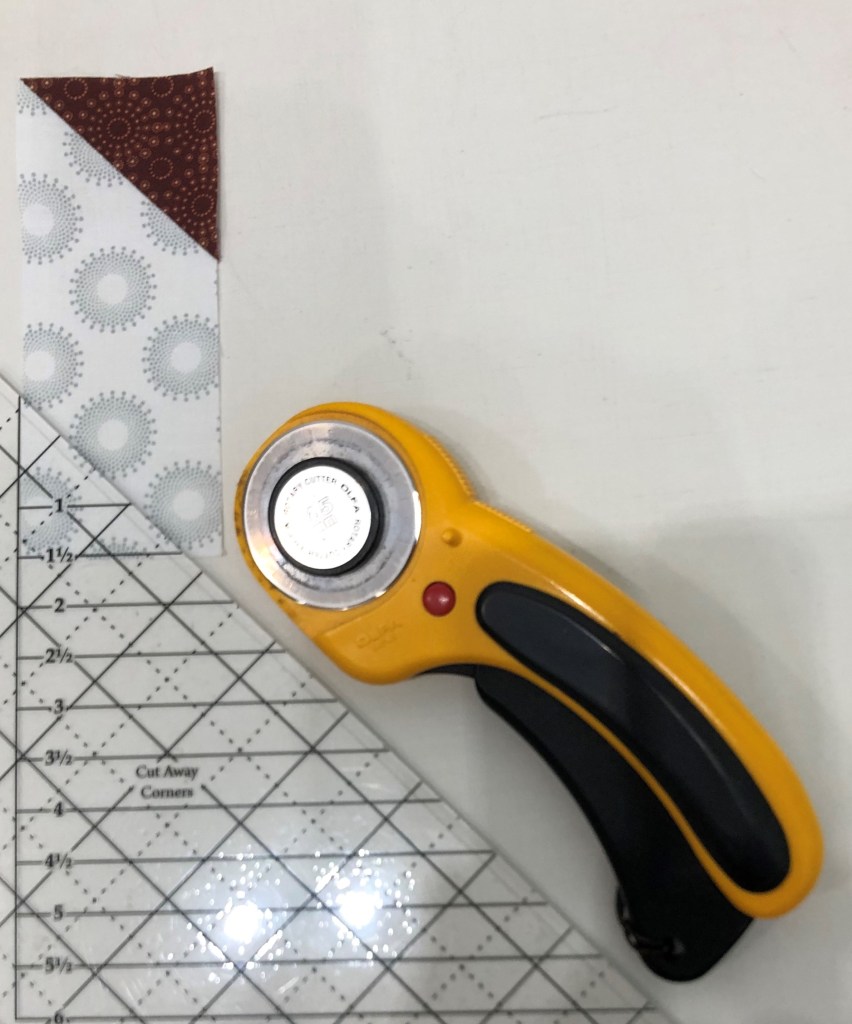
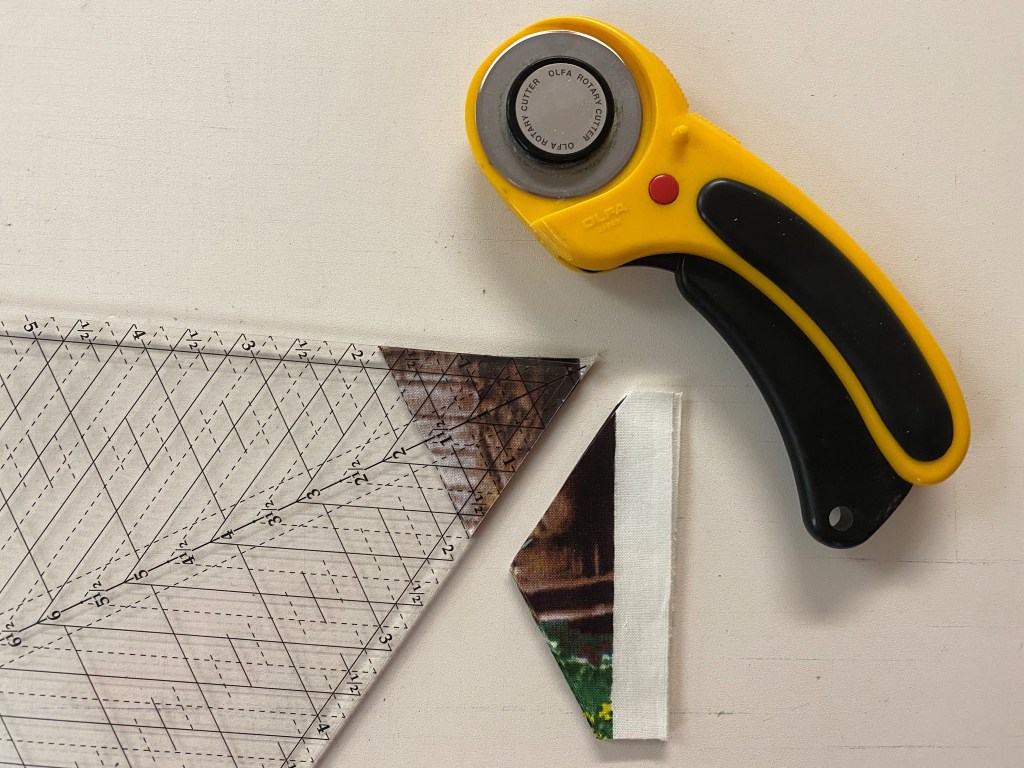
Cutting the Large Wedges (Page 7, Step 2.01)
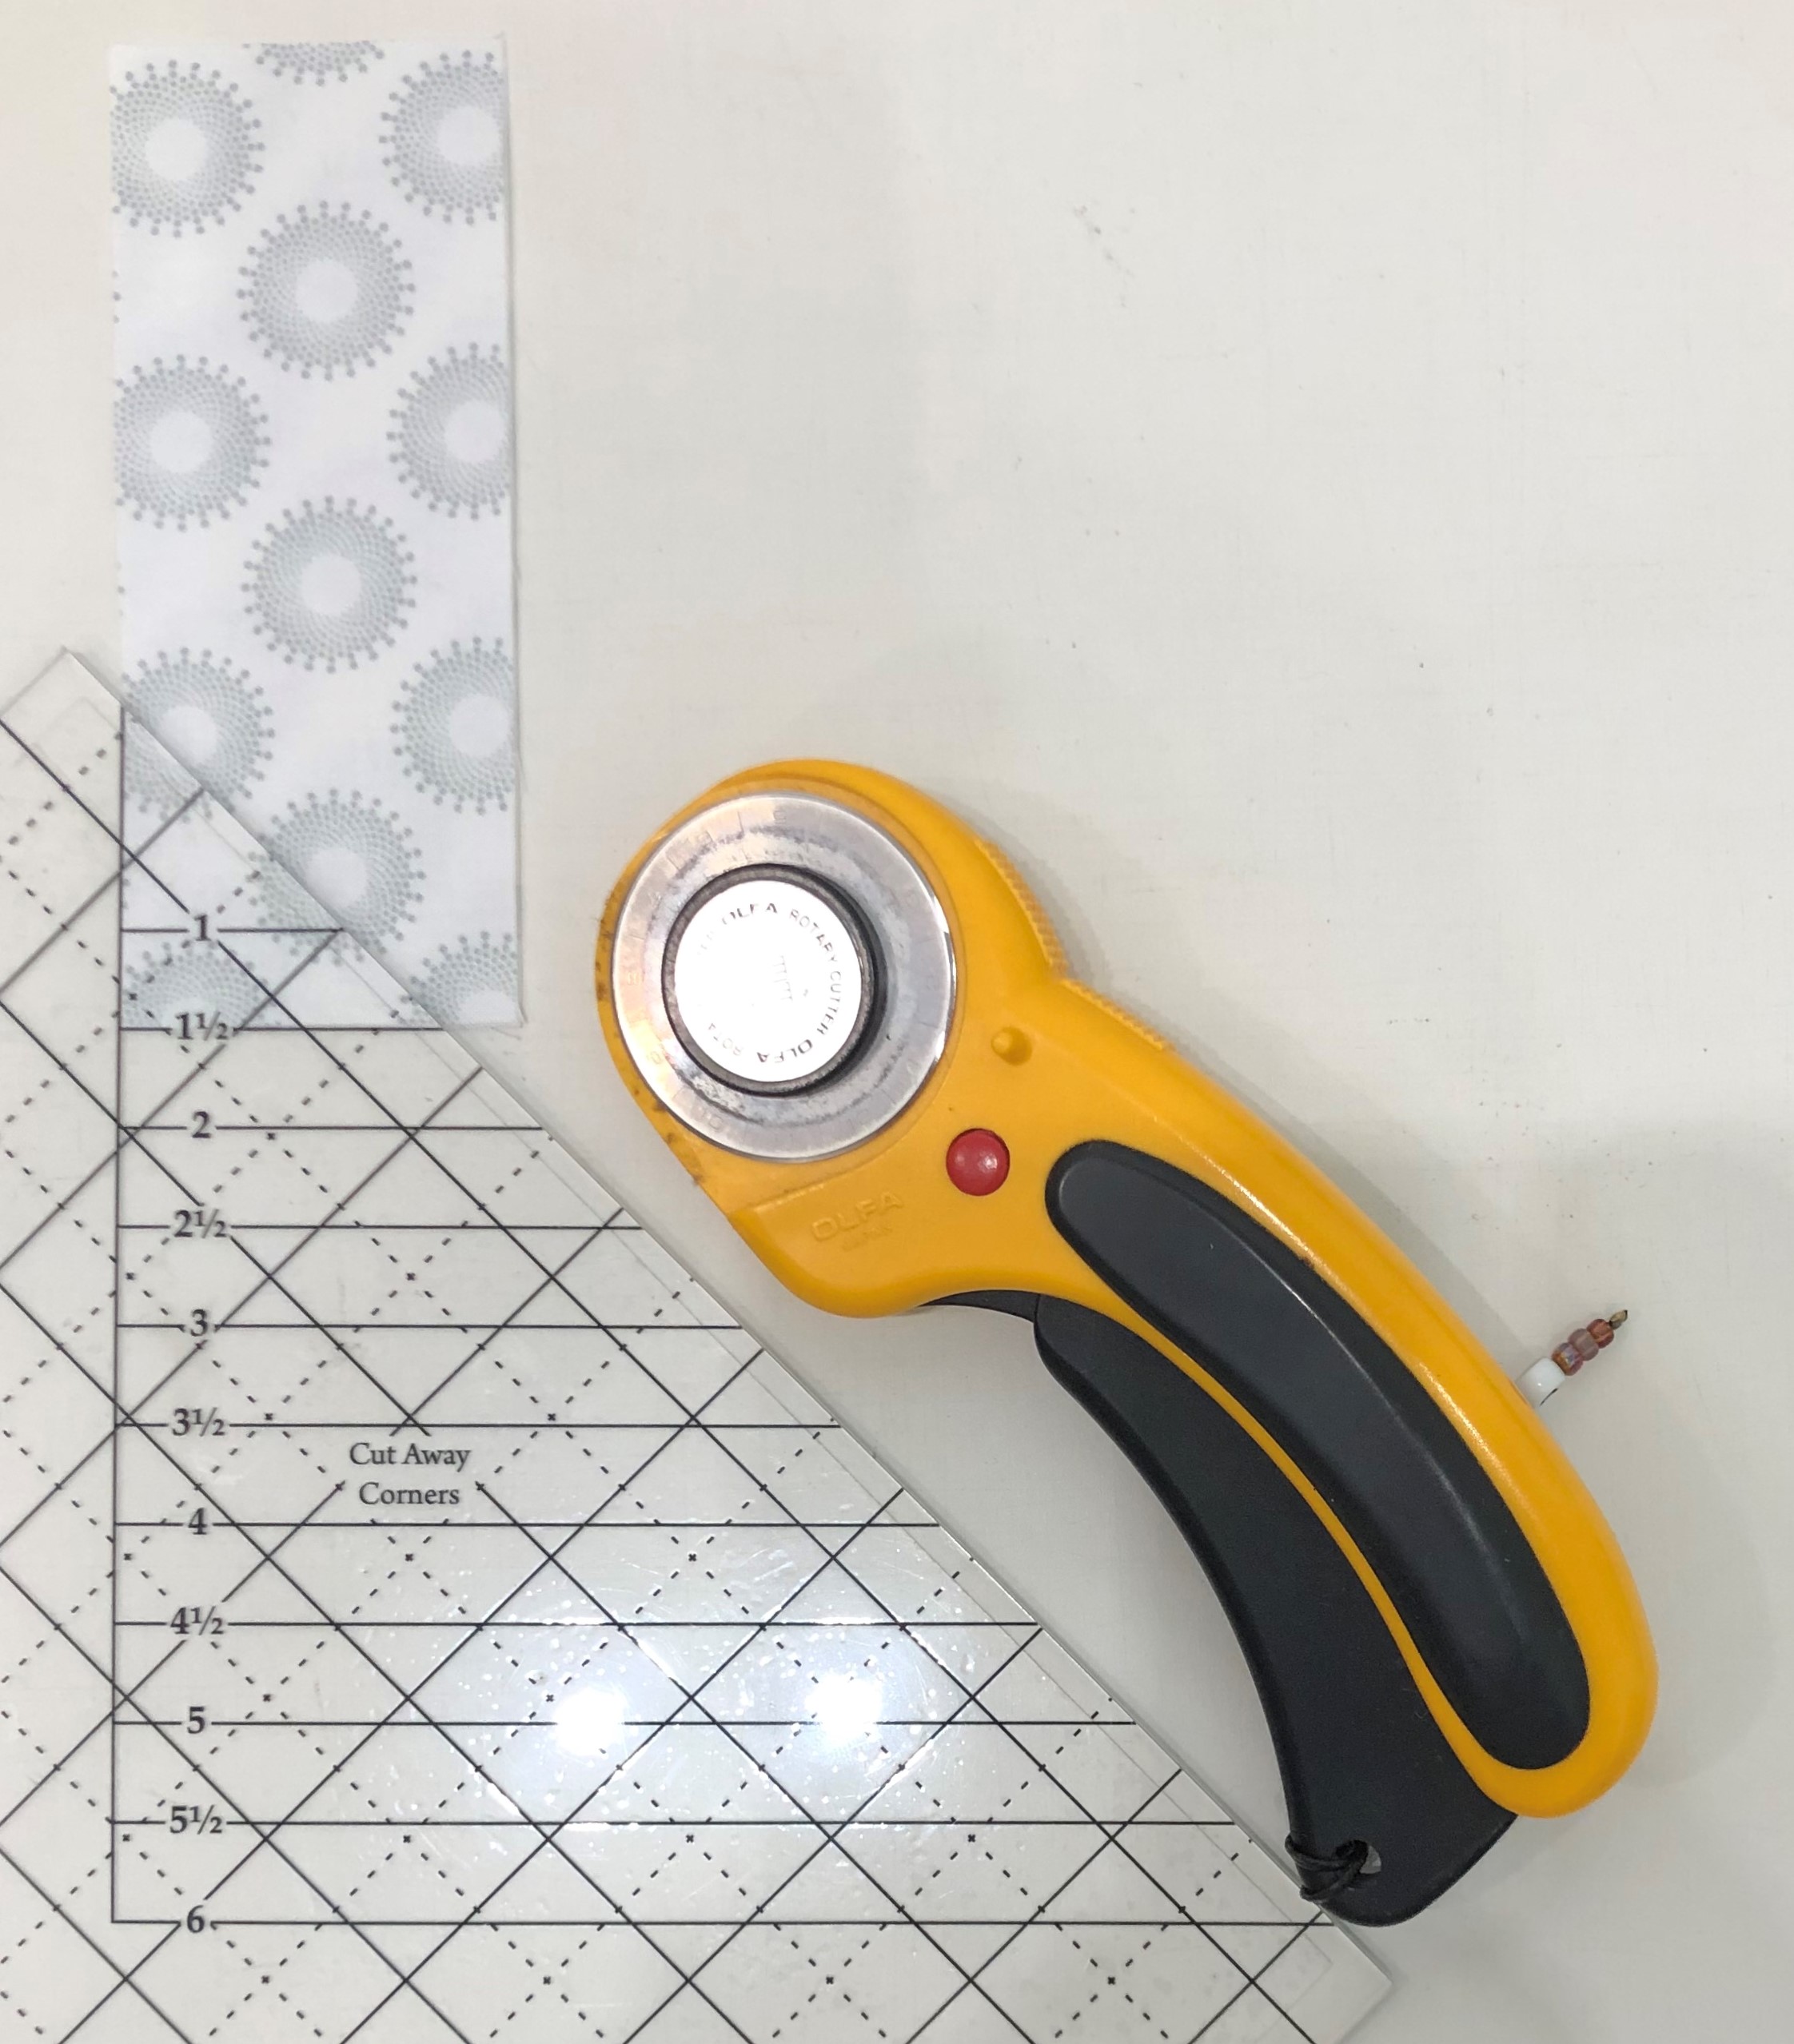
When making an octagonal OBW, we are cutting 8 layers of fabric at once. Our Large Wedge and Corner Square strips are from one fabric. Putting a new blade in your rotary cutter is important!


The cutting instructions on page 2 show you how to cut your wedges with the strip placed horizontally on the mat. I prefer to cut the wedges by placing my strips vertically on the mat. Try both and see what works best for you.

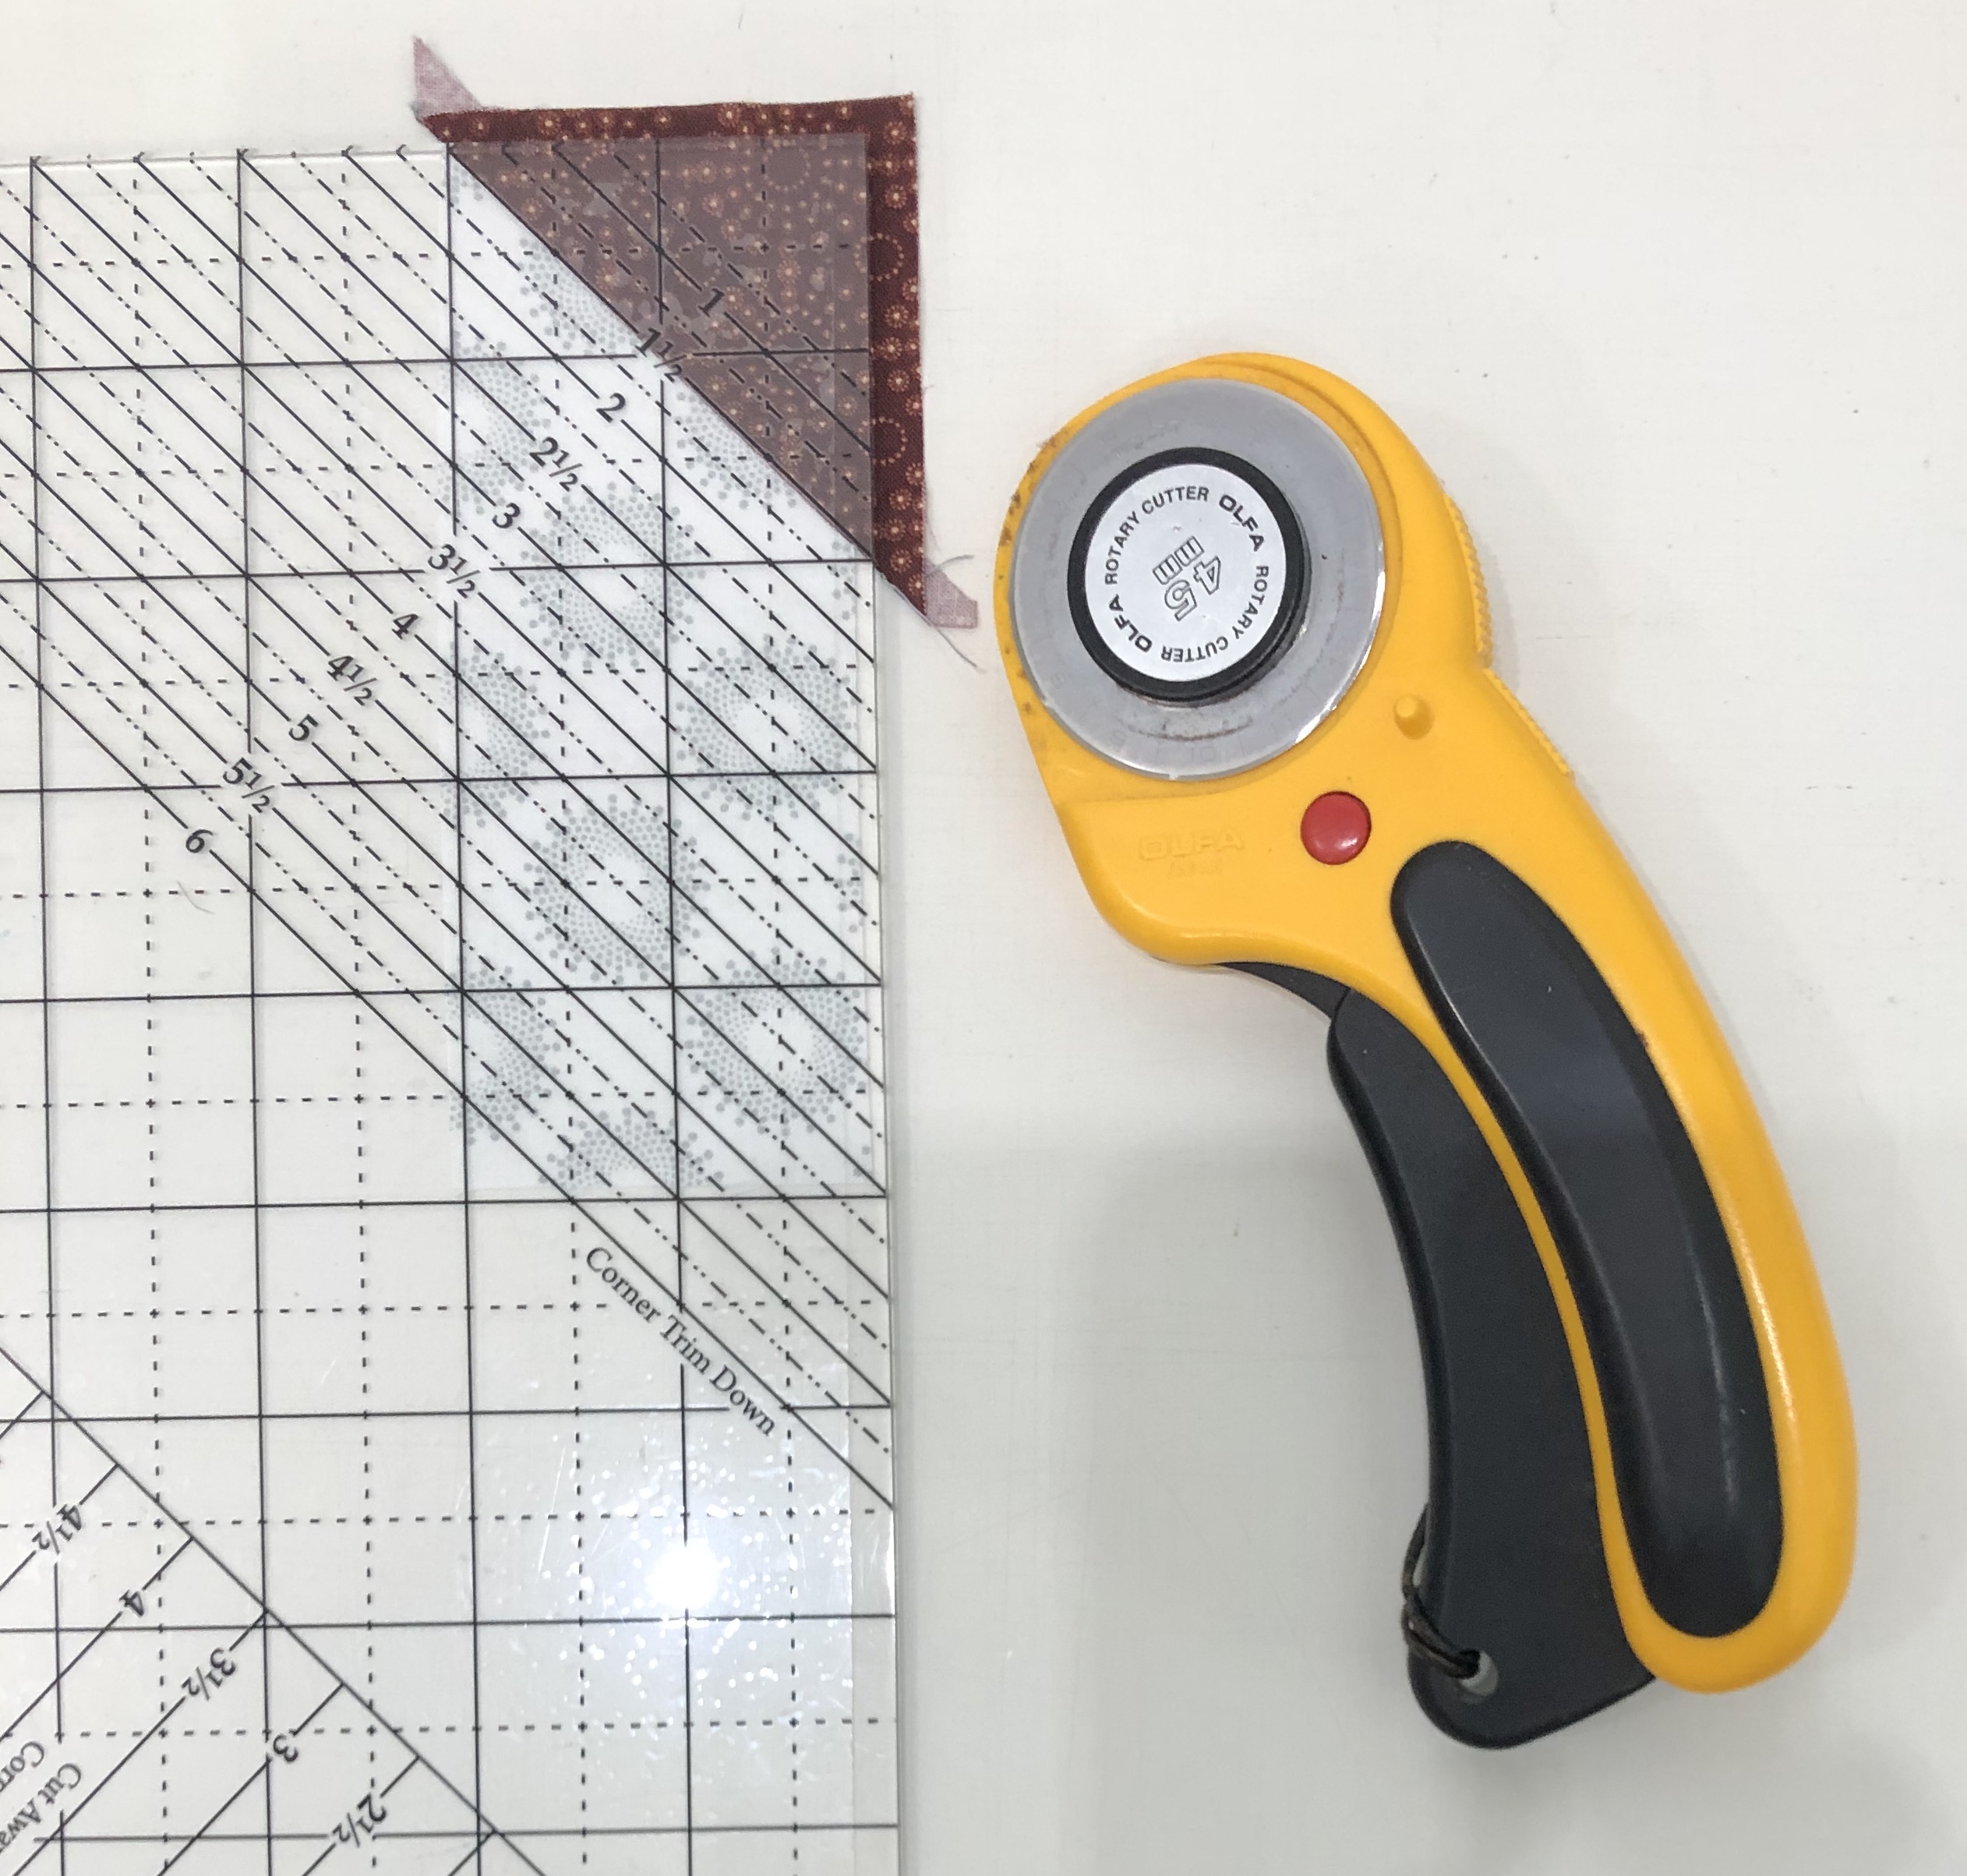
Cutting the Corner Triangles (Step 2.02)


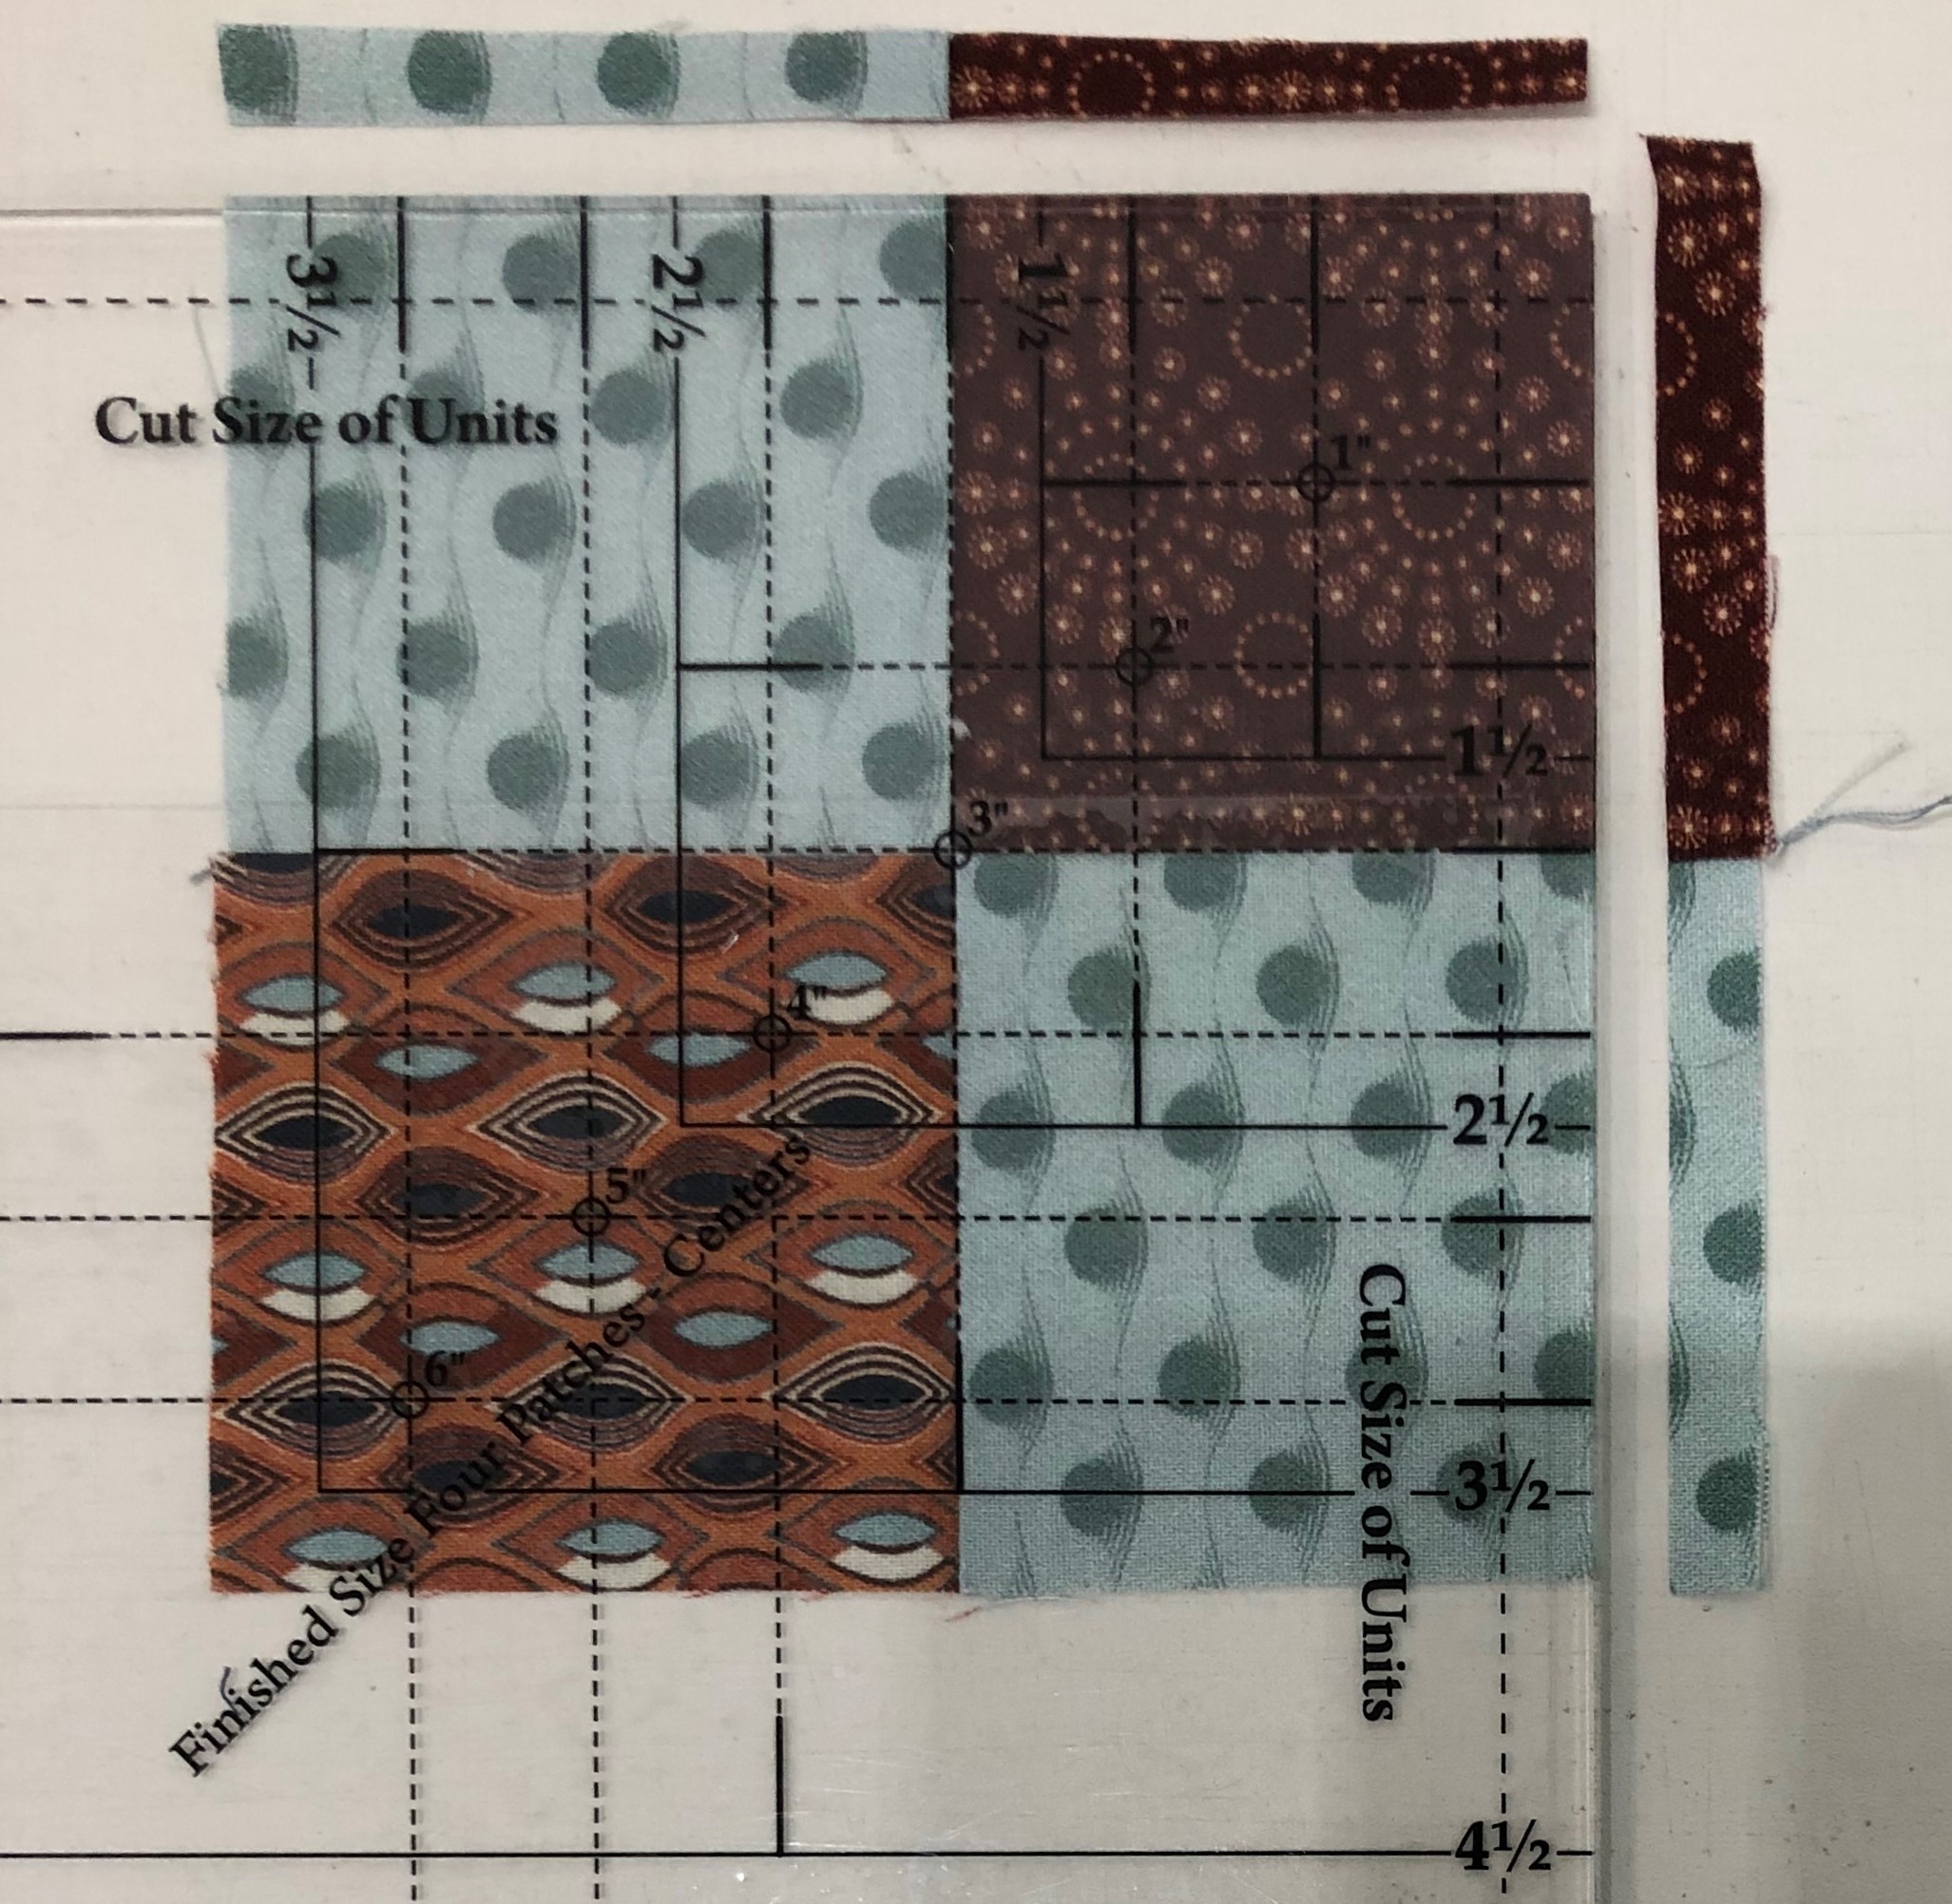
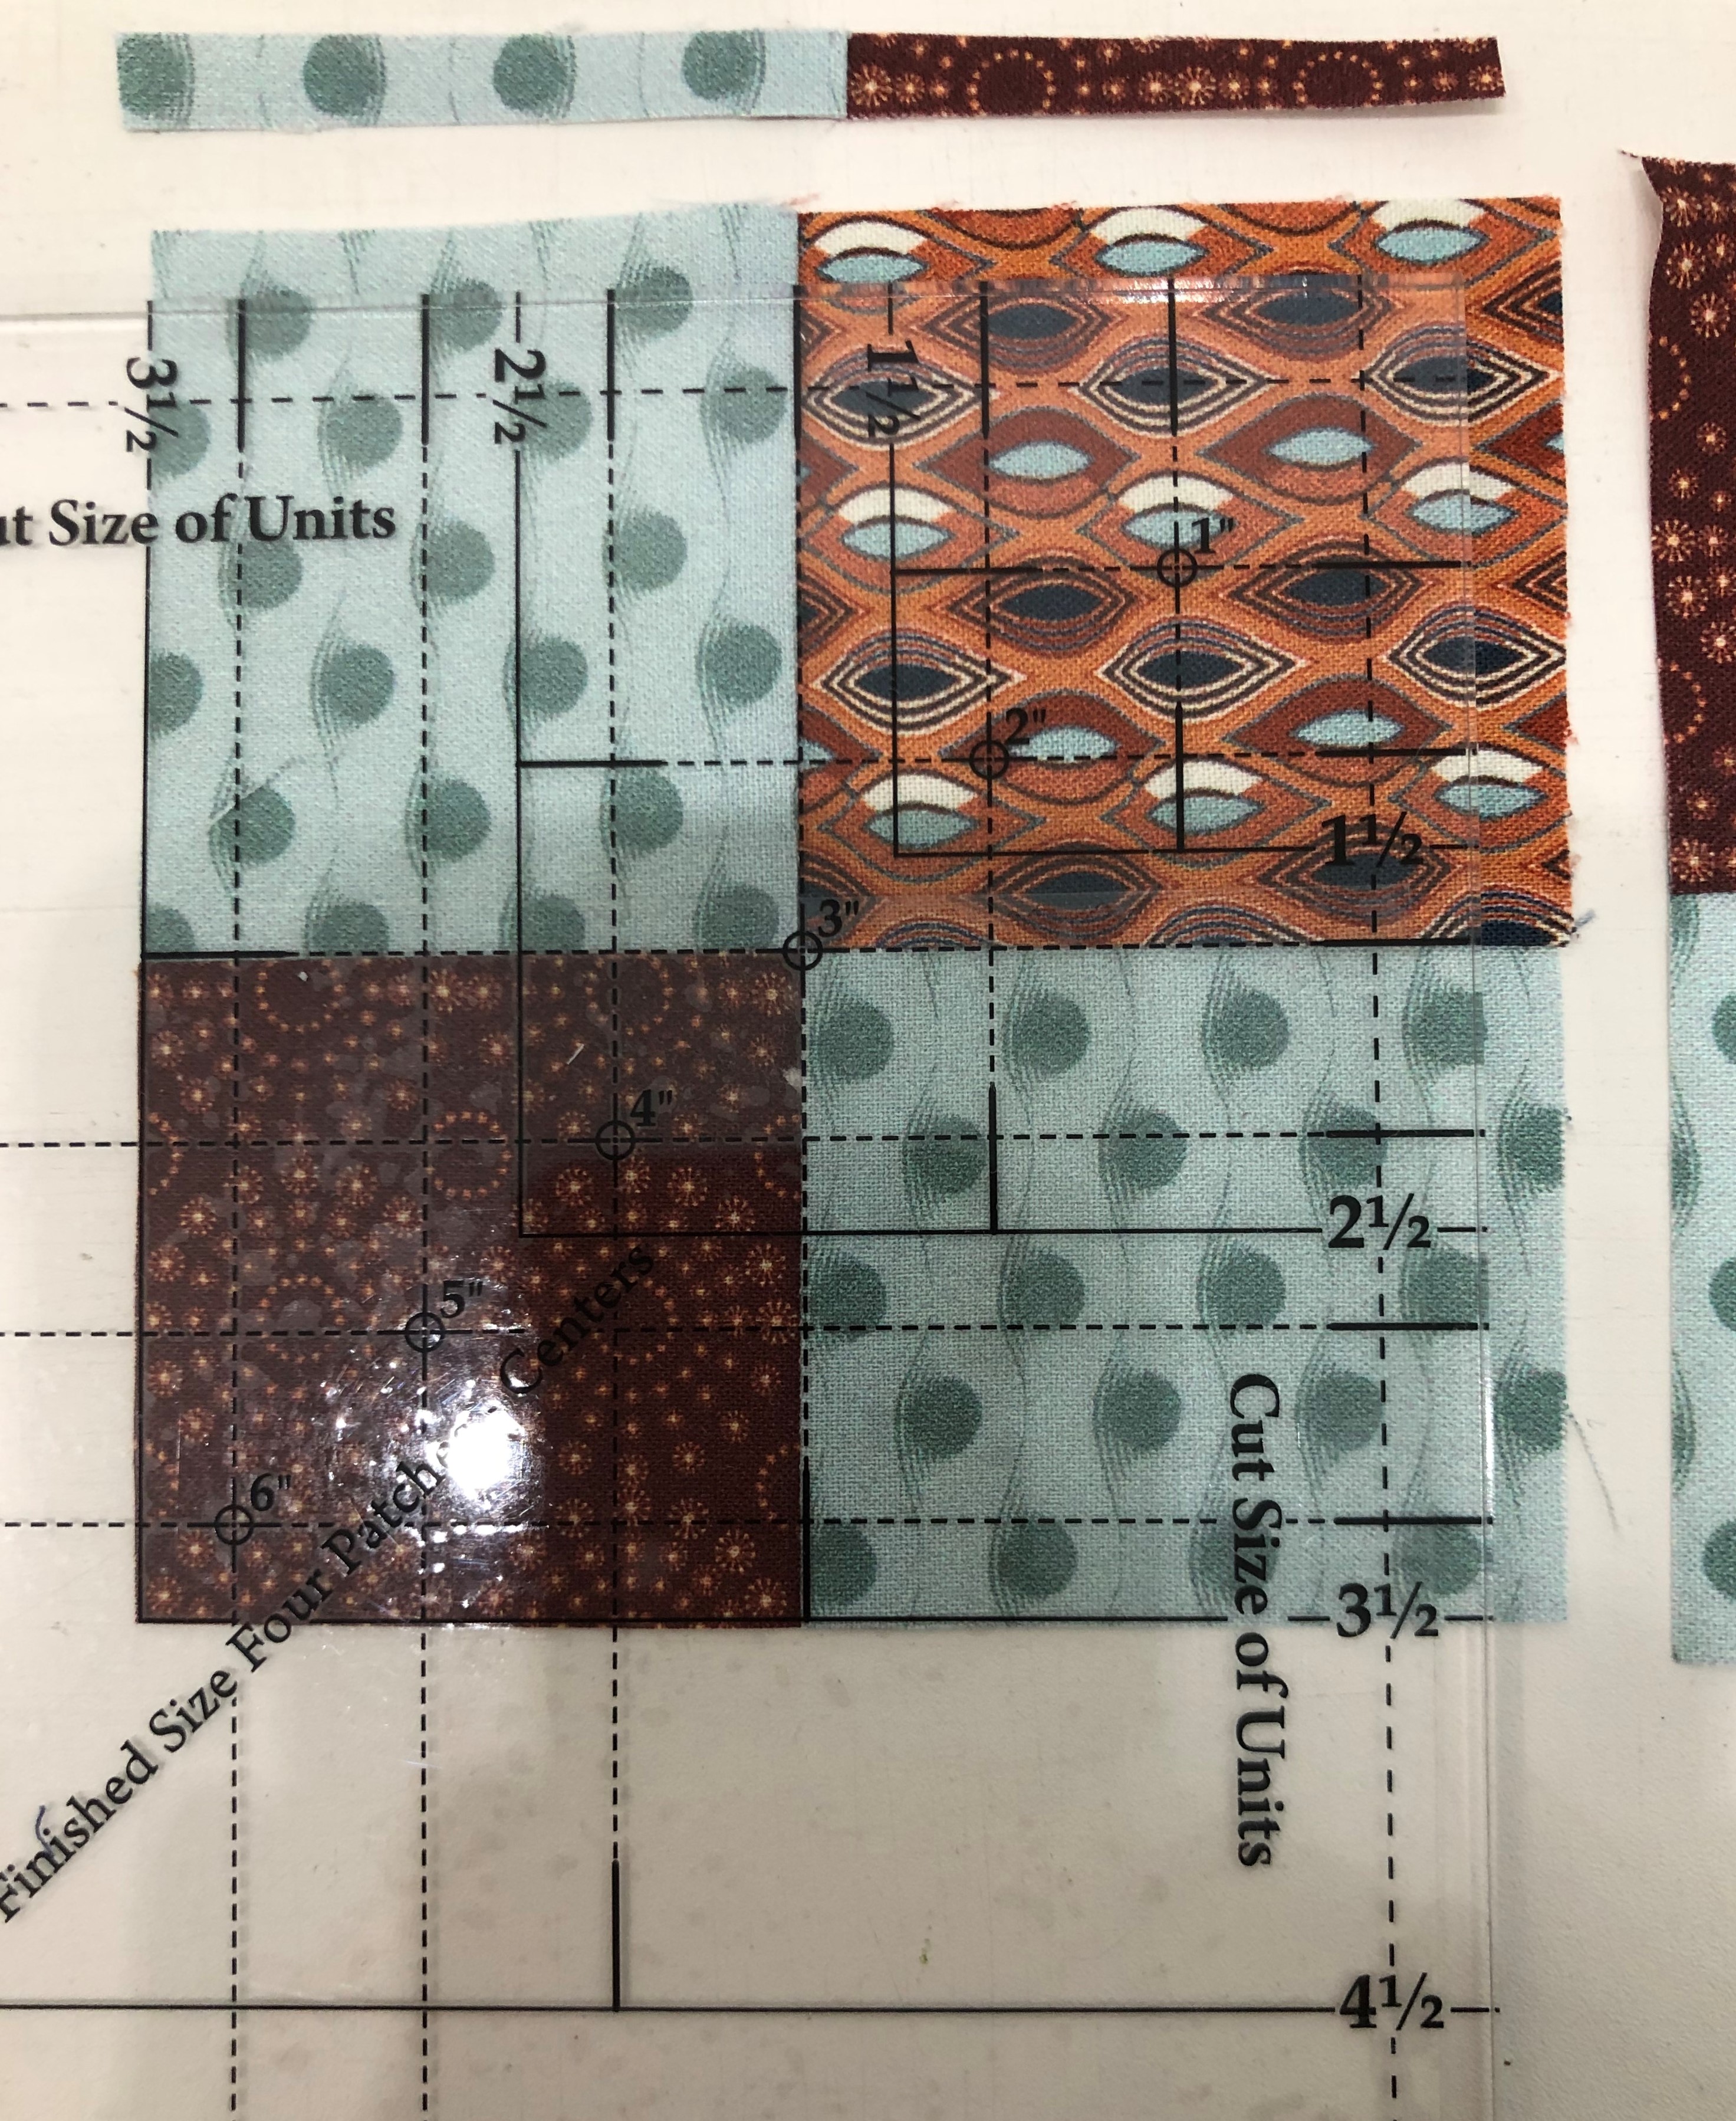
I use my Tucker Trimmer I to cut my Corner Squares from my 3″ WOF strips.

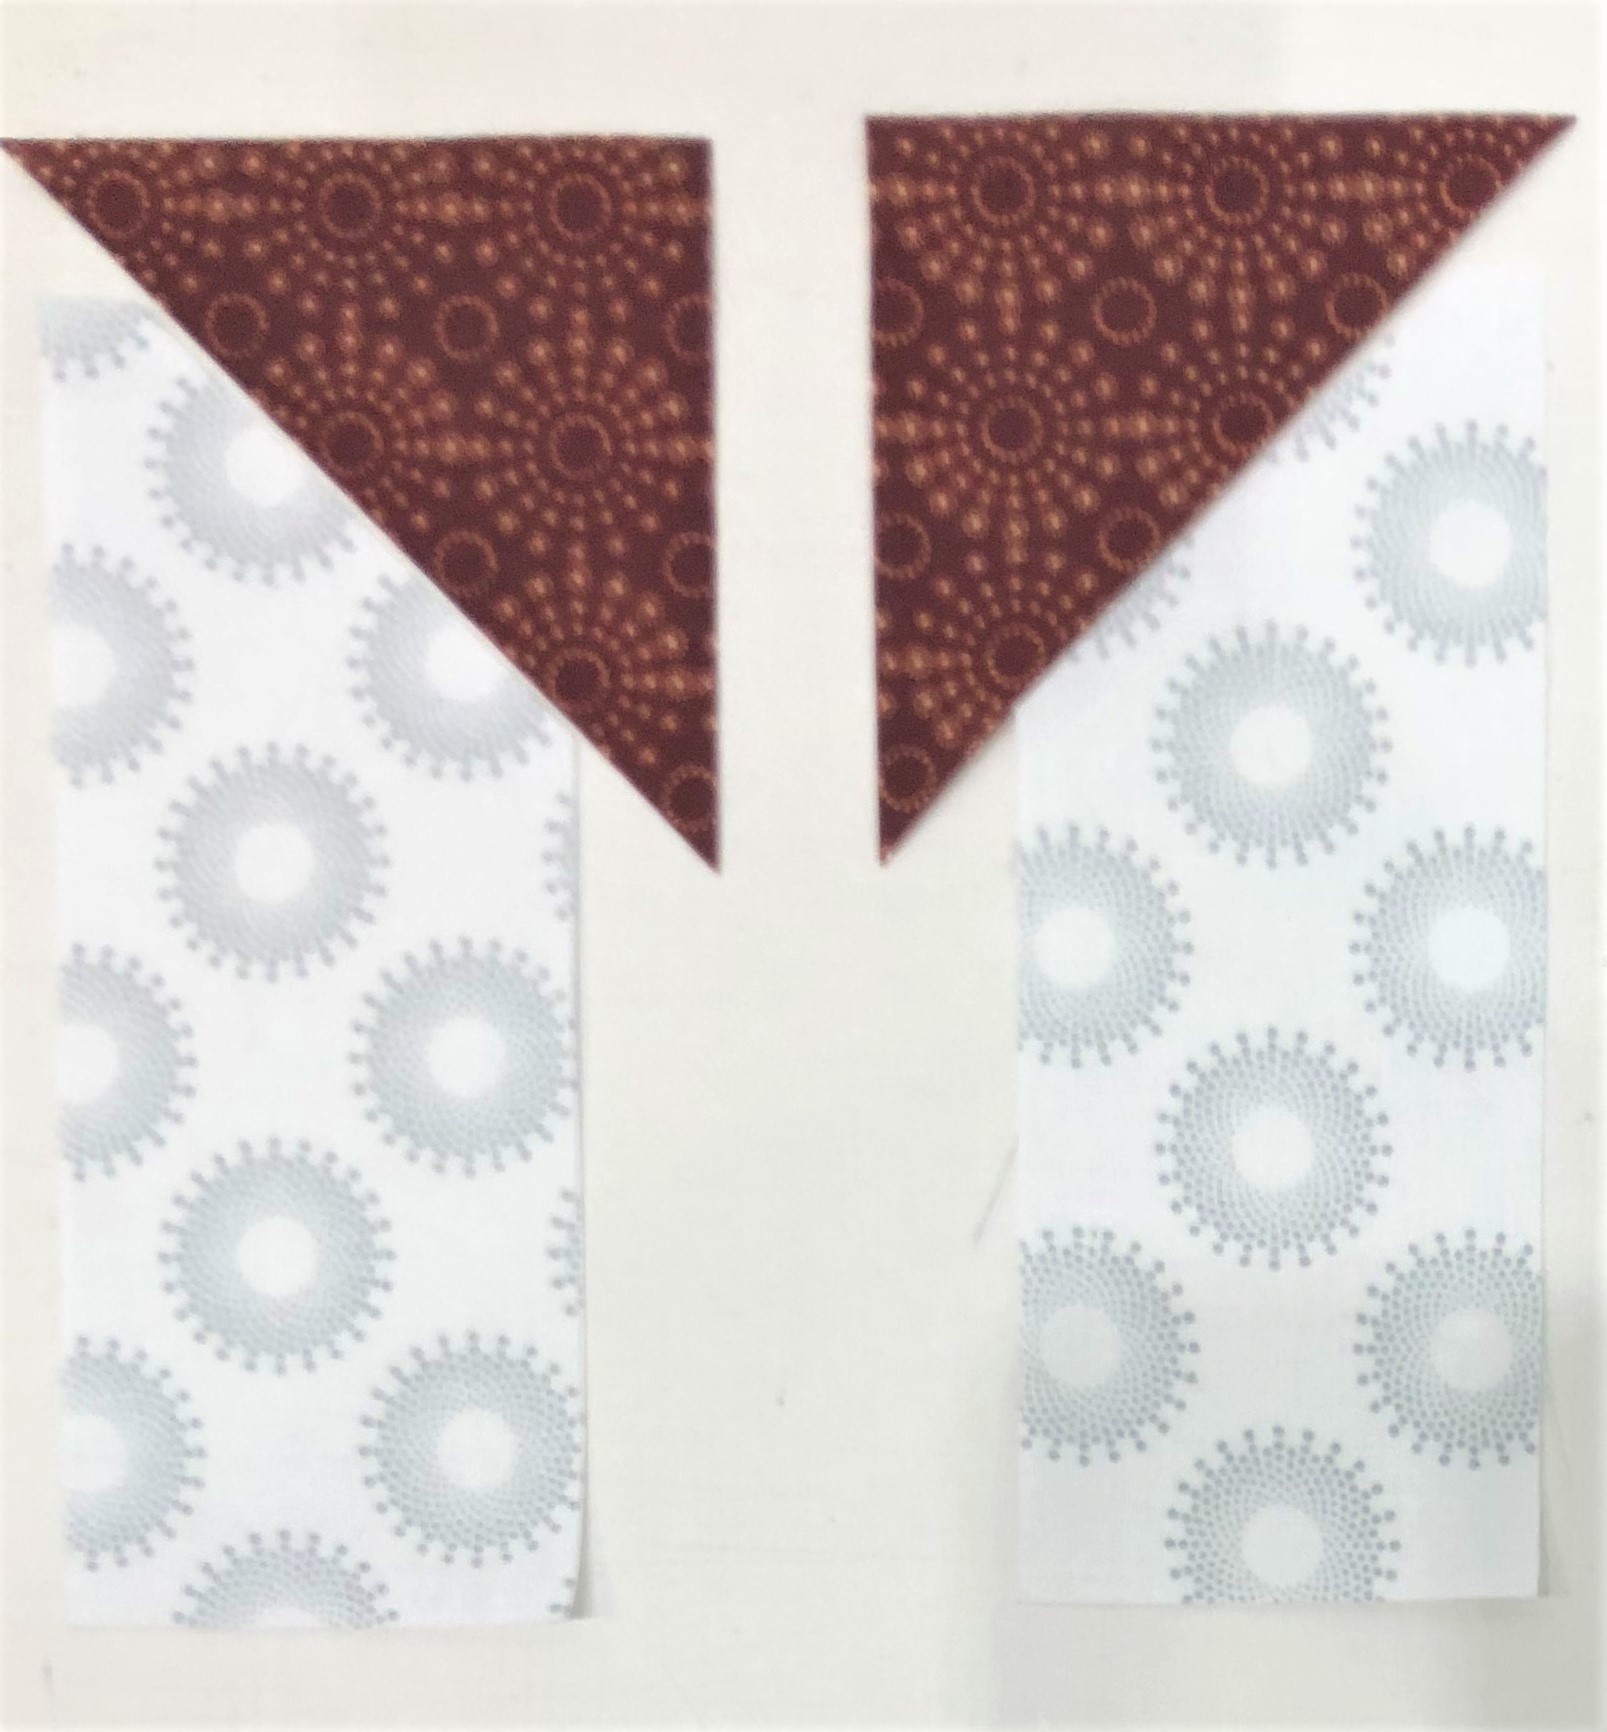
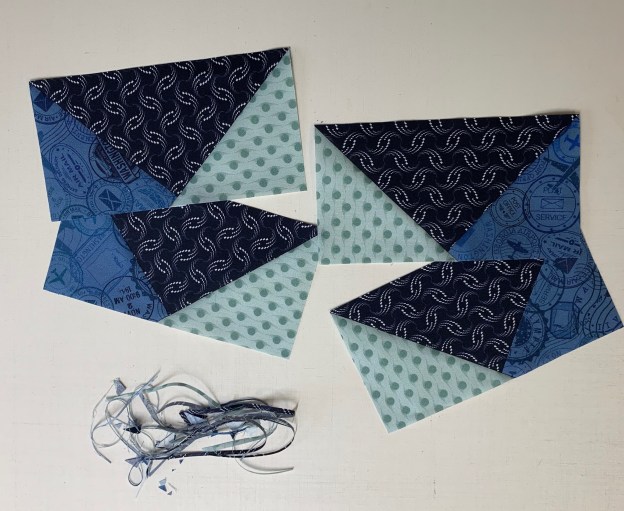
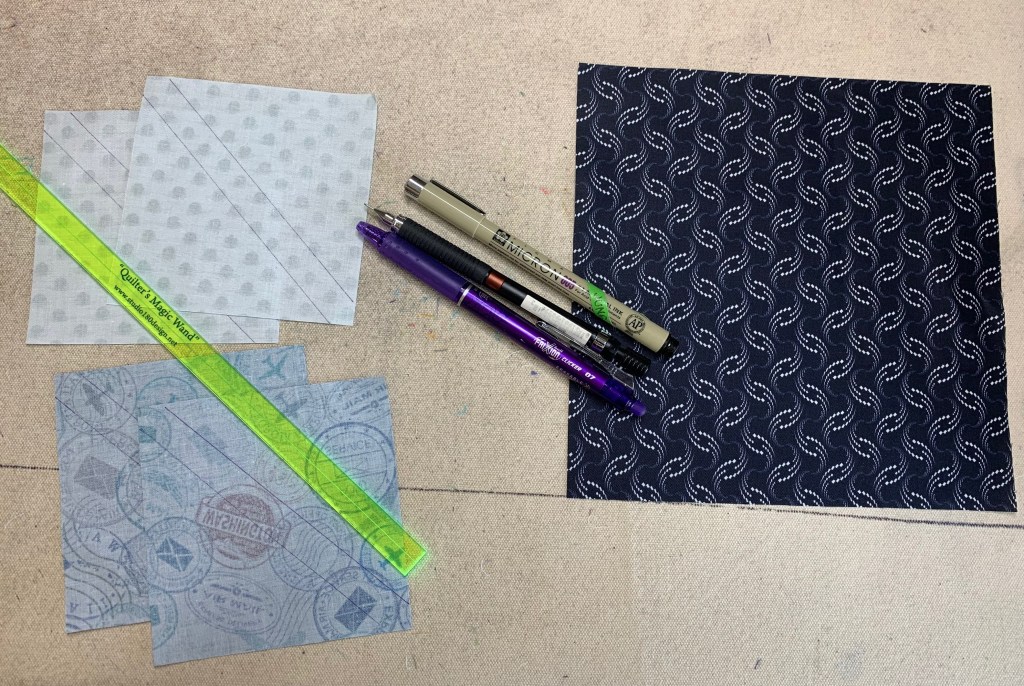
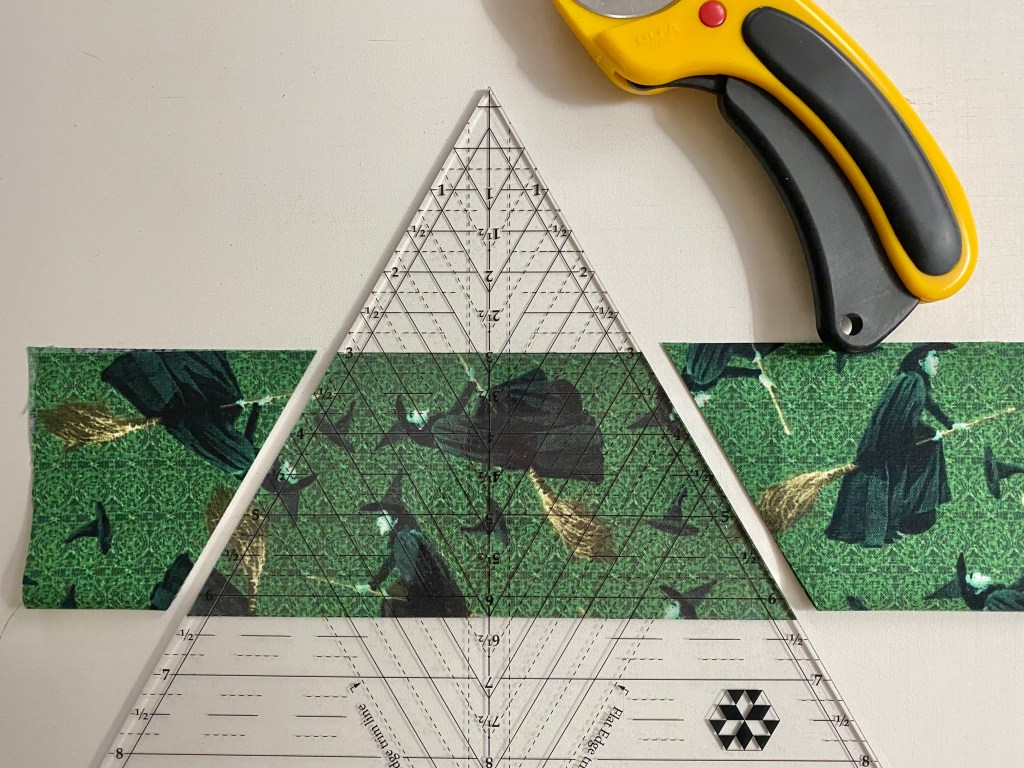
Once your Corner Squares are cut, cut them once diagonally. Each set of corner triangles contains 8 identical corner triangles. When cutting the squares diagonally, consider what design elements will be in both halves.
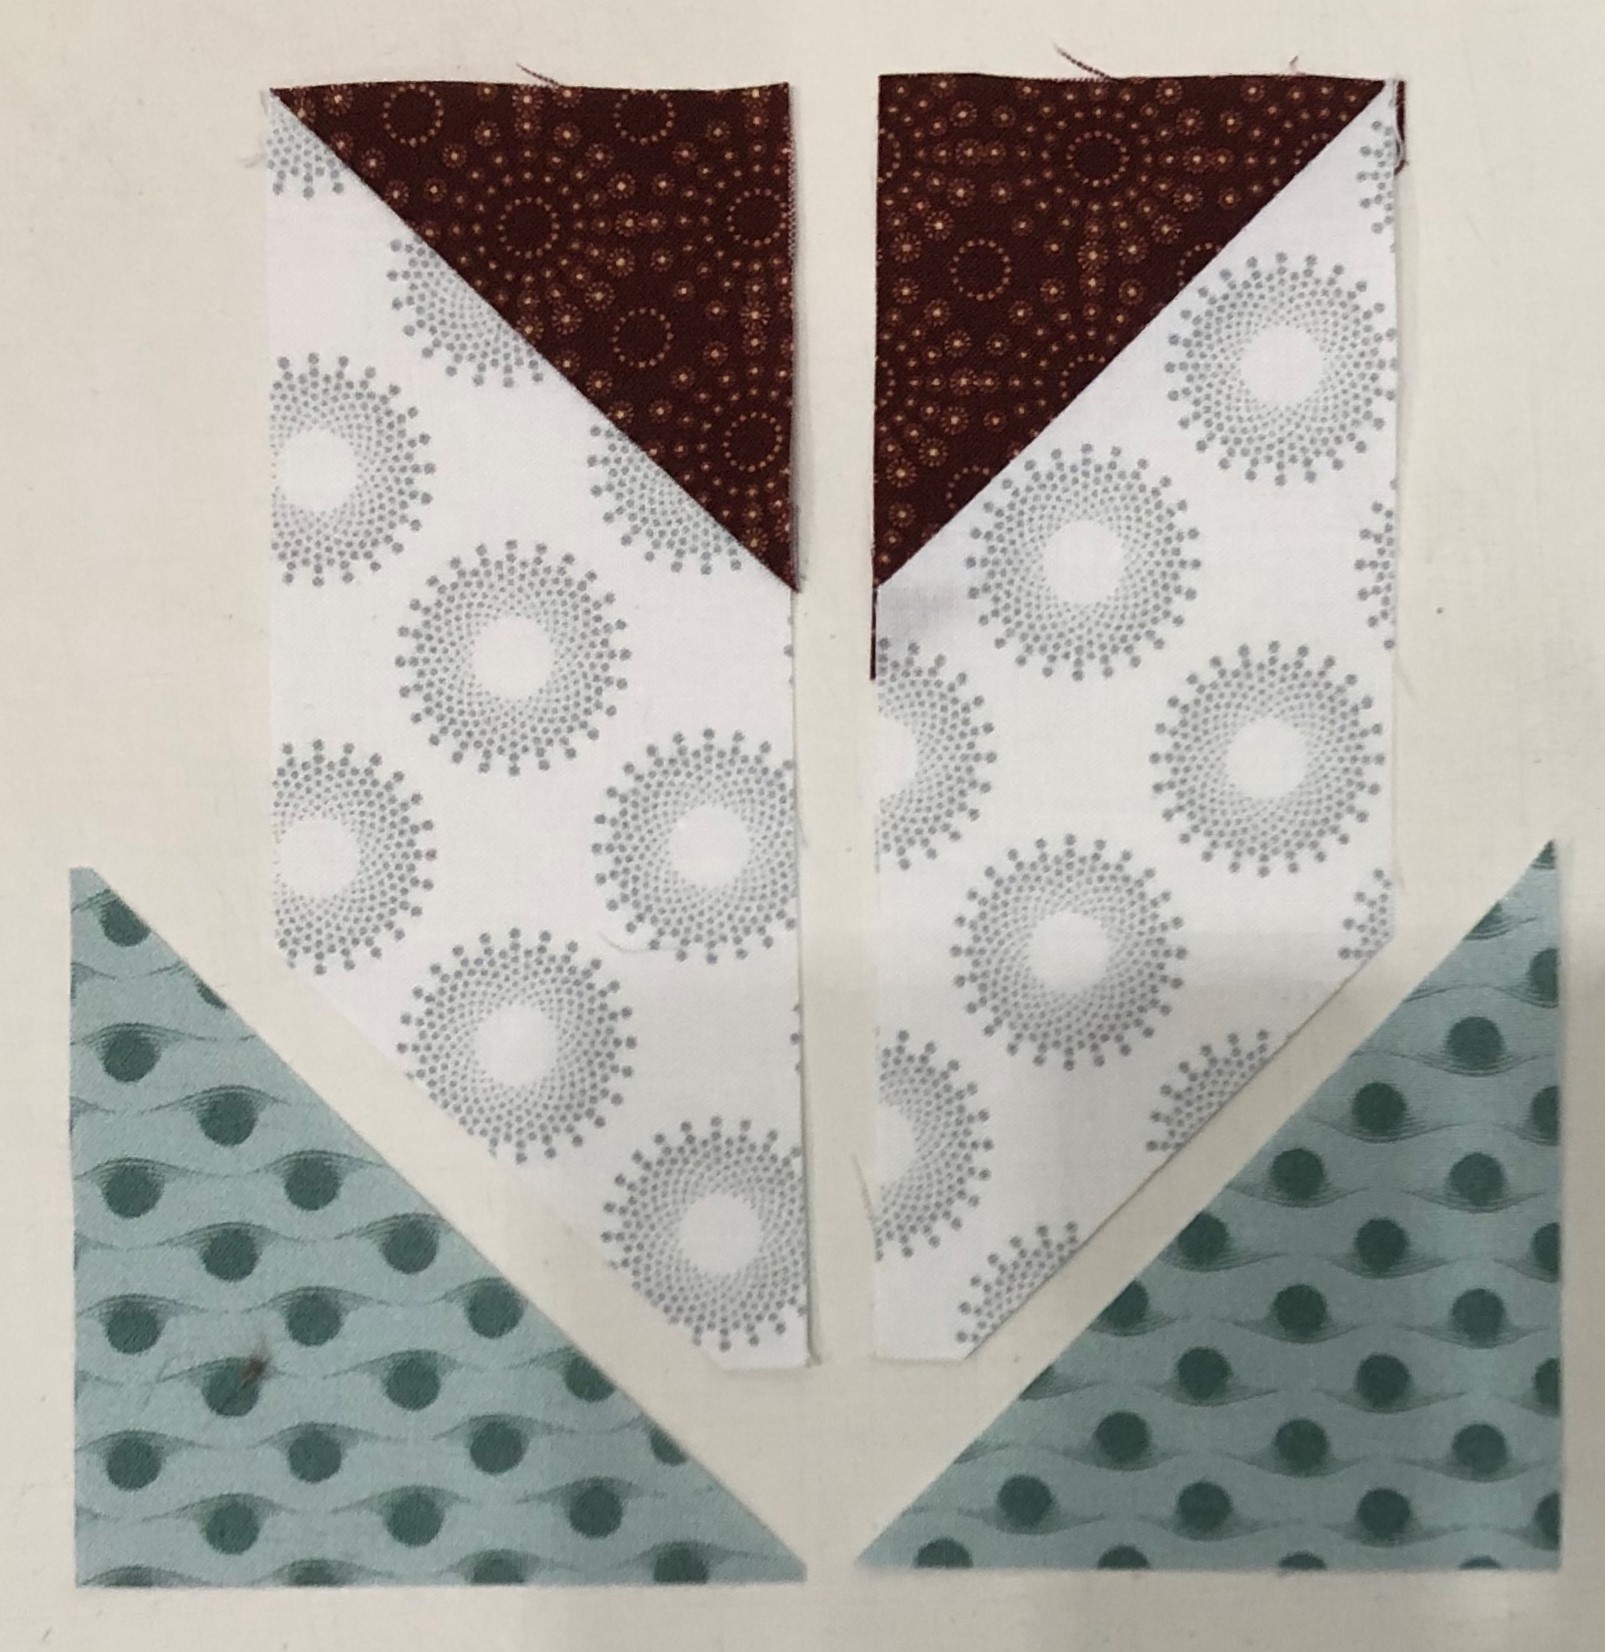
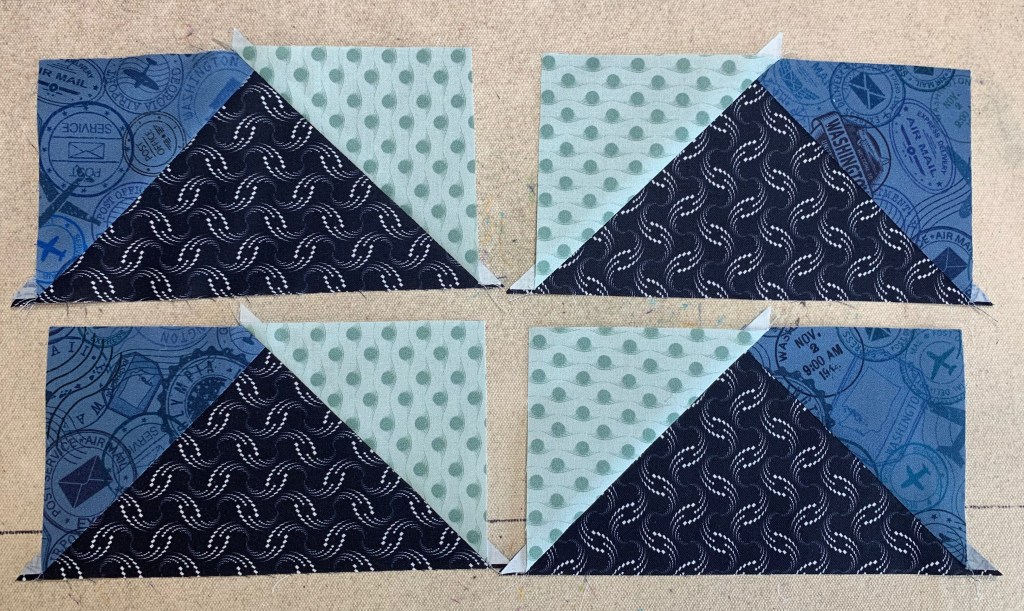
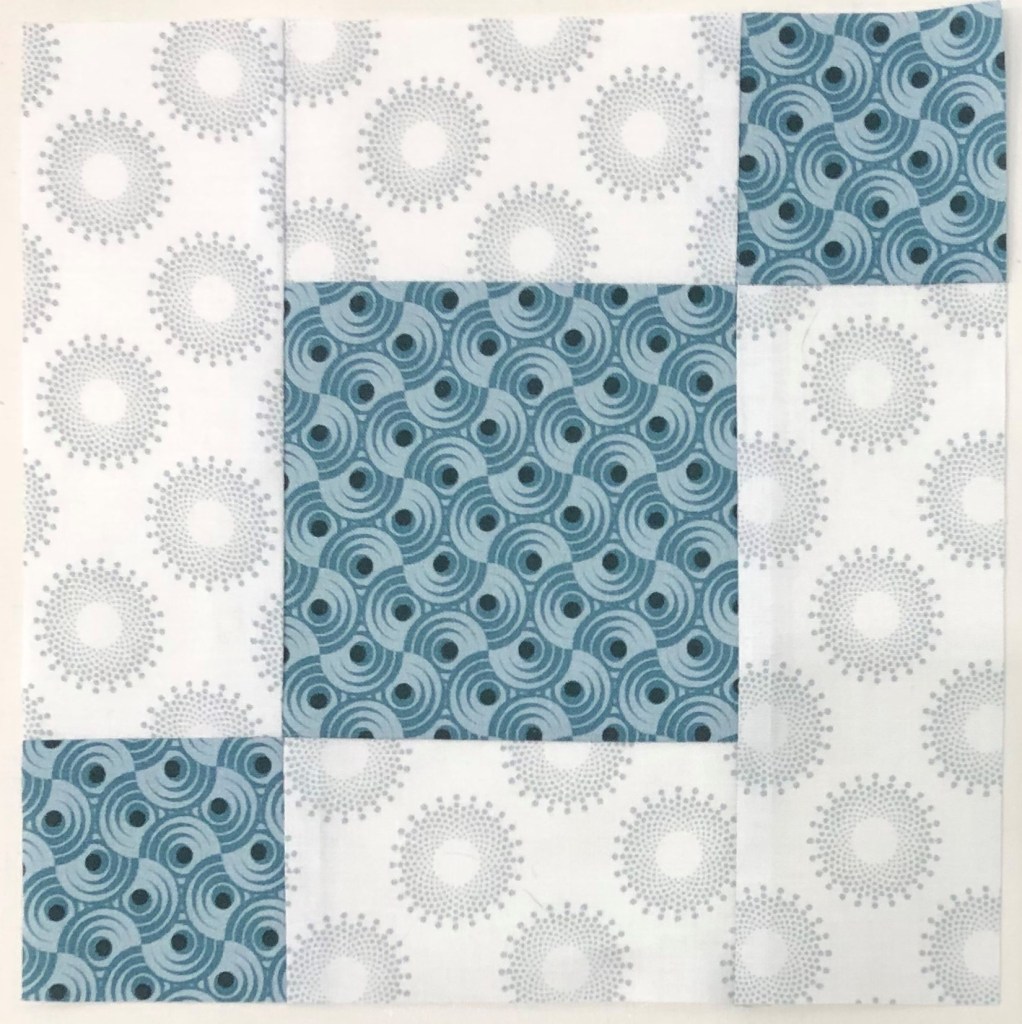
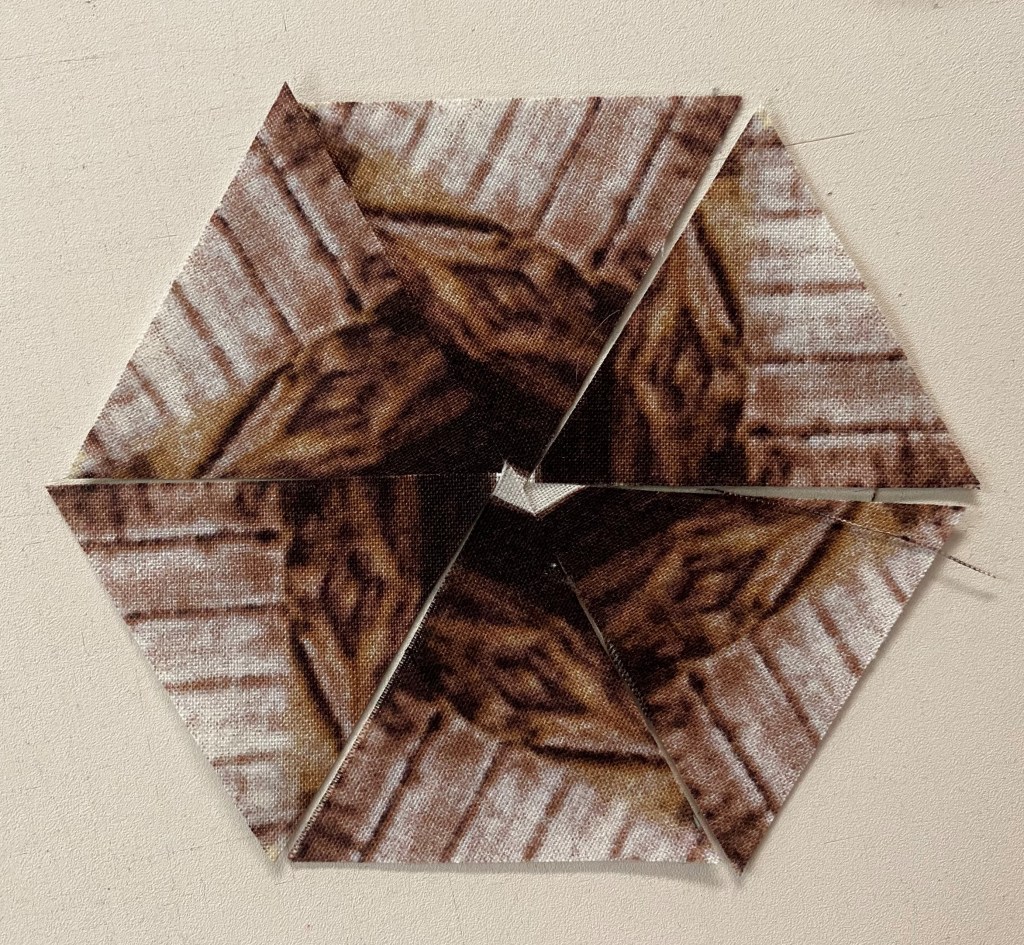
Constructing the Wedge Block (Step 2.03)

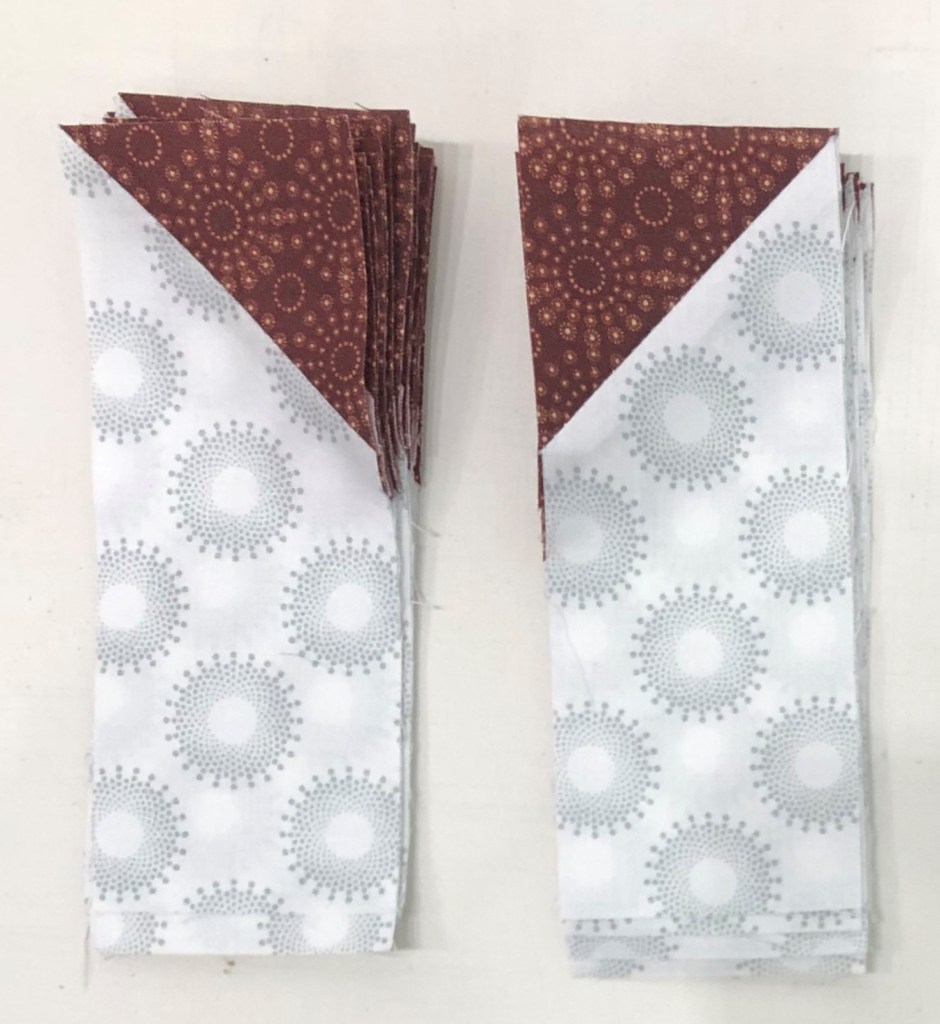
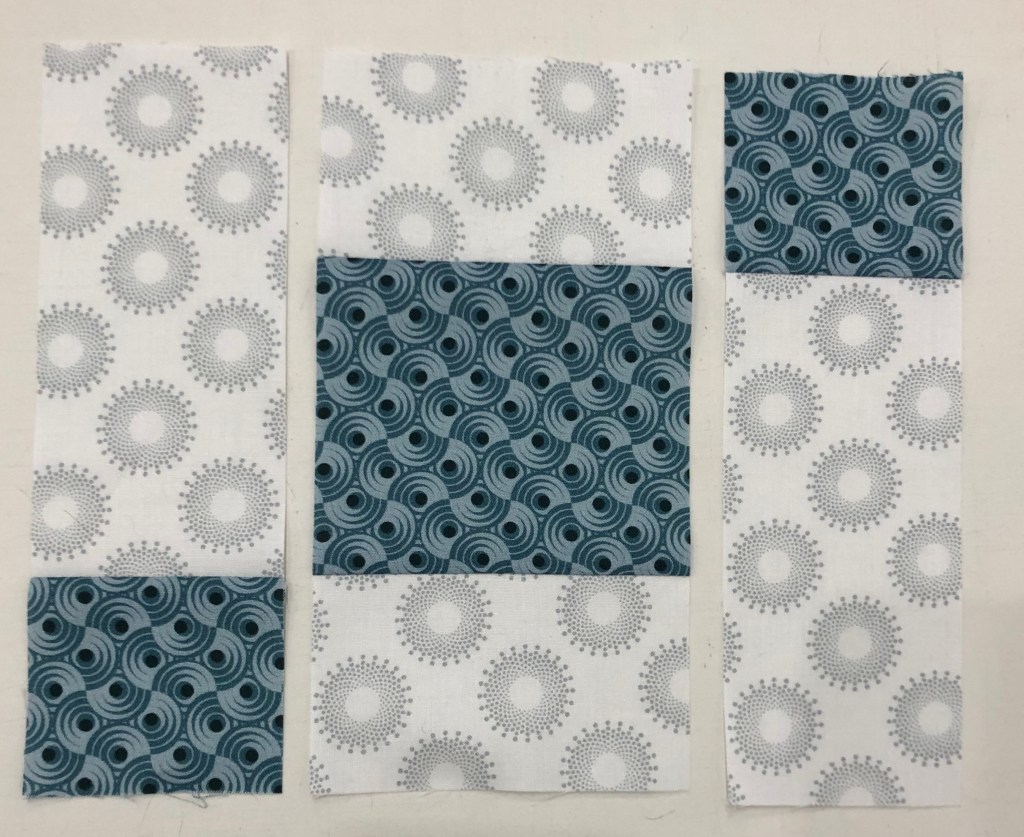
From each stack of 8 wedges, stitch 2 together making 4 pair, press seams open.
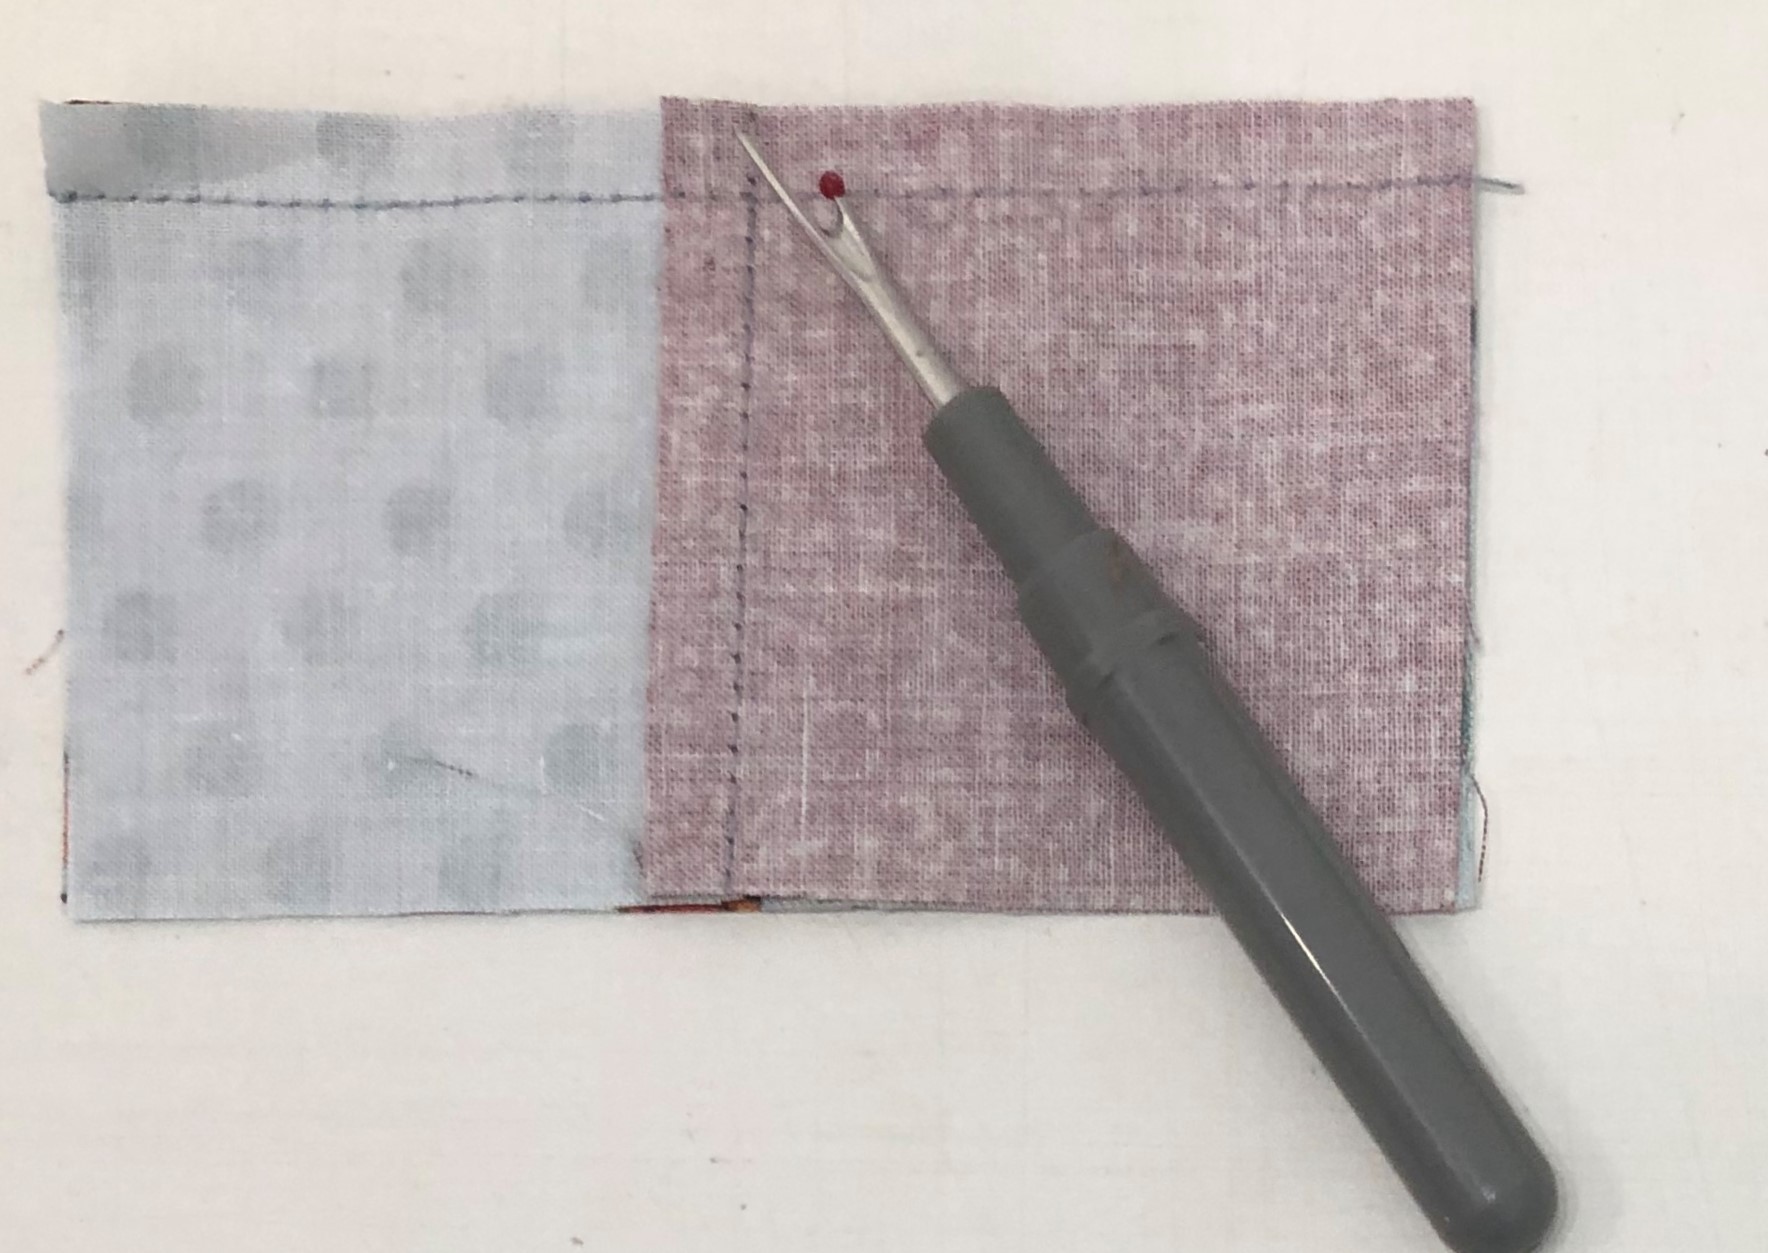
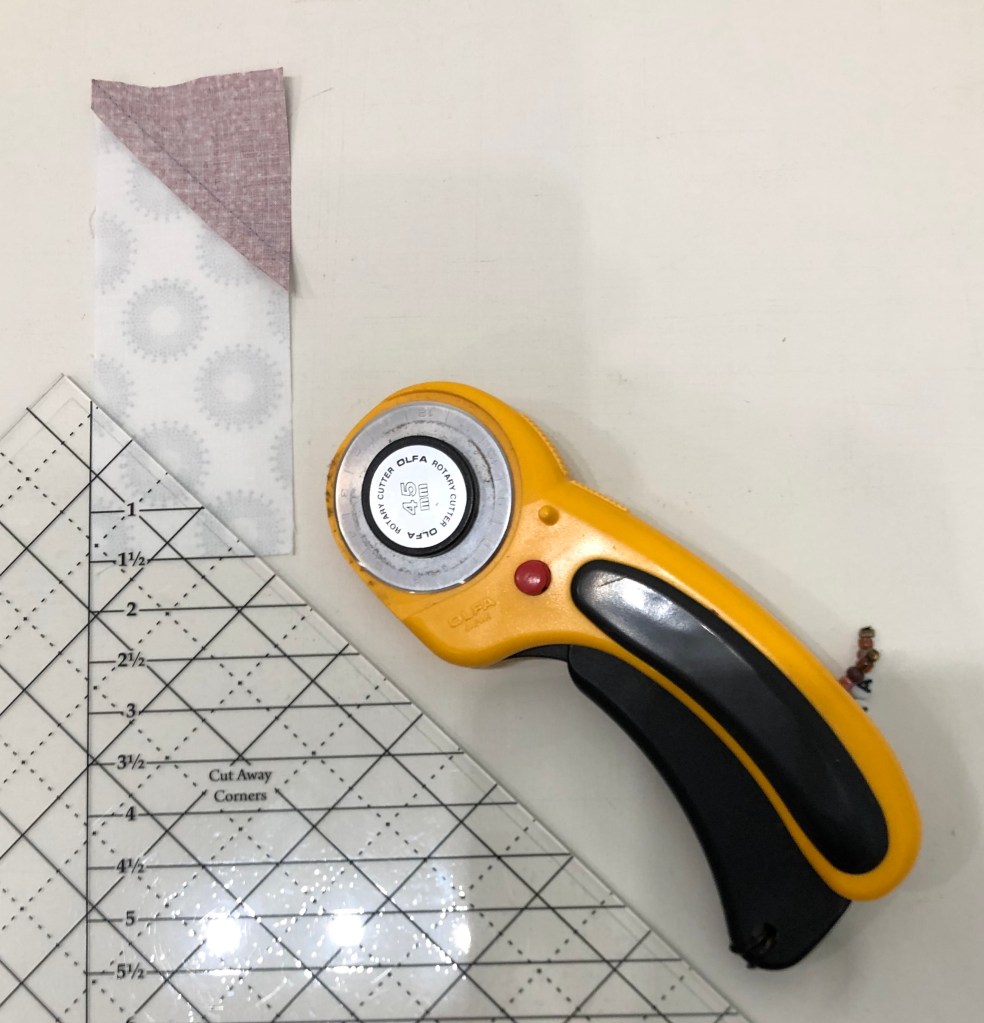
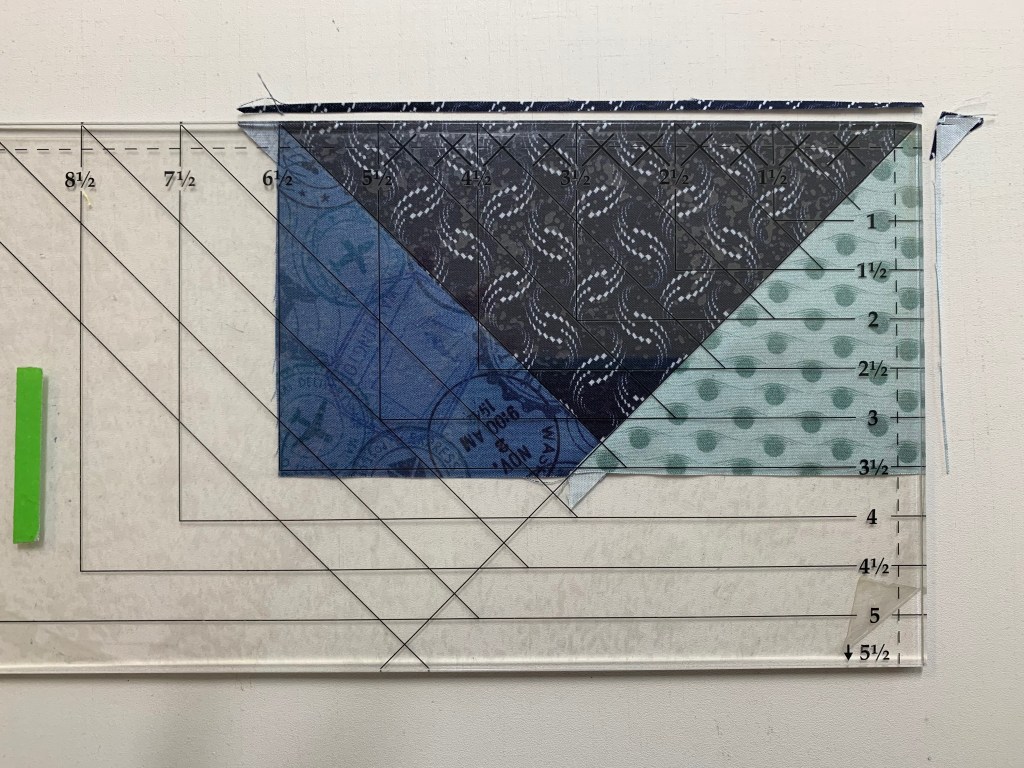
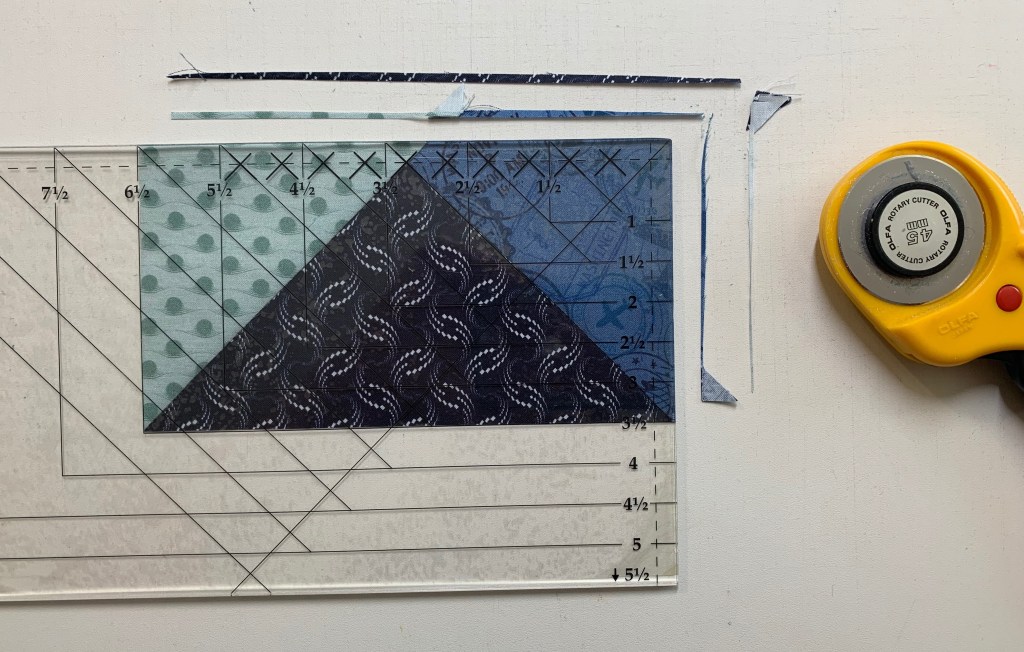
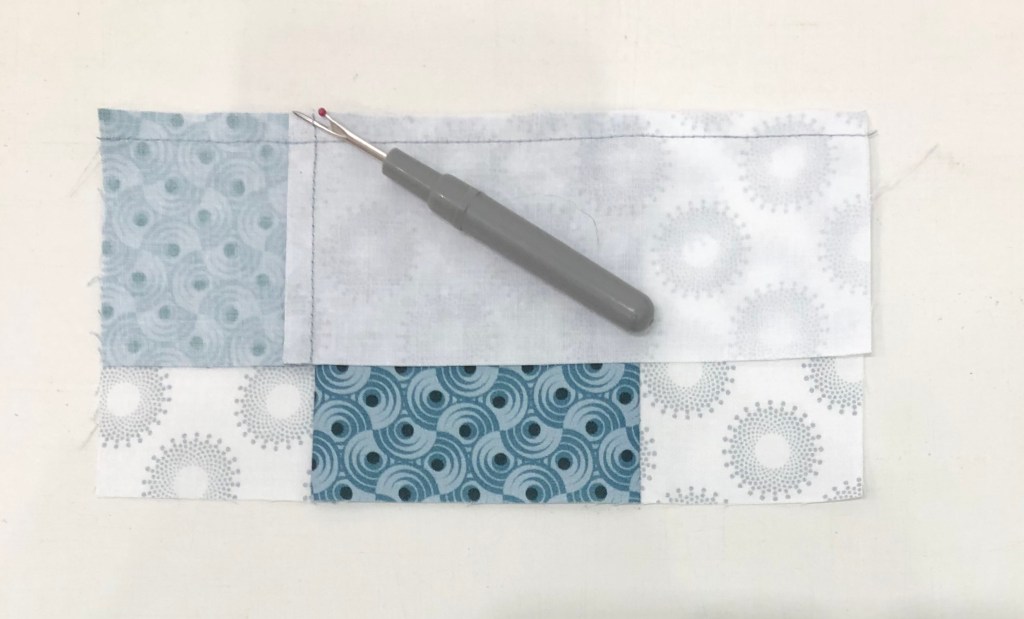
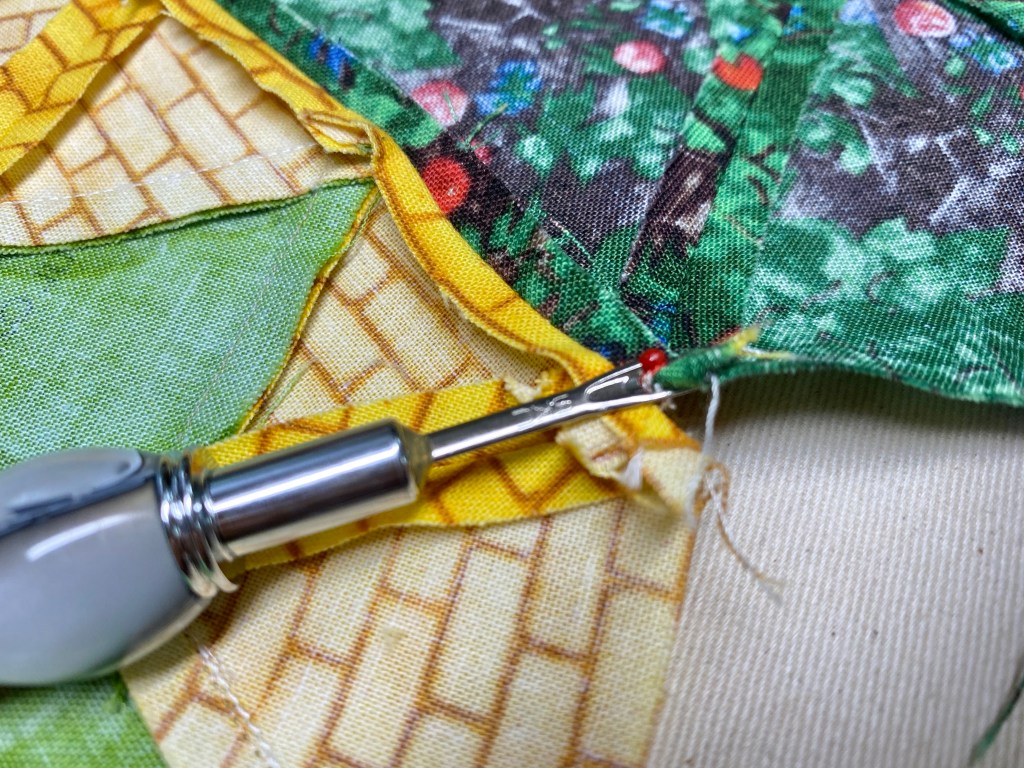
Remove the Dog Ears (Step 2.06)
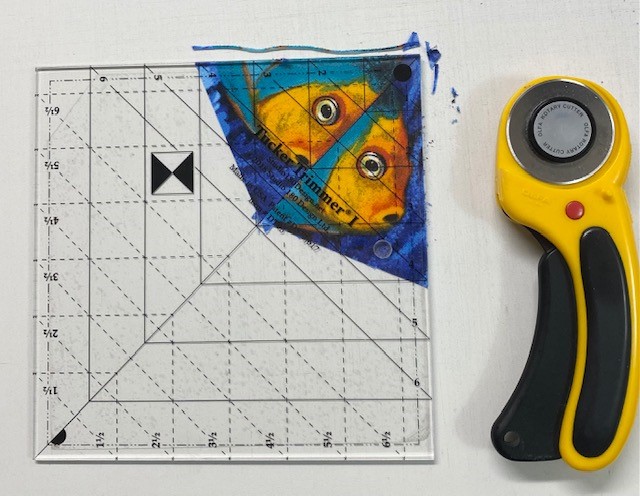
Remove the dog ears and sliver trim the wedge pair. Position the Wedge Pair on the cutting mat. Righties as shown above position it so the 90 degree corner is in the upper right (see tool instructions for left handed cutting). Align the common diagonal line on your Tucker Trimmer with the seam and slide it forward just until it meets with either edge or the point of the wedge, trim up the side and across the top. There may only be a few whiskers trimmed here. Trim all the wedge pairs.

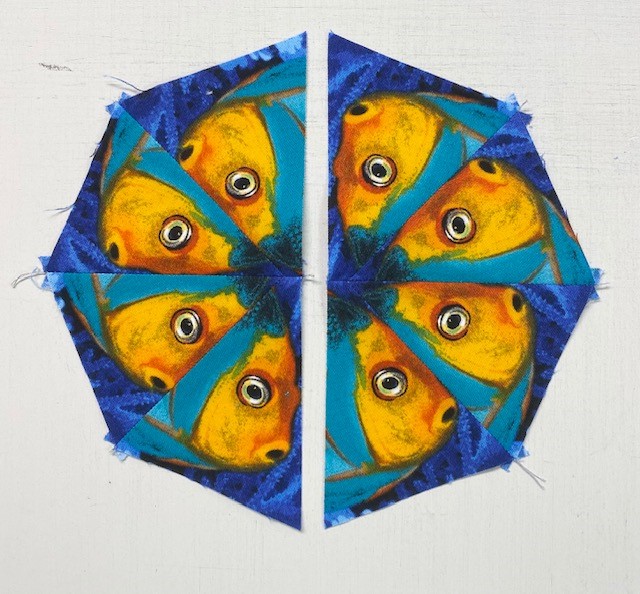
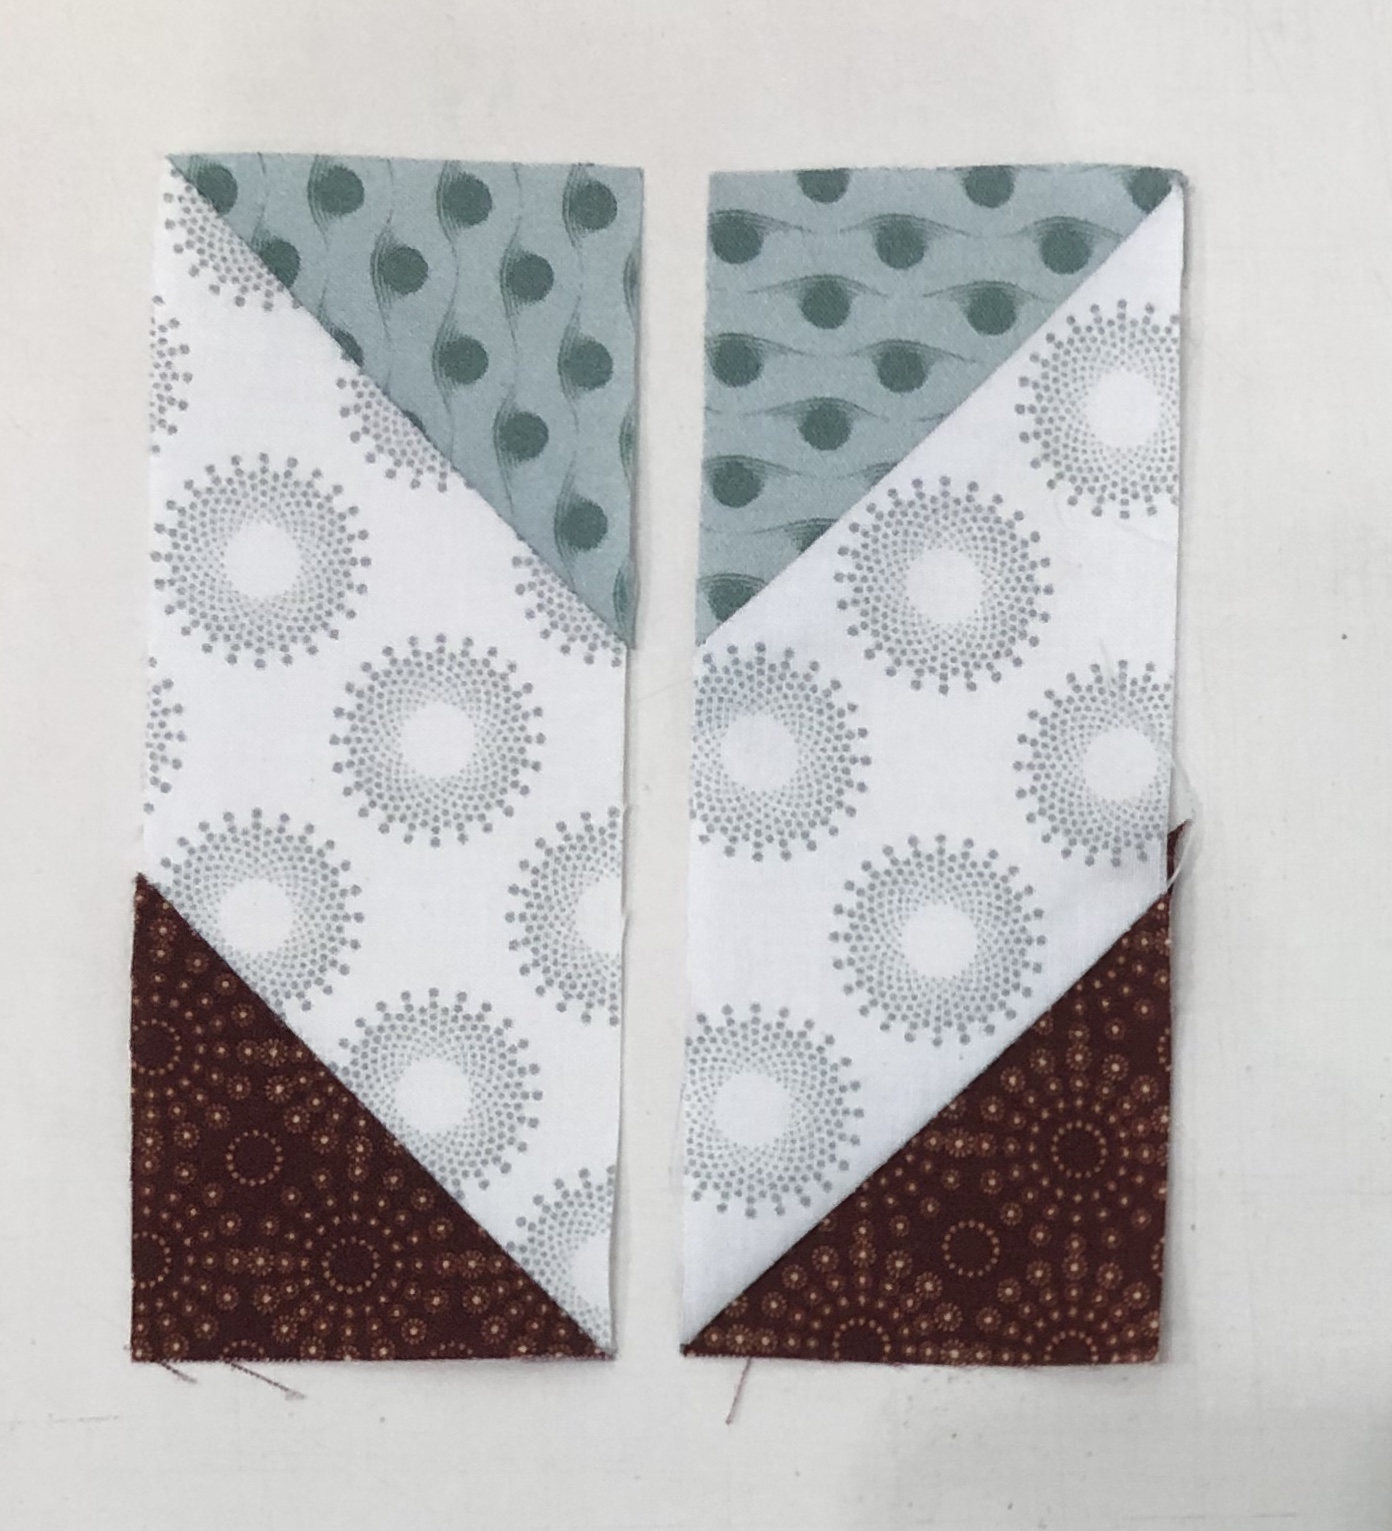
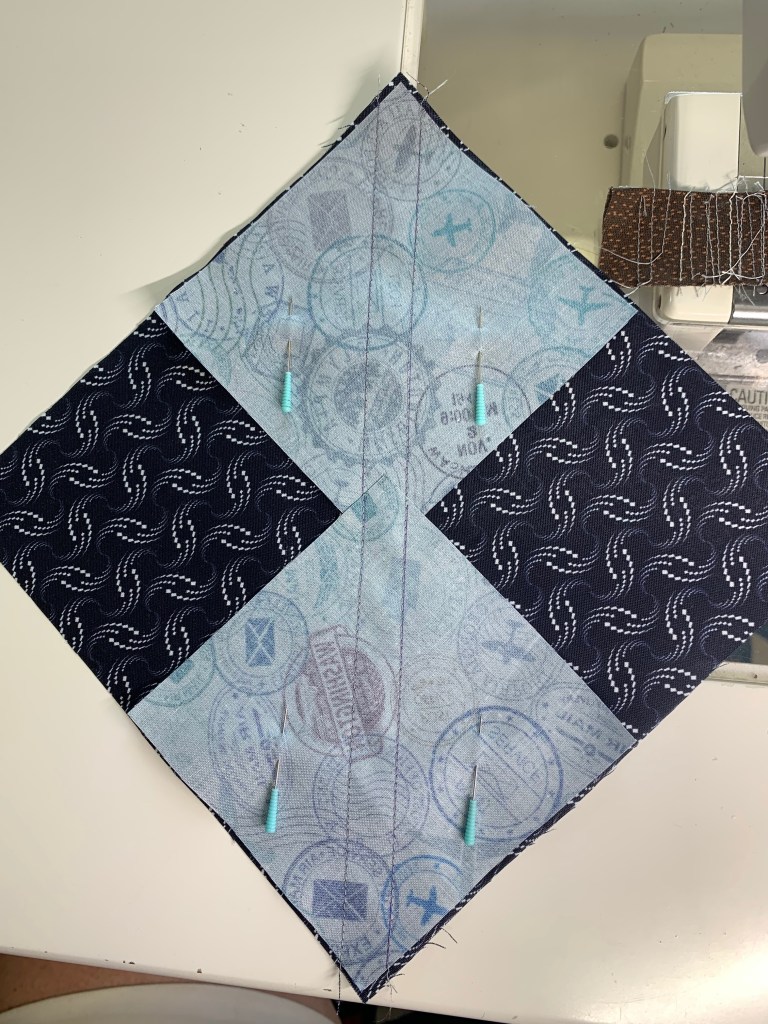
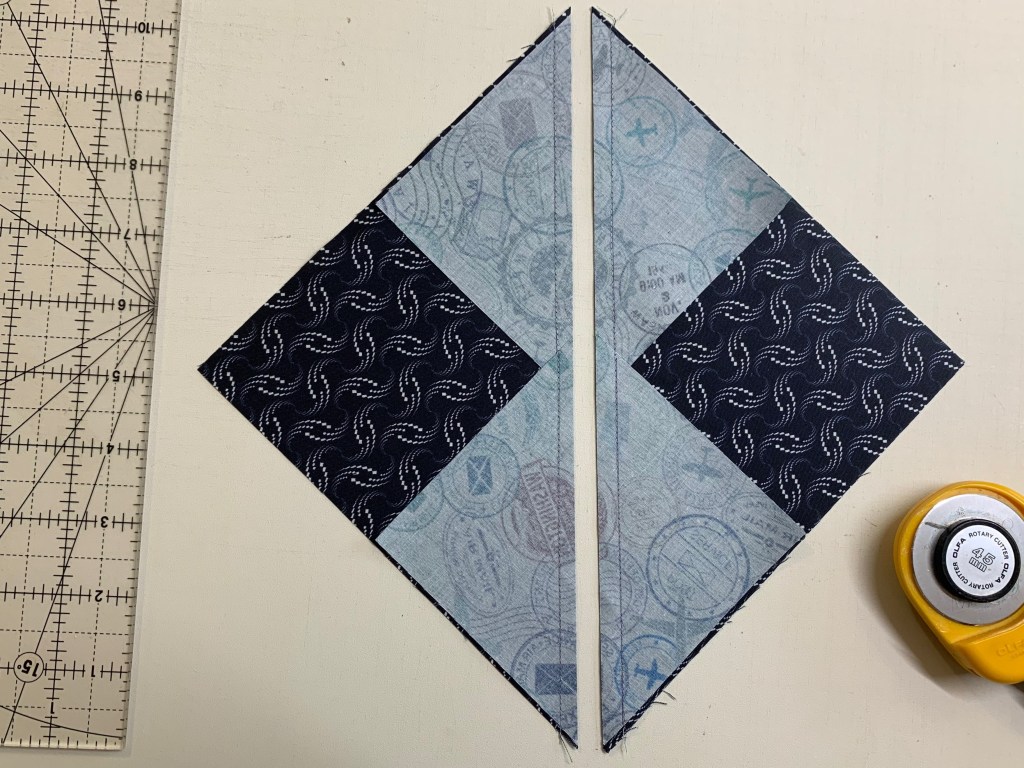
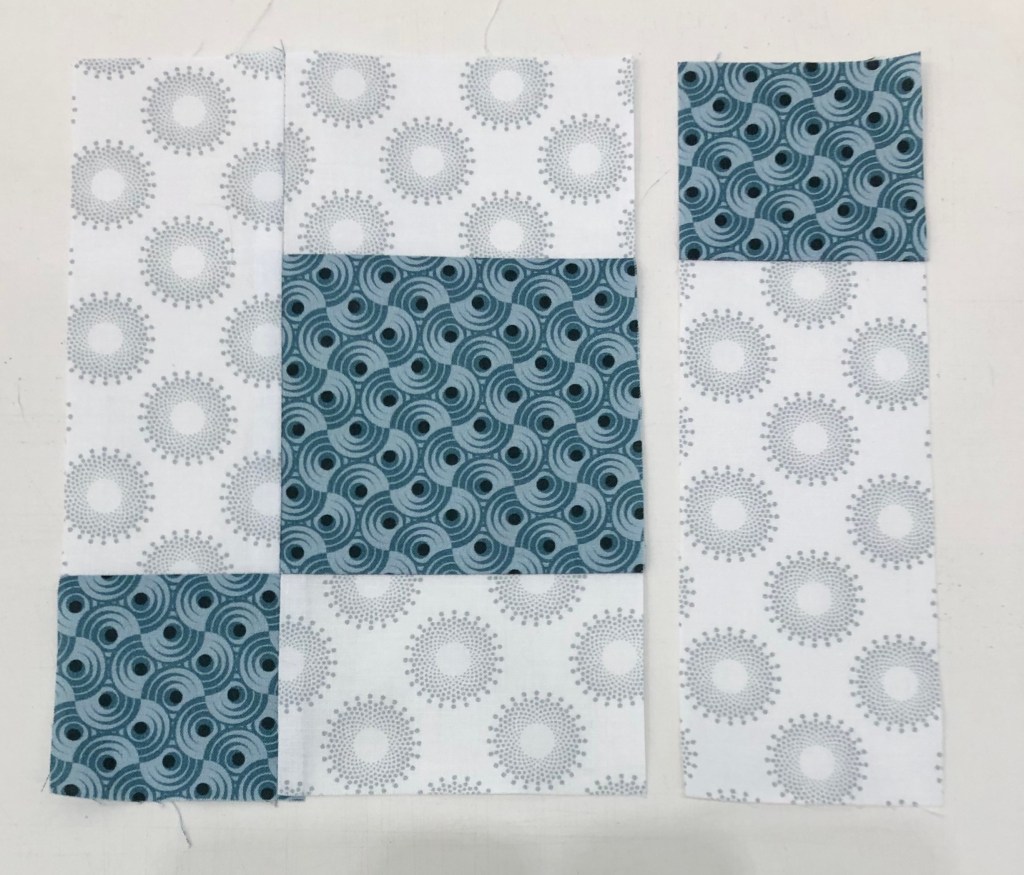
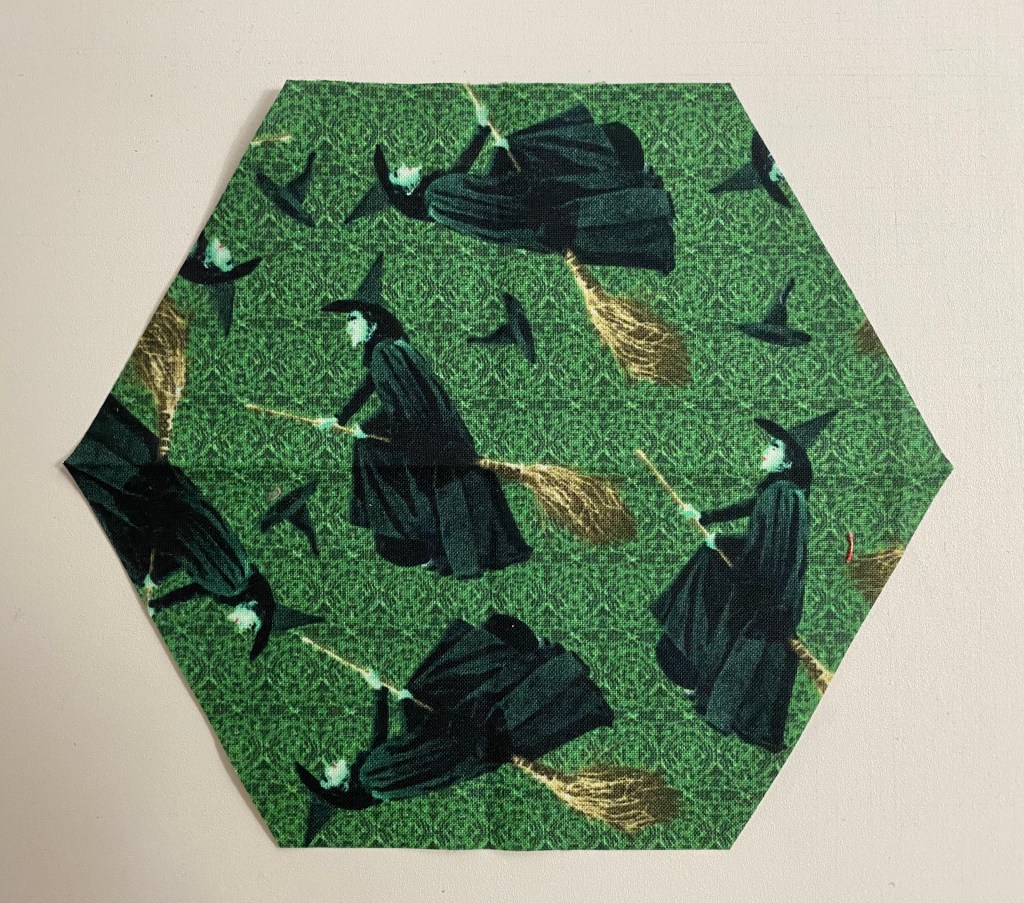
Match up the points, stitch into halves, press seams open (Step 2.08).

Tip: Find the center of one wedge half by placing a pin where seams meet and go through the second wedge half in the same place. Align the two halves, pin on both sides of the center pin.


Remove the center pin and stitch the halves together. Press seams open.

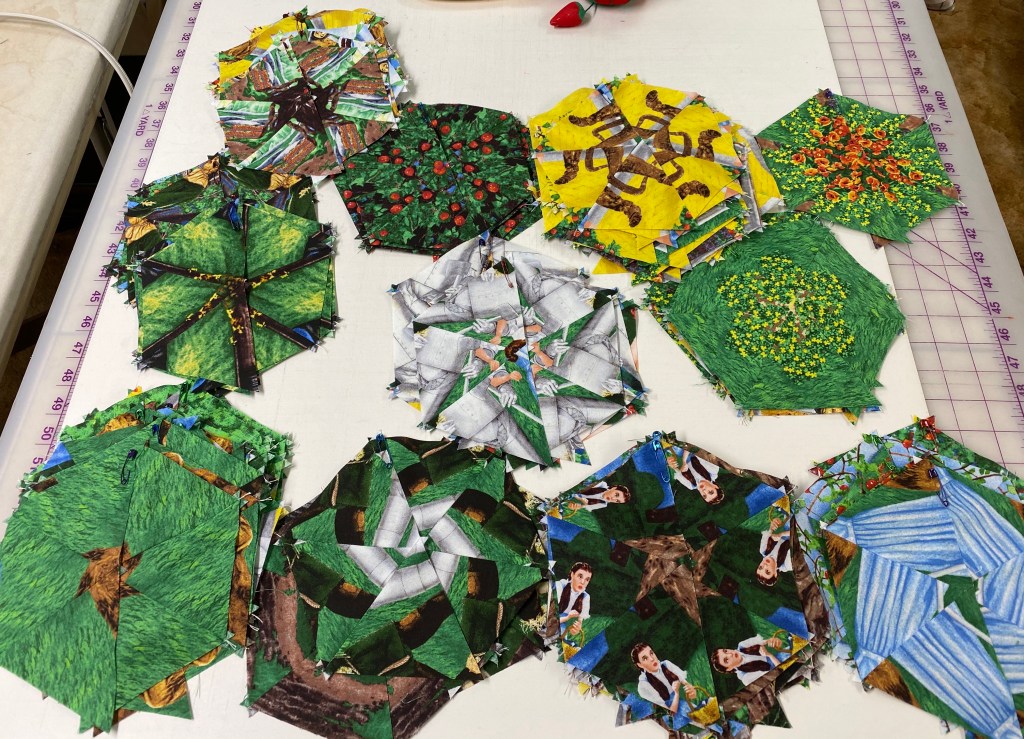
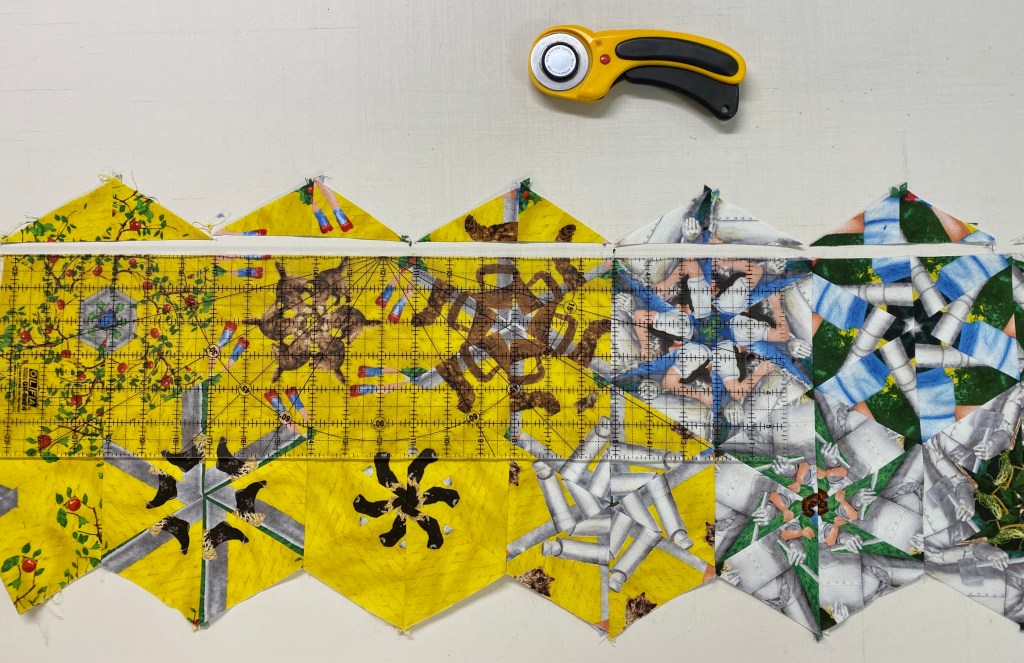
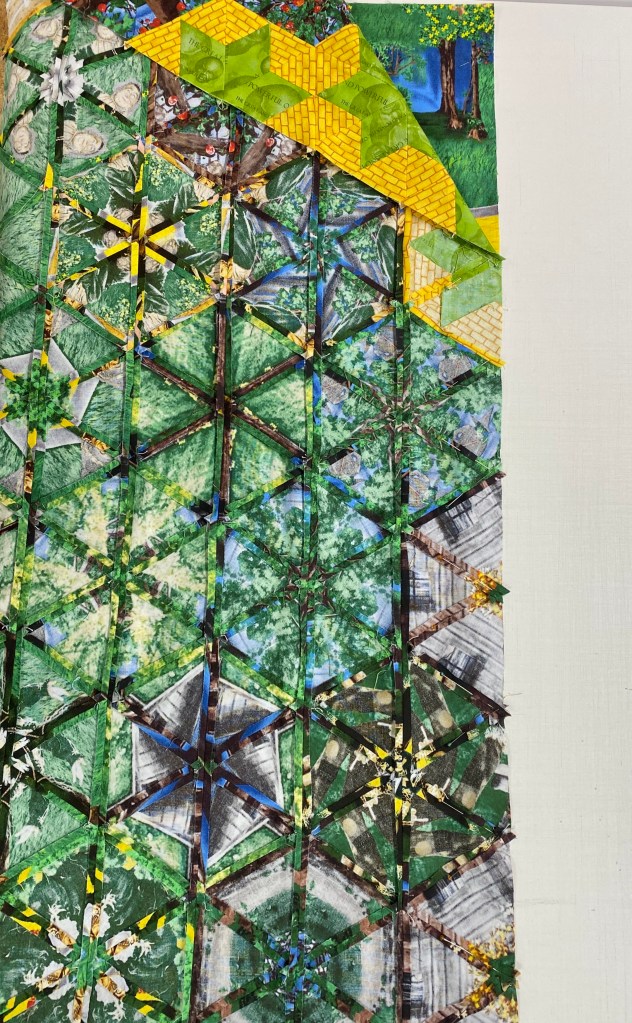
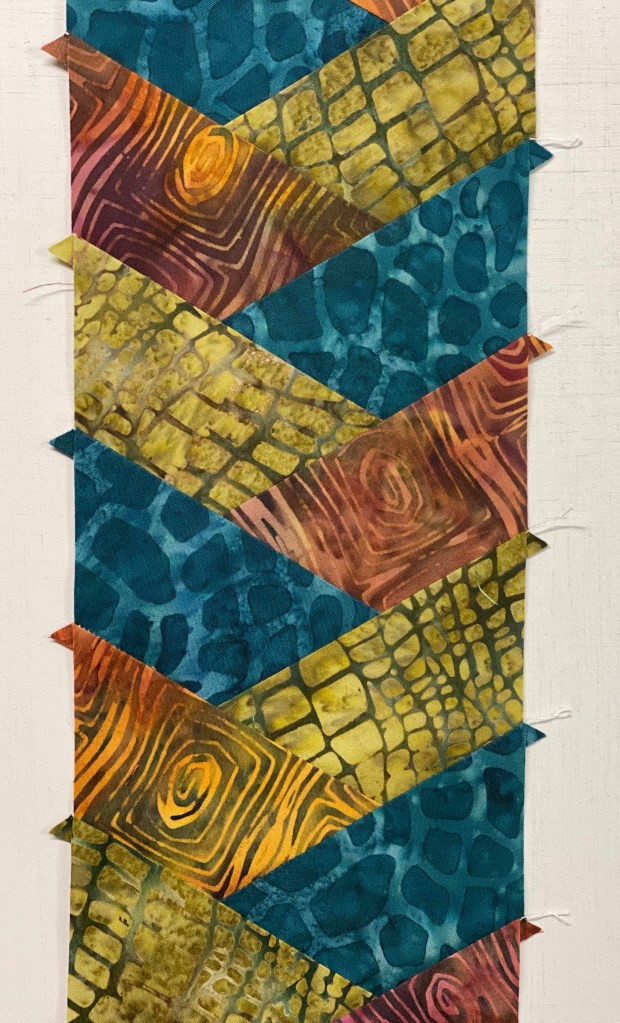
It helps to place your octagon blocks on a design wall as you finish them.
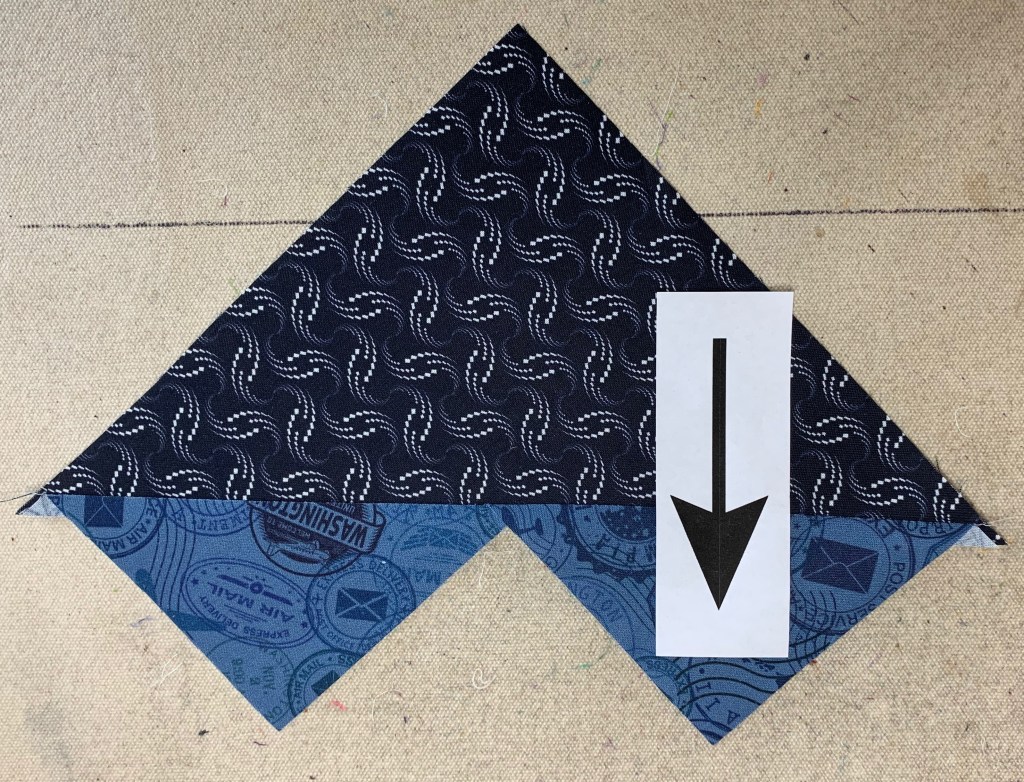
The next step (Step 2.09), is to trim the octagon wedges that will have a corner triangle stitched to them. But before that I want to make some Wedge Star & Mixed Blocks to enhance my octagons and strengthen certain colors .
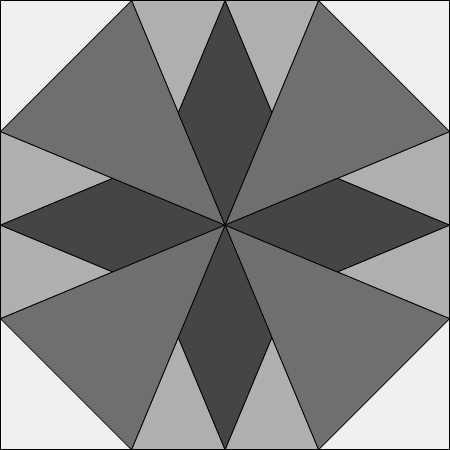
Wedge Star Block (Page 3)
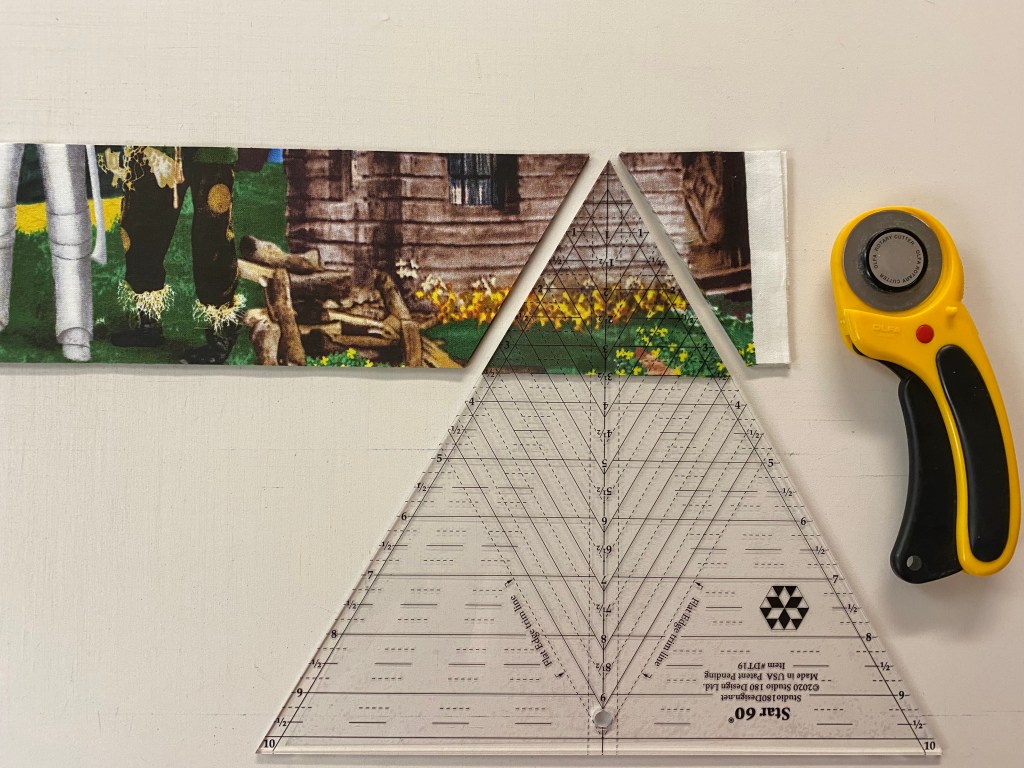
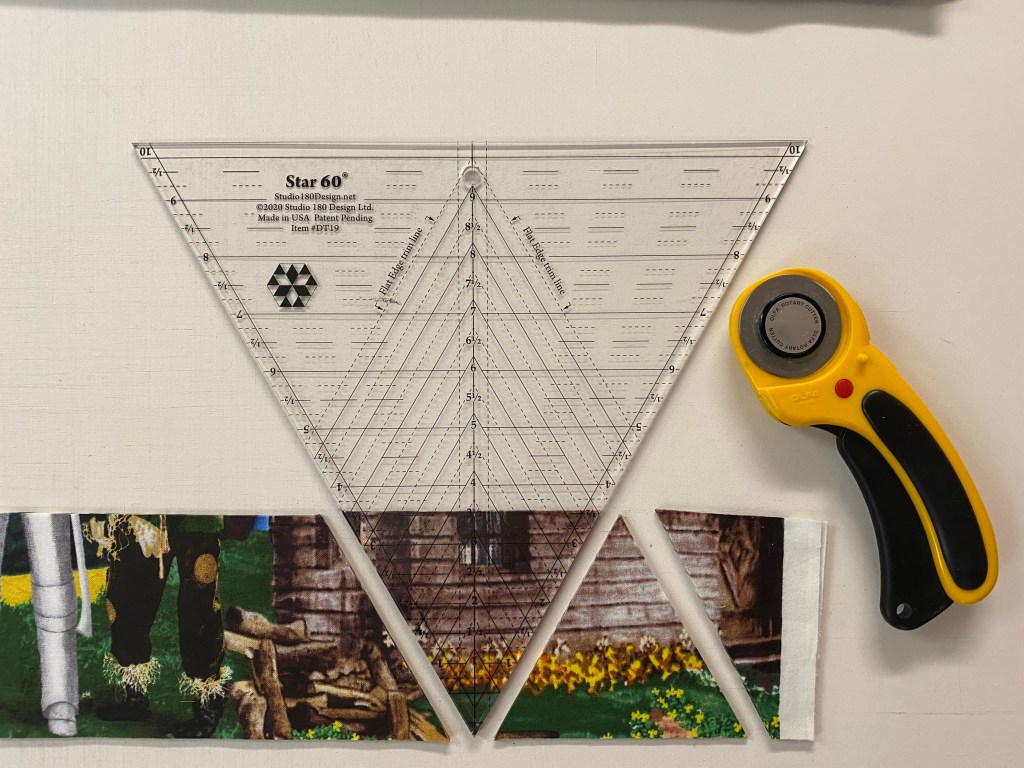
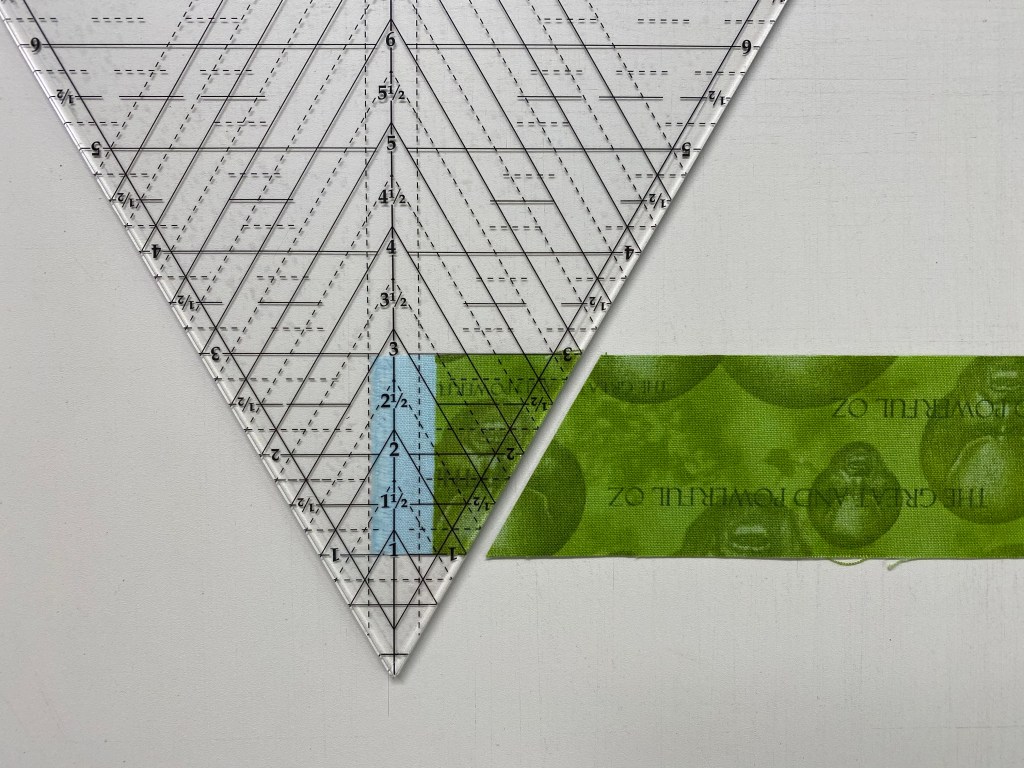
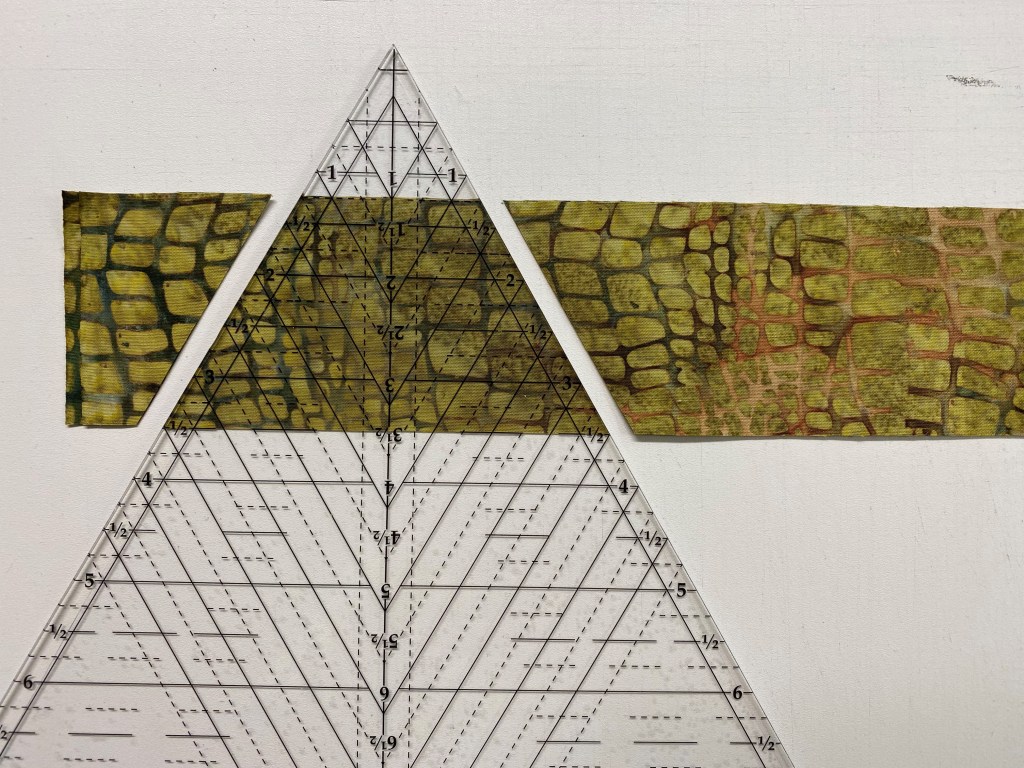
Cutting the Diamonds (Step 1.01)

All my octagons will be 6″ finished blocks. Go to the chart on page 2, find the first column “Finished Block Size” move down to 6″, move across the row to “Diamond Strip”. Cut the Diamonds strips 1 3/4″ by WOF. Trim one short edge at 45 degree angle by placing the 1/4″ line of your Wedge Star tool on the top edge of the strip. Using a regular 6″by 12″ ruler, bump it up to the Wedge Star tool placing the 45 degree line of the ruler on the bottom edge of the strip.

Remove the Wedge Star tool and cut using the regular ruler.

The rule here is to cut your diamonds the same width as the diamond strip. Continue cutting Diamonds every 1 3/4″ using the ruler. See tool instructions for left handed cutting.

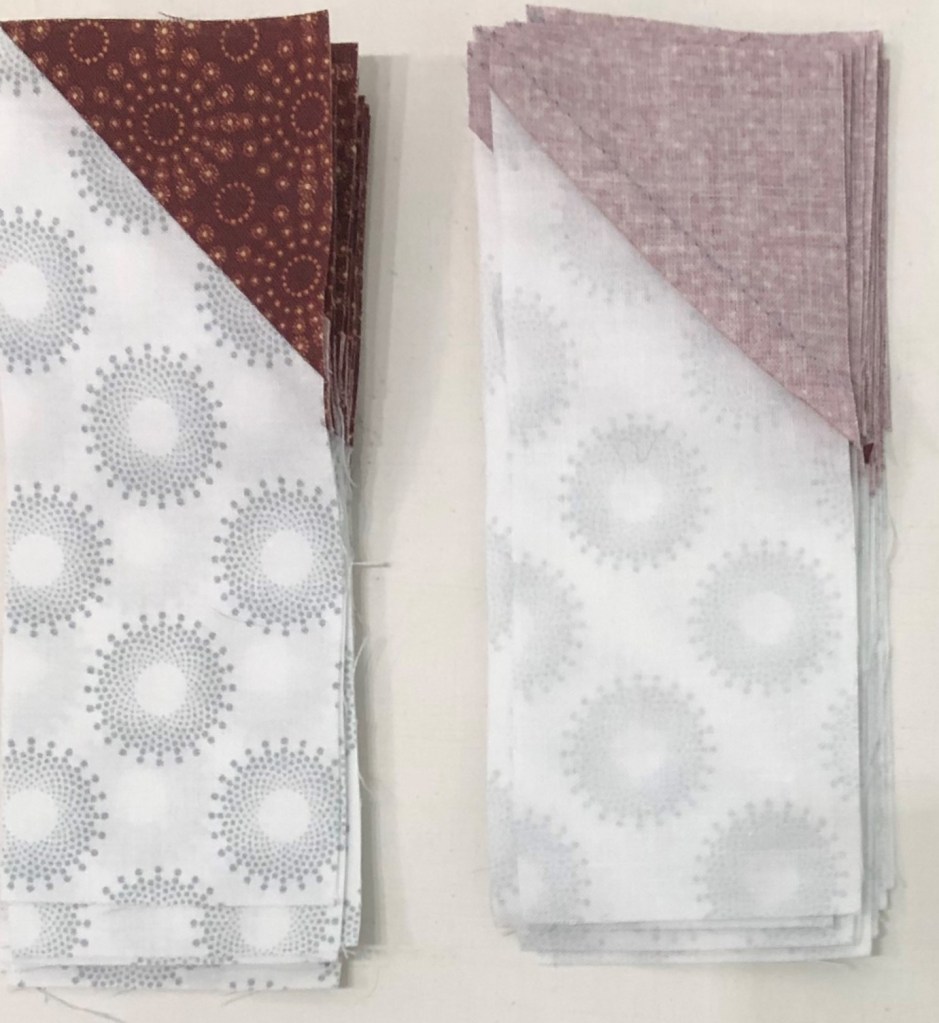
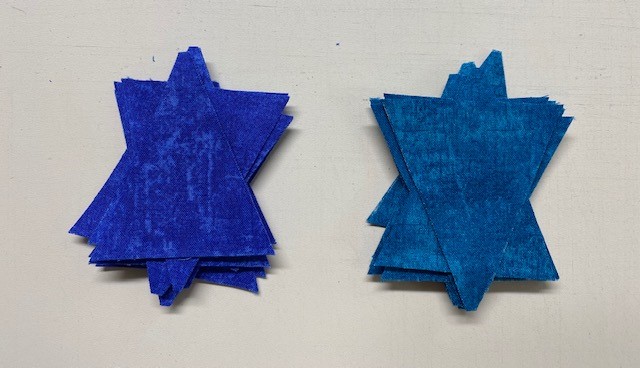
I wanted two color Diamonds so I chose two fabrics.
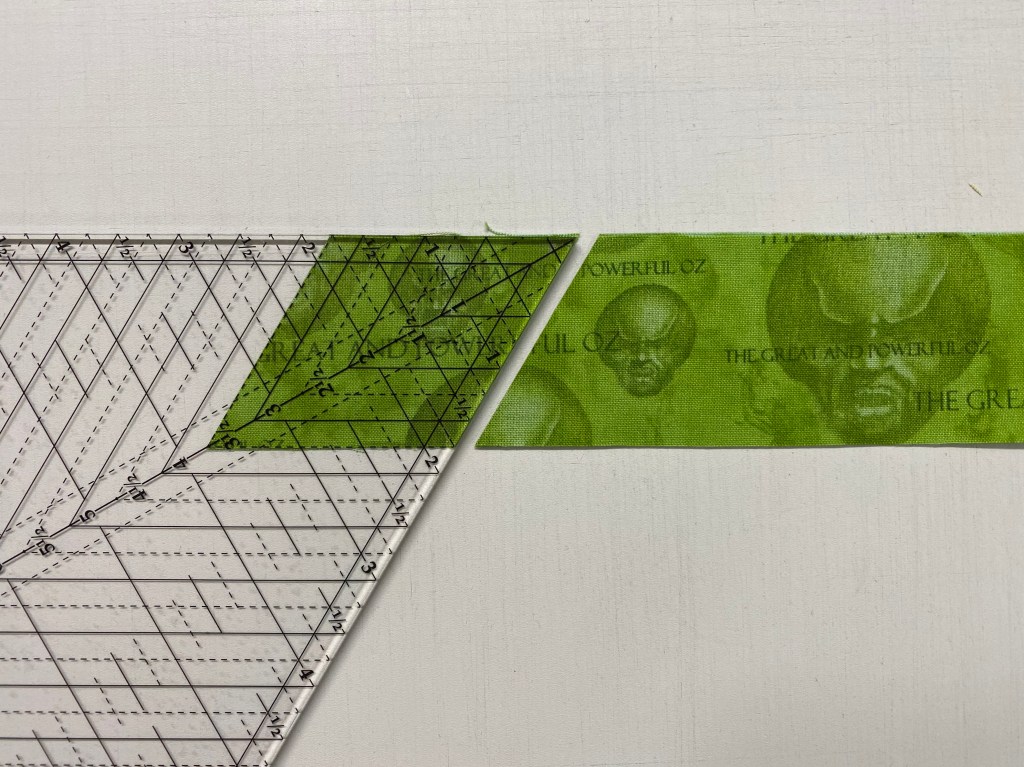
Cutting the Small Wedges (Step 1.02)
Following the chart for 6″ finished blocks, move across to the “Small Wedge Strip”. Cut the Small Wedge strips 2 3/4″ wide, WOF.

Align the small mark near the top of the tool with the top of the strip, and the line on the tool that corresponds with the width of the strip (2 3/4″).

Step 1.04 – Rotate the Wedge Star tool 180 degrees so the sharp point is closest to you. Align the same guidelines as before and continue cutting the wedges. (I prefer to place my strips vertically when cutting the wedges. Find what works best for you.)
Note: We are skipping from Step 1.04 to Step 1.06 because we are making a OBW and will address the corners later.
Piecing the Diamond Wedges

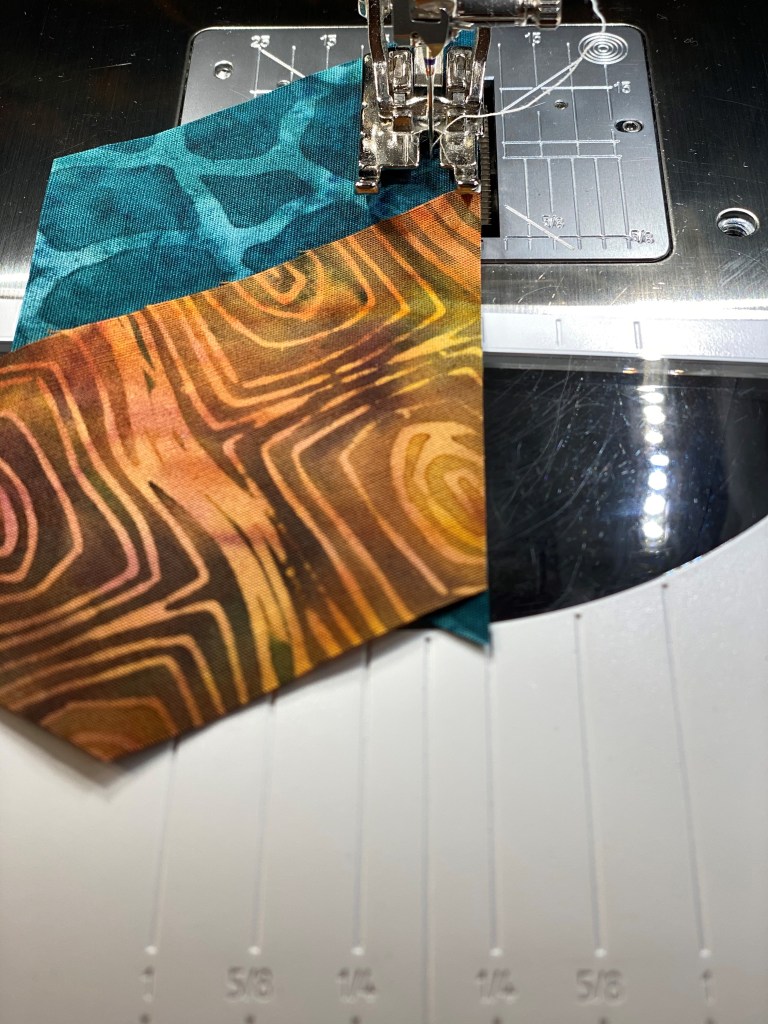
Step 1.06 – Lay out the Diamonds and Small Wedges as shown. I am making two color diamonds first I laid out the Yellow diamonds with the blue small wedges.

Step 1.07 – Take a small wedge from the right hand side and position it it on top.
Note: My interpretation is to place a diamond right sides together with a small wedge as show above.

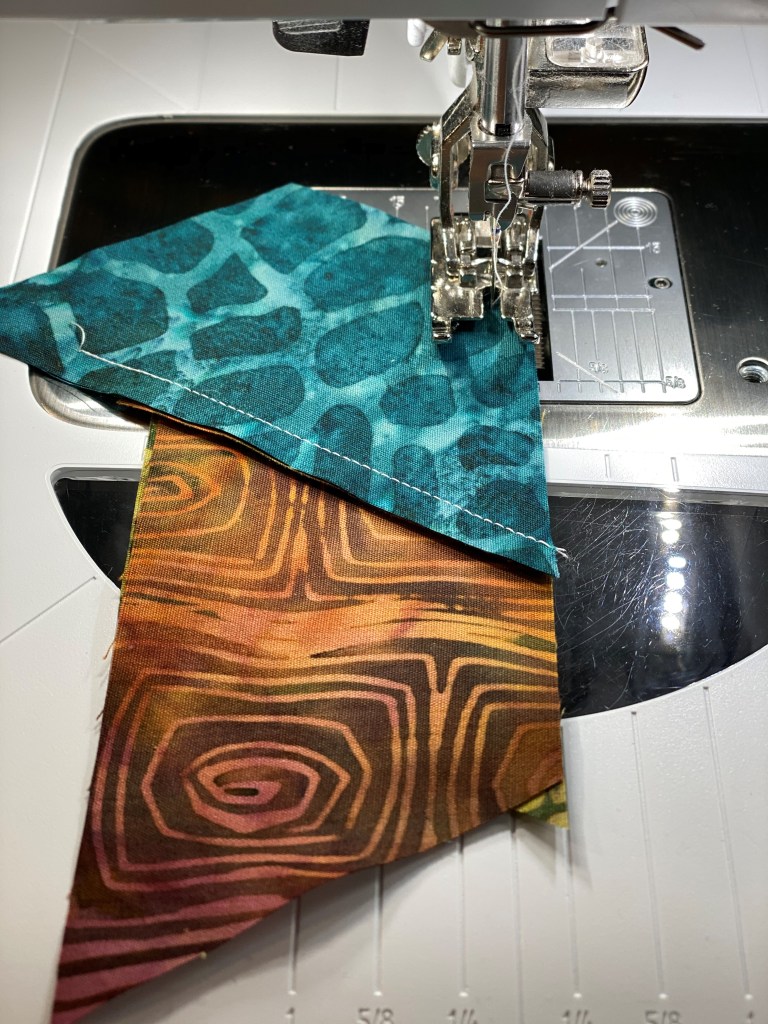
Stitch small wedges to the diamonds right sides together as show above. Press toward the Diamonds.
Note: Remember that “whatever you are pressing toward goes on top”! So, you would place all your units with the diamond on top.

Step 1.08 – With the Diamond on top, stitch along the matched edges with a ¼” seam. Press the seam toward the Diamond and trim off the “dog ear”. Repeat with the rest of the diamonds.

Step 1.09 & 1.10

Step 1.09 – Using the other pile of Small Wedges, take one and position it on the other side of the Diamond point. Align the raw edges and center the shapes right sides together as shown above.
Step 1.10 – With the Diamond on top, stitch with a ¼” seam. Press the seam toward the Small Wedge. Repeat with the rest of the Diamonds.


Step 1.11 – Use the Wedge Star™ tool to trim each Diamond Wedge unit to an exact size.

Step 1.12 – Position the unit right side up on the cutting mat. Righties point the Diamond toward the 2 o’clock position, lefties point the Diamond toward the 10 o’clock position. Align the desired finished block size lines with the sewn seams. Trim along both sides of the ruler. See tool instructions for left handed cutting.

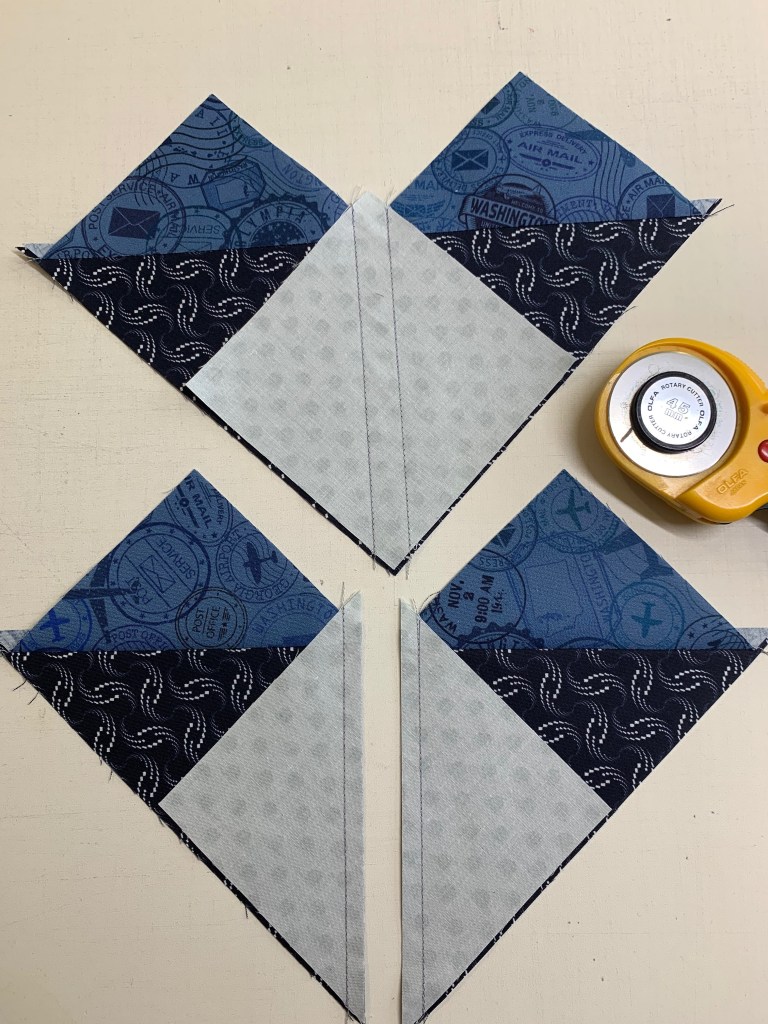
Layout wedges. Stitch wedges together into pairs.

Press seams open.
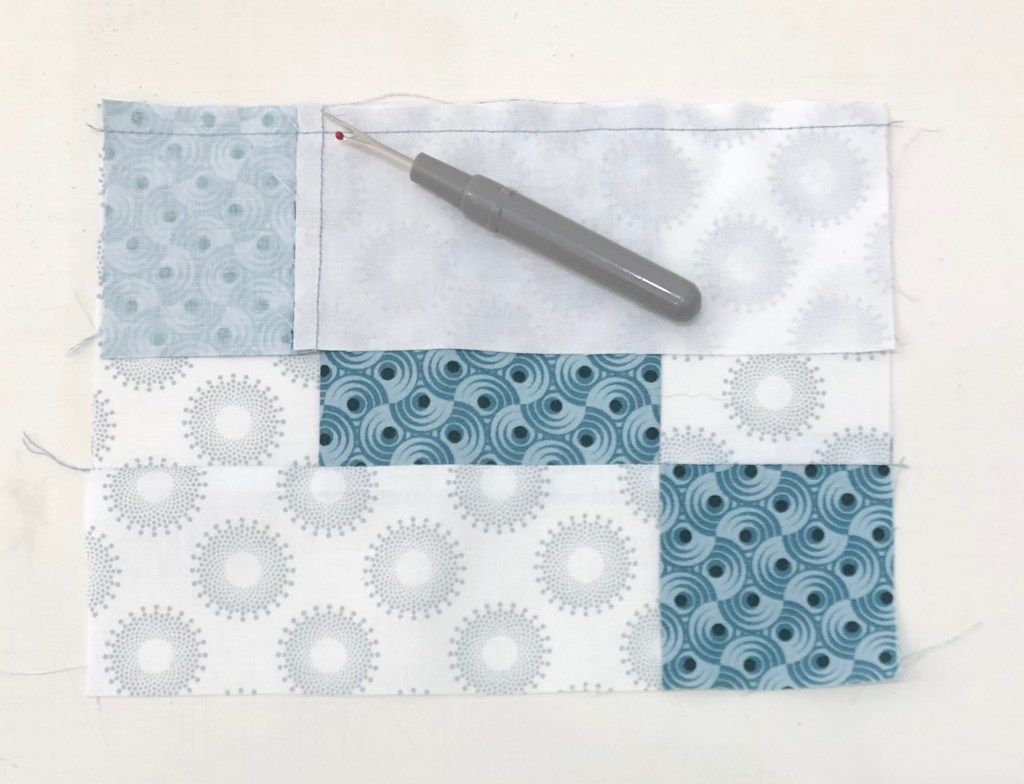
Step 1.13 – Remove the “dog ears”.

Remove the dog ears and sliver trim the wedge pair. Position the Wedge Pair on the cutting mat. Righties as shown above position it so the 90 degree corner is in the upper right (see tool instructions for left handed cutting). Align the common diagonal line on your Tucker Trimmer with the seam and slide it forward just until it meets with eight the edge or the point of the wedge, trim up the side and across the top. There may only be just a few whiskers trimmed her. Trim all the wedge pairs.

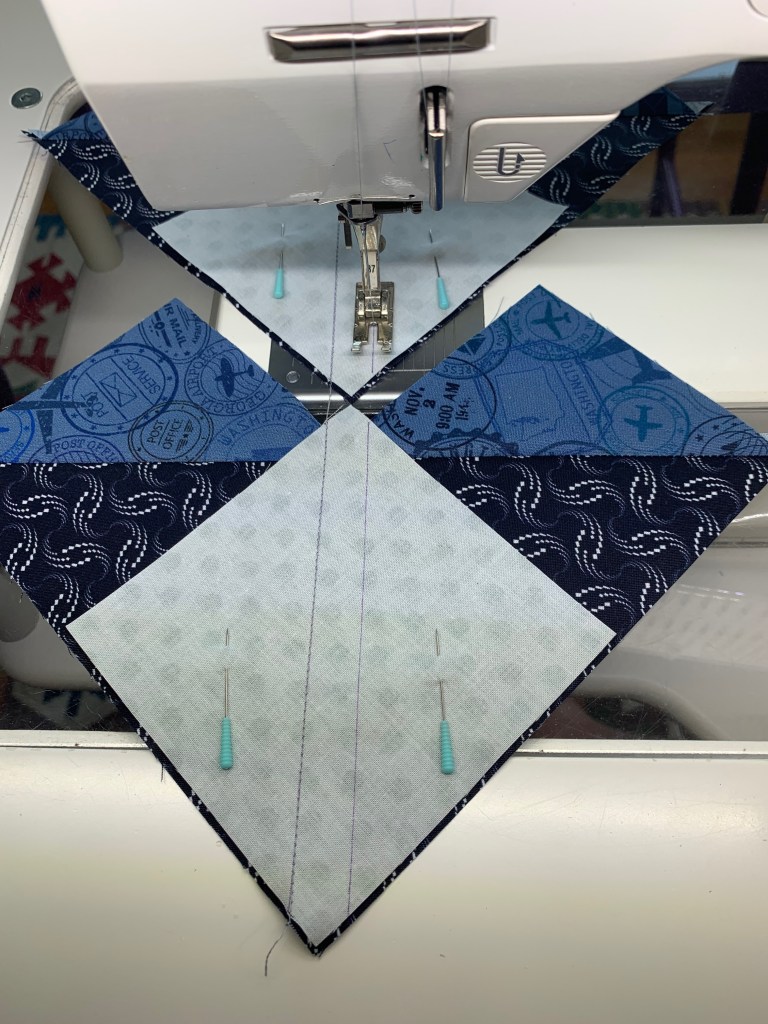
Step 1.15 – Stitch quarters in halves, then stitch halves together, pressing seams open.

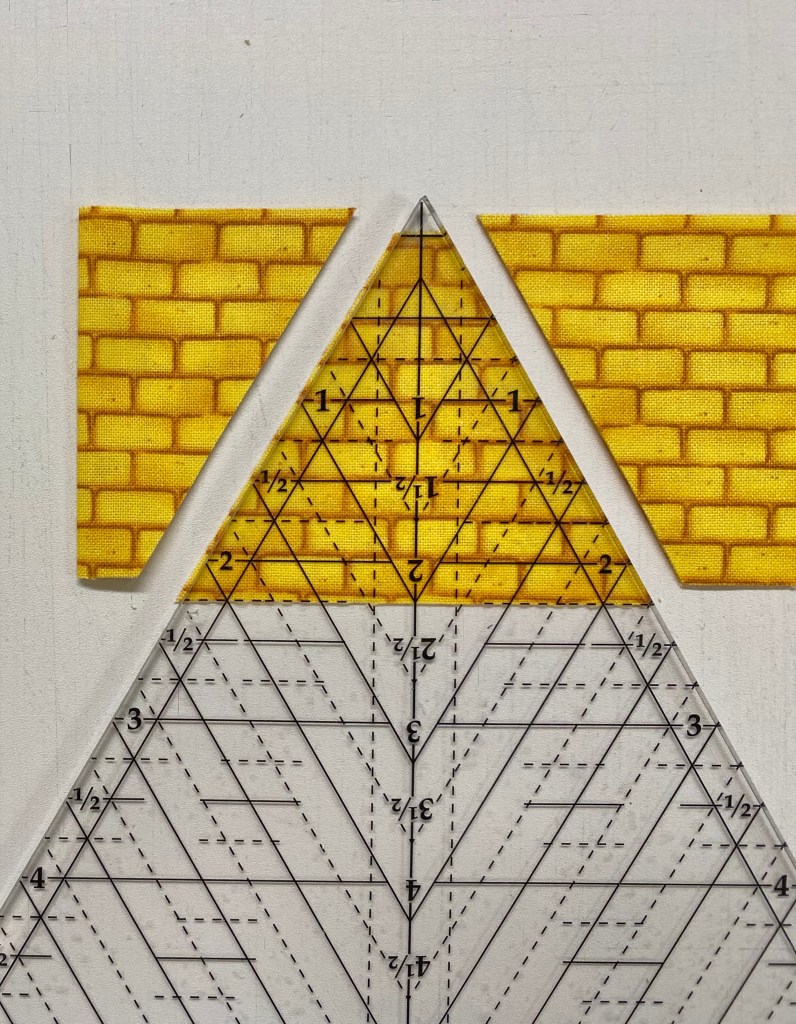
Step 1.16 – To turn your octagon into a square you will need to add triangles to the corners. Determine which wedge sections will be located in the corners of your
finished block. Align the Outside Edge Trim Line on the Wedge Star™ tool with the seams of the Diamond on one corner wedge. Trim along the edge of the tool. Repeat this for the other three corners, making sure you are only trimming every other edge. The remaining edges will be trimmed after the corners are added.


Mixed Blocks – See page 10

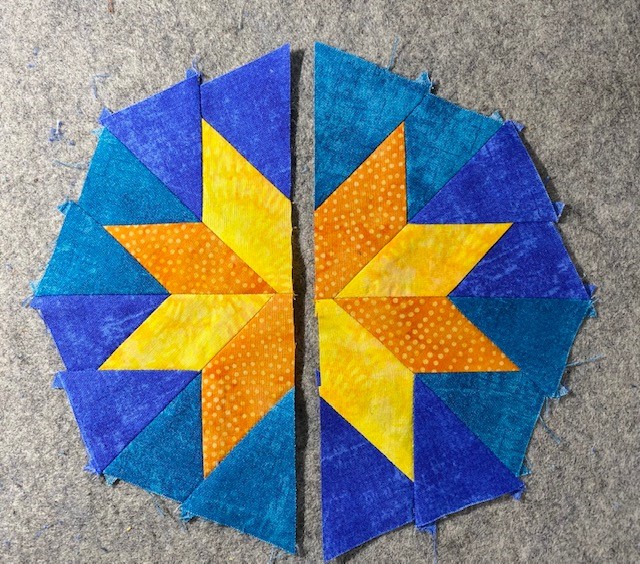
Mixed blocks are made by simply combining Wedge Stars with Large Wedges as shown above. Once I made several Wedge Star Blocks and Mixed Blocks I added them to my other octagons. The fabric choices for my Wedge Stars and Mixed blocks was to strengthen my orange/golds and turquoises.
Prepping Wedge Blocks for adding the Corners: If there is a way to square up a difficult unit/block Deb Tucker will find it!
Step 2.09 (Pg. 8) – Determine which Large Wedges are going to have Corner Triangles attached.
Step 2.10 – Make a halfway registration mark on these four wedges. Wedges can be folded in half matching the seams and then lightly pressed to give a centerfold line. Or the centerline of the tool can be placed on the sewn seam with the point of the tool at the center. Mark with a removable marking tool.

Note: Add a flower pin to the top wedge unit for each block to aid in orientation. This will help you throughout the trimming process.

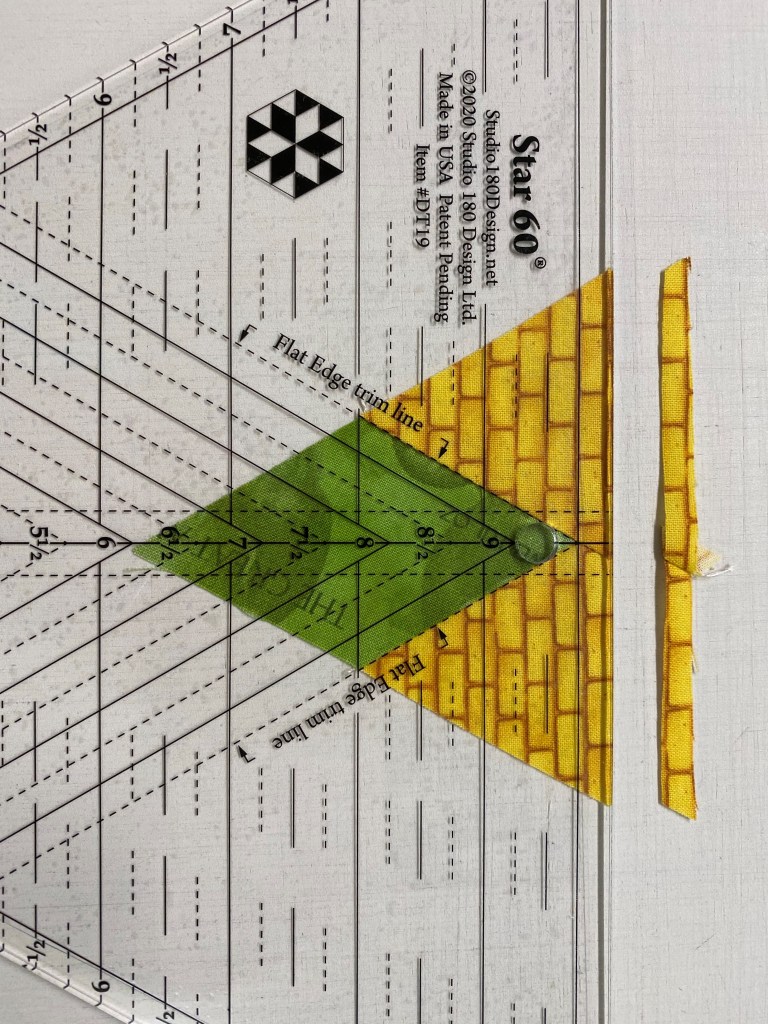
Step 2.11 – Place your Wedge Star® tool upside down, with the Invisigrip™ facing up. Find the Block Center dimension for your project on the chart.


Step 2.12 – Measure down that distance from the flat edge of the tool and make a mark on the back of the tool, across the centerline as illustrated. Use a fine point Sharpie® marker. For our example, make a mark 3¼” from the tool edge.
Step 2.13 – Working on your cutting mat, place the intersection of the centerline of the tool and the Sharpie® marked line on the center of the sewn block. At the same time, align the centerline of the tool with the halfway registration mark on the fabric block.
Step 2.14 – Cut along the flat edge of the tool. You should only be trimming off a small amount of fabric. If you are trimming more than ¼”, recheck your tool mark!
Step 2.15 – Repeat for the other three Corner Wedges.

For prepping Wedge Star & Mixed Blocks for adding corners see tool instructions page 5, Step 1.16.
Add Corners:

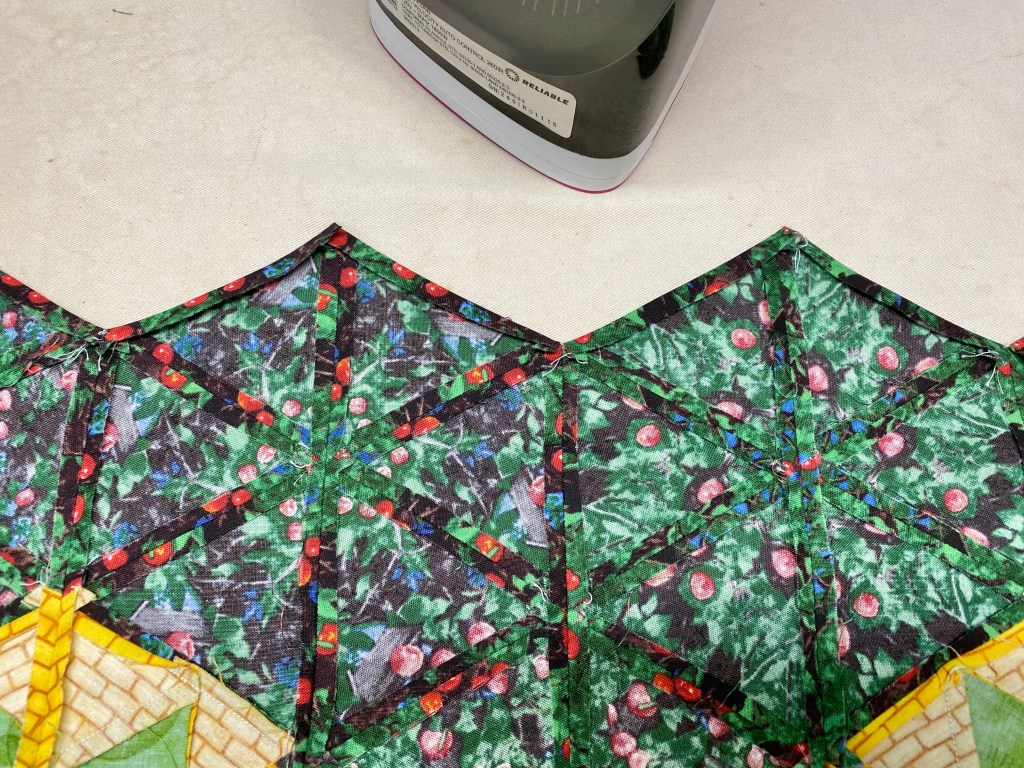
Choose corner triangles that will help blend the octagons and create flow.

When four octagons are put together, there is a diamond spaced shape between them. You fill this space with 4 identical triangles cut from the 3″ Corner Strip.

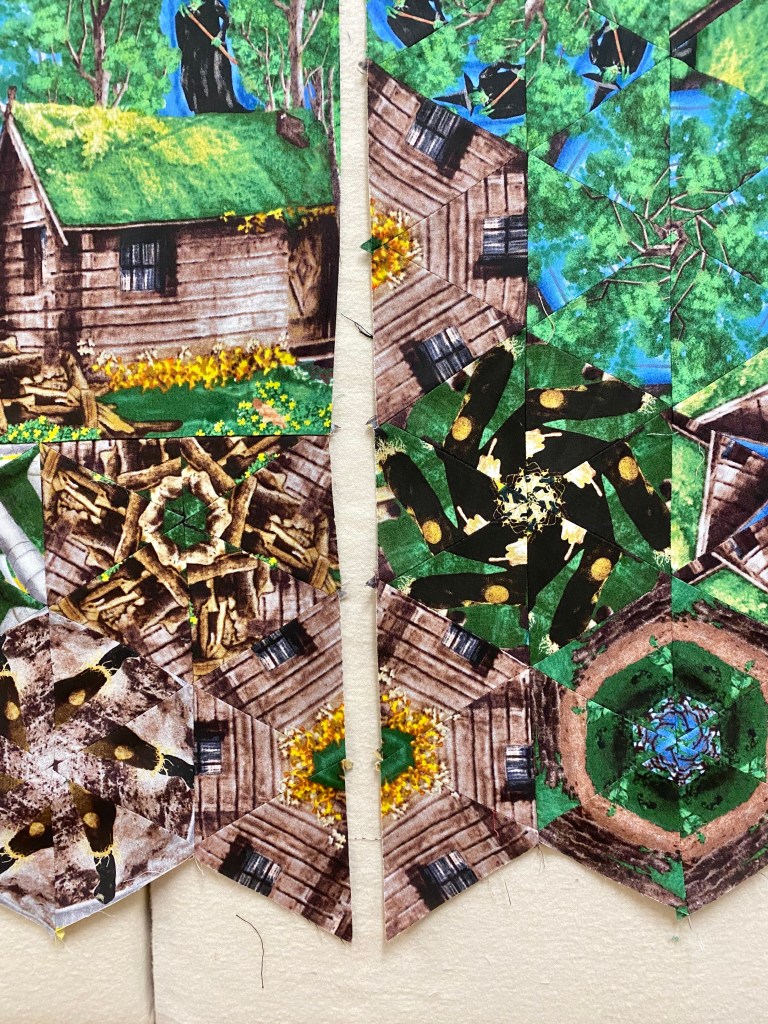
Keep adding corners to the octagons and place back on the design wall.

I add corners to all the inner octagons first, then continue adding them to the outer edges.

Squaring up the Octagon Blocks
Step 2.18 – For blocks that finish to 12” or less, we prefer to use our Tucker Trimmer®. Consult the Block Cut Size in the chart and align the common diagonal and sizing diagonal with the marks made for the previous trimming. Make sure that the intersection of the tool lines is over the center. Trim two sides. Rotate the block 180° and line up the diagonal lines as well as the clean up lines with the trimmed edges. Trim the final two sides.


My octagon blocks will be 6″ finished. Therefore, I can use my Tucker Trimmer I and square up my blocks to 6 1/2″. Make sure the intersecting lines for 6 1/2″ are over the center of the block and trim as shown above.

All my octagons are now trimmed to 6 1/2″ and are ready to be sewn into rows.

Tip: To line up your blocks, pin where the seams intersect on both blocks. Pin on both sides, then pull out the pin in the seams and stitch.


See how nicely the points line up when the blocks are trimmed and squared.
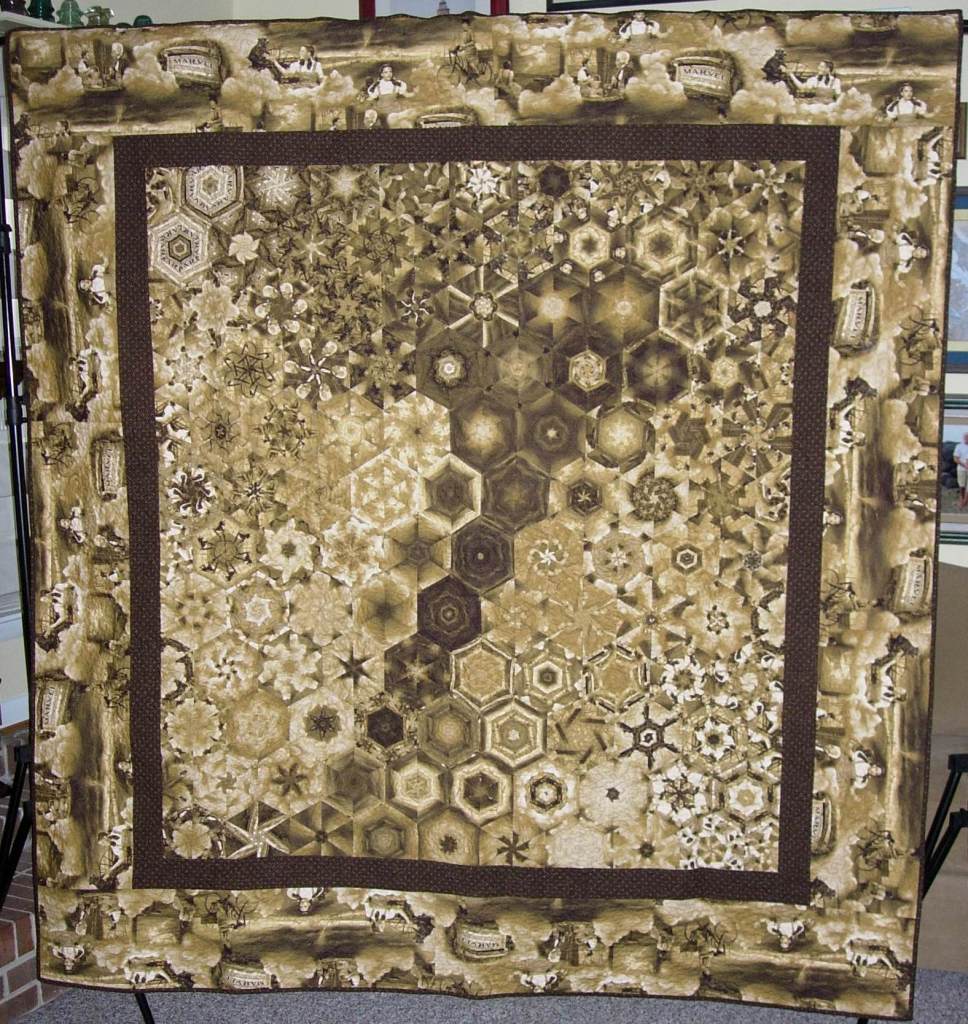
Something Fishy

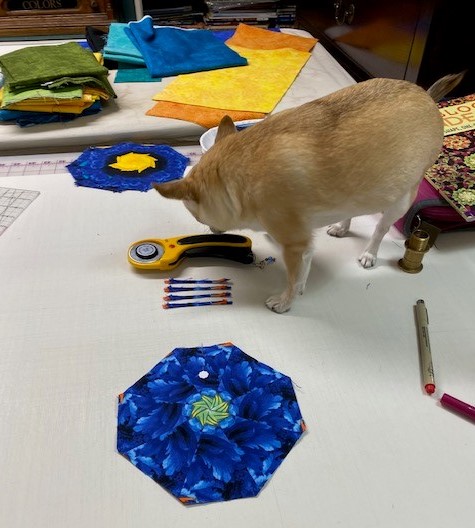

As you can see, this project was closely supervised by Tucker!
Included in your Wedge Star Tool Instructions is a free project “Freelancer”.

Download the Freelancer Supply list in 3 sizes: