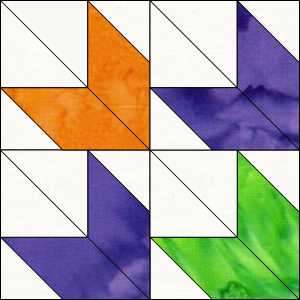
This block requires your Tucker Trimmer I and V Block tools. BlockBuster 09 Three in One provides 3 different possible block layouts. The block is made up of V Block, Combination & Quarter Square Triangle units. I’m making Block 1 as a 12″ block, with 4″ finished units.

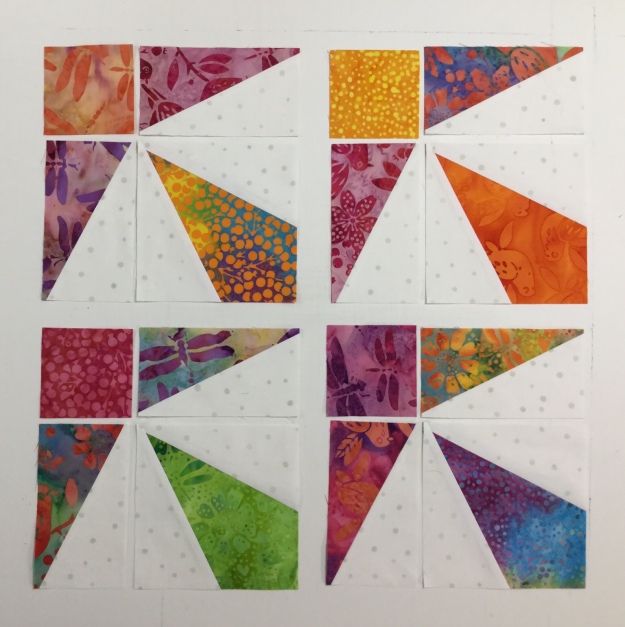
All of the units in these three blocks are the same (and placed in the same location), yet just by rotating the units and changing your fabric placement, you’ll get three very different blocks.

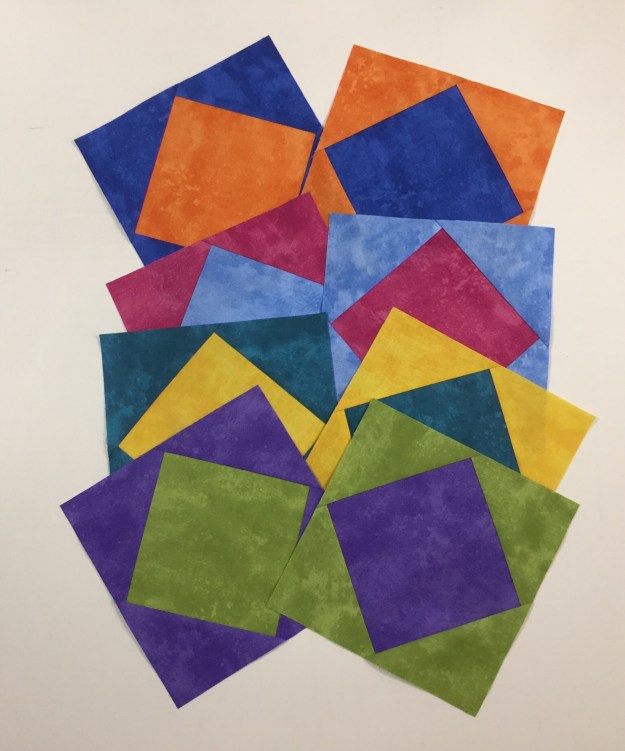
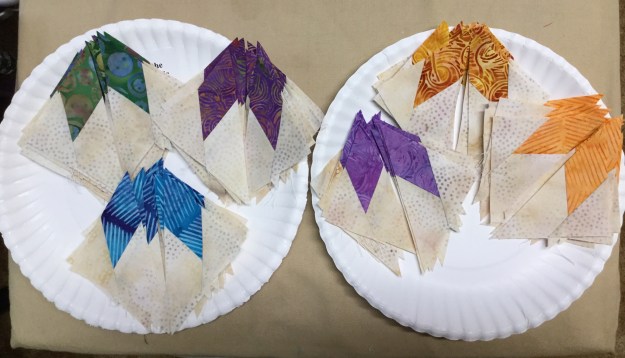
These are my fabric choices. I will be making Block 1. I decided where I wanted my fabrics in the block by looking at the colors in block 1 and assigned my fabric choice for the units.

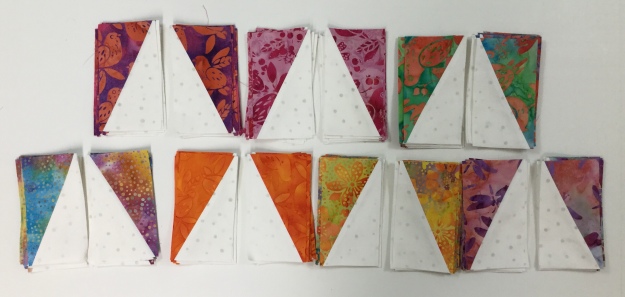
I need four V Block units with the center triangle cut from the background fabric and the side triangles cut from each of my four fabric colors. For a 4″ finished unit I cut a 5″ WOF strip of the background and each of the four fabric color groups. (check the Size Cutting Chart in the tool instructions and on the tool itself.)

The center unit is a Quarter Square Triangle made from each of the four fabrics. I cut a 5 1/2″ square from each of my four fabrics. ( Check the Size Cutting Chart in the tool instructions.)

The corner units are Combination Units. Each combo unit is made from fabrics that match the side triangles on either side of the V Block units and the background fabric. Cut 2 each 5 1/2″ squares from each of the four fabrics and four 5 1/2″ squares from the background fabric.
V Bock Units
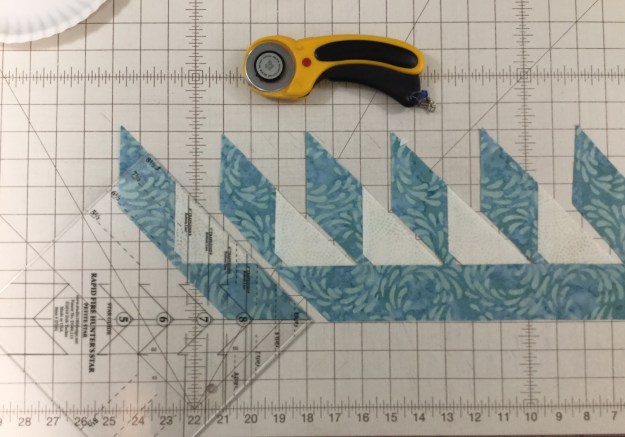
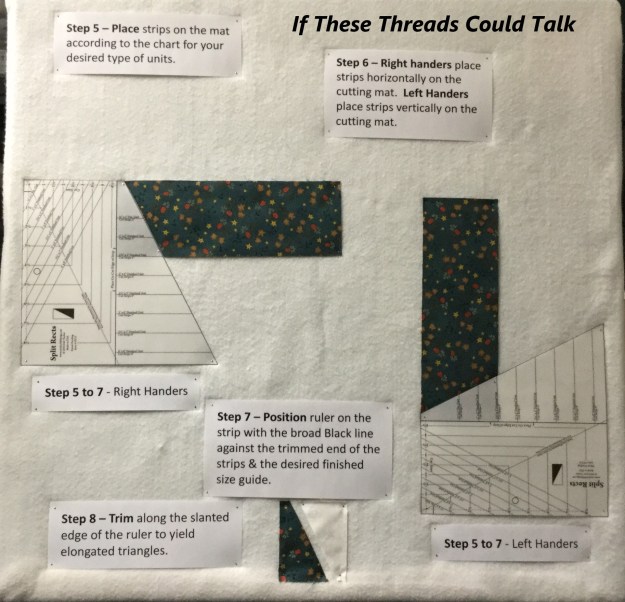
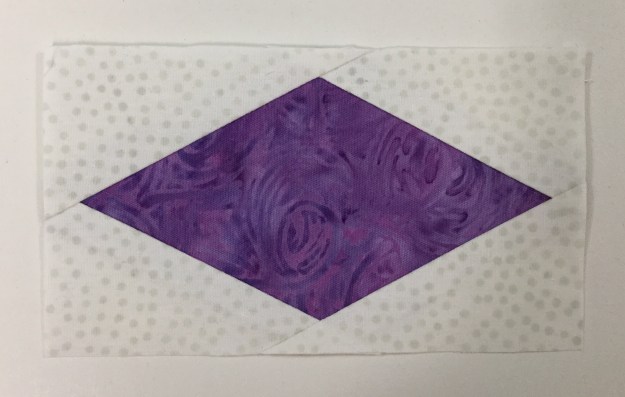
Everything you need to know for making V Block units is in the tool instructions. I’m starting with the V Block center triangles. To cut the center triangles, layer no more than two layers deep. Fold the ends deep enough to accommodate the slanted cut for a 4″ finished unit and finger press it.
Position the tool on the strip so that the dashed line labeled “Fold Line for Center Triangle” is aligned with the fold and the correct size line of the tool is against the bottom edge of the strip. Trim along the slanted edge of the tool and unfold to reveal the center triangle pieces.
Move the cut triangles to the side and flip the strip over from top to bottom. Align the center triangle trim line with the previously trimmed edge and cut your next pair of center triangles. For this block you need four center triangles.
For the Side triangles. place the strips facing each other, either right sides or wrong sides together on the cutting mat. Locate the bold solid line on the tool that reads “Cut Line for Side Triangles”. Position that line against the trimmed end of the strip and the proper size line against the bottom of the strip. Trim along the slanted edge of the tool.

Cut one set from each of the four fabrics.
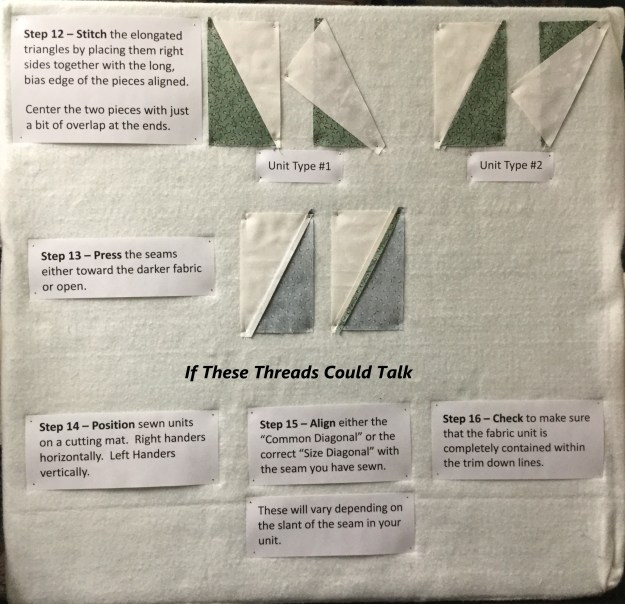
Lay out the V Block units, making sure you are lining up the long edge of the side triangles with the edges of the center triangle. Position pieces right sides together lining up the slanted cut edges “tip to tip” and stitch one side triangle to the unit. Press toward the side triangle. Position second triangle, stitch & press as shown. Repeat with the other V Blocks.
Lay the V Block unit on the cutting mat with “V” pointing toward you. Lay the tool on the unit aligning the “Finished Size” measurement with the seam lines. Trim up the right side and across the top. (For left hand cutting directions see tool instructions.)
Lift the tool and rotate the unit. Reposition the tool on top aligning the correct “Cut Size” measurements with the previously trimmed corner and “X” with the sewn seam intersection. Trim up the right side across the top.
Quarter Square Triangle – Center Unit
Check the Size Cutting Chart to determine size of the starter squares. For 4″ finished units cut one 5 1/2″ square from each of the four colors. Make half square triangles (HST) by marking two diagonal lines on the back of 2 of the fabric squares with your Magic Wand, stitch on the lines and cut apart. Press seams toward the darker fabric. Do Not Trim. Check your fabric placement choices to determine which fabrics to make HST’s out of.
Note: When making half square triangles, combination units and quarter square triangles, you will be making two units at a time. You can make two blocks or save the units for something later.
On the back of one of the HST’s, use your Magic Wand and mark two diagonal lines. Position the HST units right sides together, carefully nesting the sewn seams. Stitch on the lines, cut apart and press swirling the center.
Position your Tucker Trimmer over the pieced unit. Carefully align both the common diagonal and the size diagonal lines over the sewn seam lines. Trim up the right side and across the top. Lift the Tucker Trimmer tool and rotate the unit. This time be sure to position both the common diagonal, the size diagonal lines and the outline of the square to the exact measurement desired. Right hander’s trim up the right side and across the top, while left hander’s will trim up the left side and across the top.
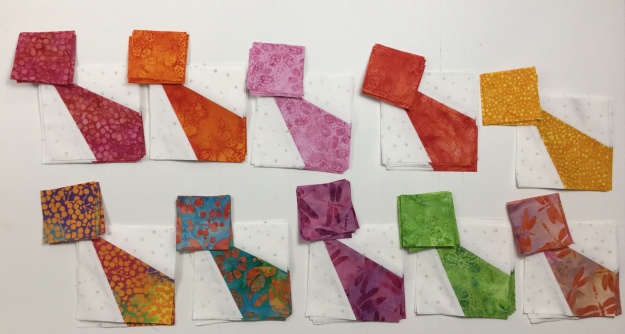
Combination Units
Check you fabric placement choice to group your fabrics for making the combo units. There are three 5 1/2″ squares (one background & 2 darker fabrics) for each combo unit. Start by making half square triangles (HST) by marking two diagonal lines on the back of one of the darker fabric squares and placing it right sides together with the other dark fabric square. Stitch on the lines and cut apart and press. Do Not Trim. Do this for each color group.

Mark two diagonal lines on the back of one HST. Place one HST on one background square centering it and stitch on the lines.
Cut apart and press toward the large triangle. When you make combination units with this process, you are making mirror image combo units. You will only need one set of combo units for one block. Deb Tucker has a Non Mirror Combo Technique Sheet that shows you how to make only the combo units you need.
Position the Tucker trimmer over the unit, carefully aligning both the common diagonal and the size diagonal with the stitched seams. Right hander’s trim up the right side and across the top, while left hander’s will trim up the left side and across the top. Lift the tool and rotate the unit. This time line up both diagonal lines and the outline to the exact measurement desired and trim as before.
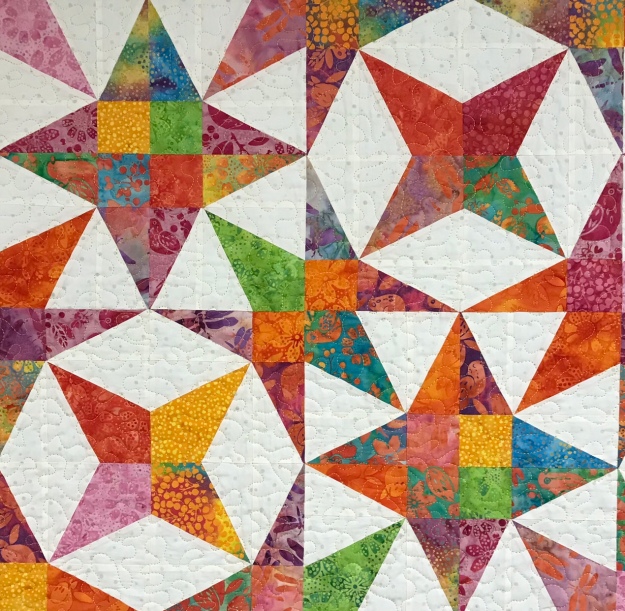
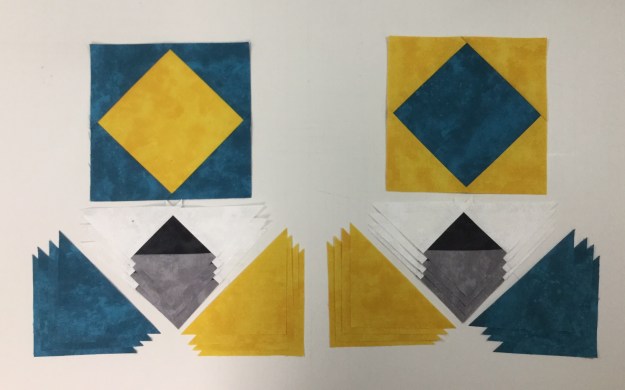
Lay out your units and stitch into rows, pressing as shown.
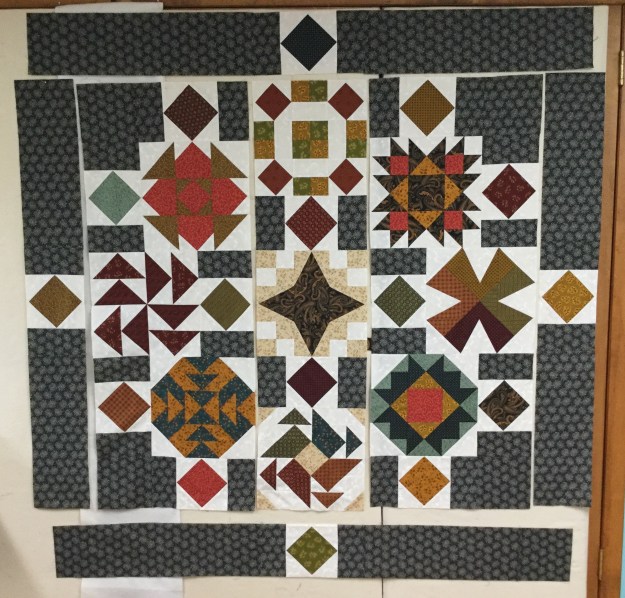
Stitch your rows to make your block. I now have BlockBuster’s #1 – #9 completed! Time to make a quilt!


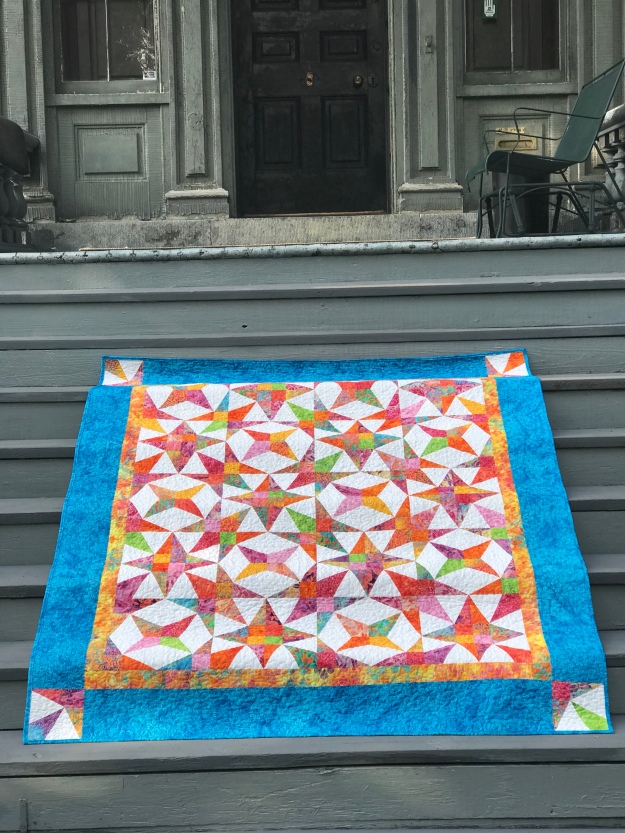


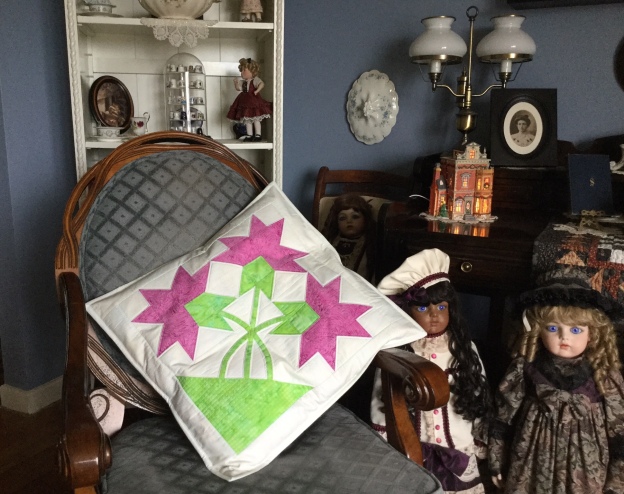

 Carolina Lily is a companion pattern for the


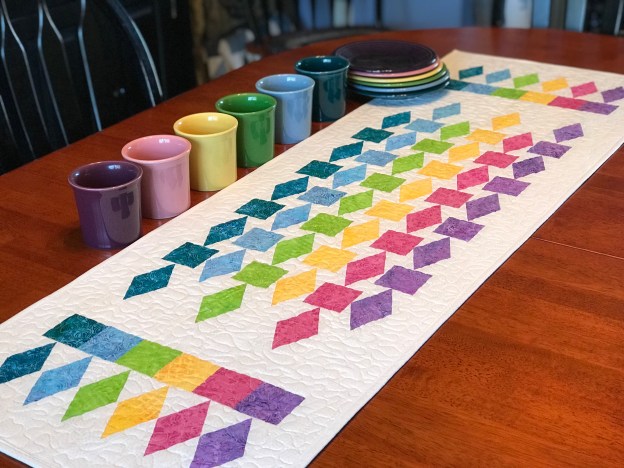


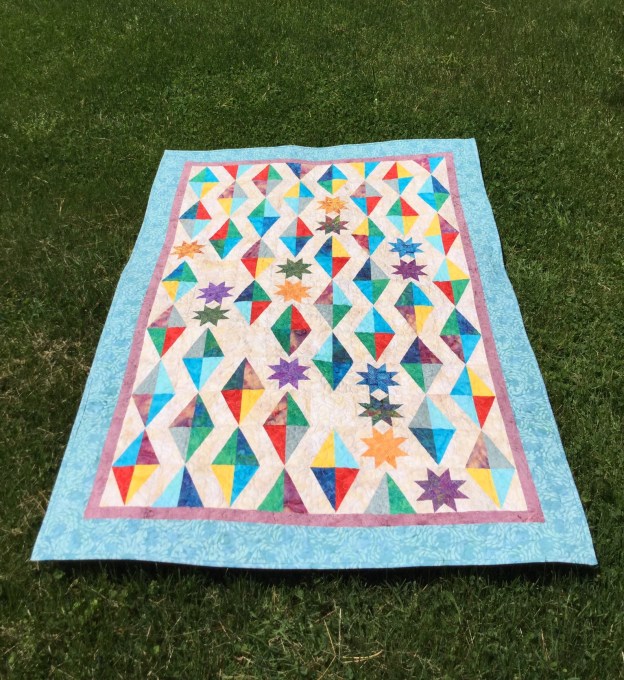
 Layout the pattern pieces, stitch into rows and add borders per pattern instructions.