I love Christmas & I love Christmas Tree Quilts! Over the years I have made several and decided to share some with you. Studio 180 Design tools gives you several ways to easily make Christmas Trees.
I Believe
I made this 7 years ago for my Granddaughter Samantha. I Believe uses the V Block tool. Below is the supply list:
Welcome to Stitchin Heaven’s Journeys Month 2. My helper for Month 2 is Amy Lemke, a talented graphic artist for Studio 180 Design. This month you are going to learn to make Half Square Triangles (HSTs) and Combination Units with your Tucker Trimmer I with Prints 1, 2, 5, 10, & 11. Label your fabrics and use your best cutting skills when cutting your starter squares.
Prints 1, 2, 5, 10 & 11.
Tip: I use plain paper plates and write on them what it is I have cut out. For instance, if you are new to using a Tucker Trimmer, I would label 6 paper plates: one for each print. Using a pen or pencil label the first plate “Print 1, Combination Units (unit D)”, and so on.
Half Square Triangle Construction
Note: For more information and left handed cutting and trimming directions, refer to the instruction that came with your Tucker Trimmer.
Prints 5, 10, & 11.
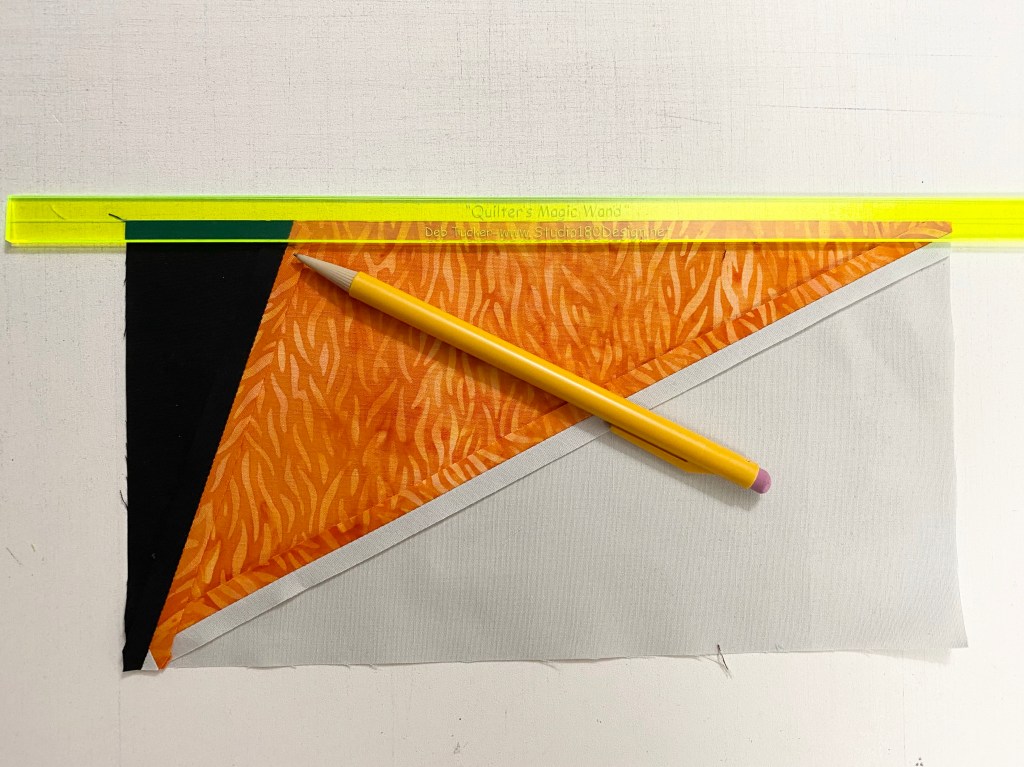
Step 1 – Mark two stitching lines ¼” on either side of the center diagonal. Draw the lines on the wrong side of all the 7” squares from Print 11. I like to use my Quilter’s Magic Wand™ for this task.
Mark using a Magic Wand.
Step 2 – Layer the 7” Print 11 squares right sides together with the 7” squares from Prints 5 and 10. Stitch on the lines, then cut down the middle. Press away from Print 11 or open.
Layer.
Stitch and cut apart.
Press.
Step 3 – Trim the units to 6½” using the Tucker Trimmer® I. Align the 6½” Sizing Diagonal with the seam and trim the first two sides.
First Trim
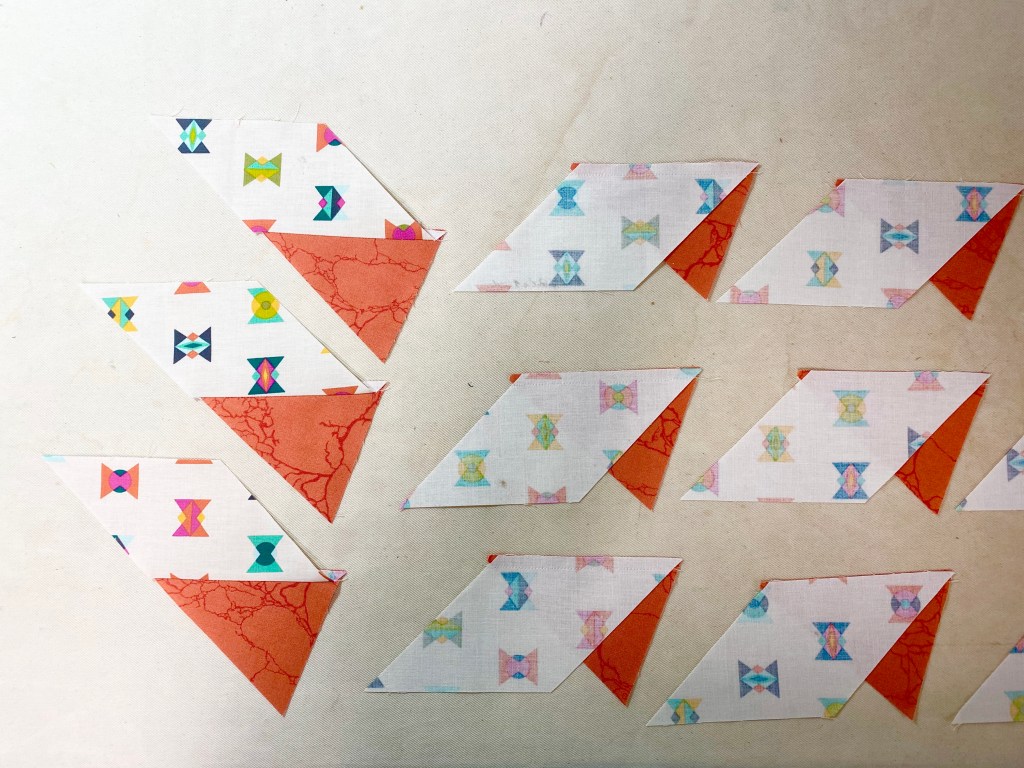
Step 4 –Rotate the unit 180 degrees and align the 6½” Sizing Diagonal with the seam as well as the 6½” cleanup lines with the outside edge. Trim the remaining two sides to create your precise Half Square Triangle units. Label the units made with Print 5 Unit C, and label the units with Print 10 Unit B.
Second Trim
Make 8 each from prints 10 & 11 and prints 5 & 11.
Combination Unit Construction
Prints 1, 2 & 11
Step 5 – Repeat steps 1 and 2 using the 7½” squares from Print 1 and Print 2 to make 4 Half Square Triangles. Press away from Print 2 or open. Do not trim!
Starter Squares
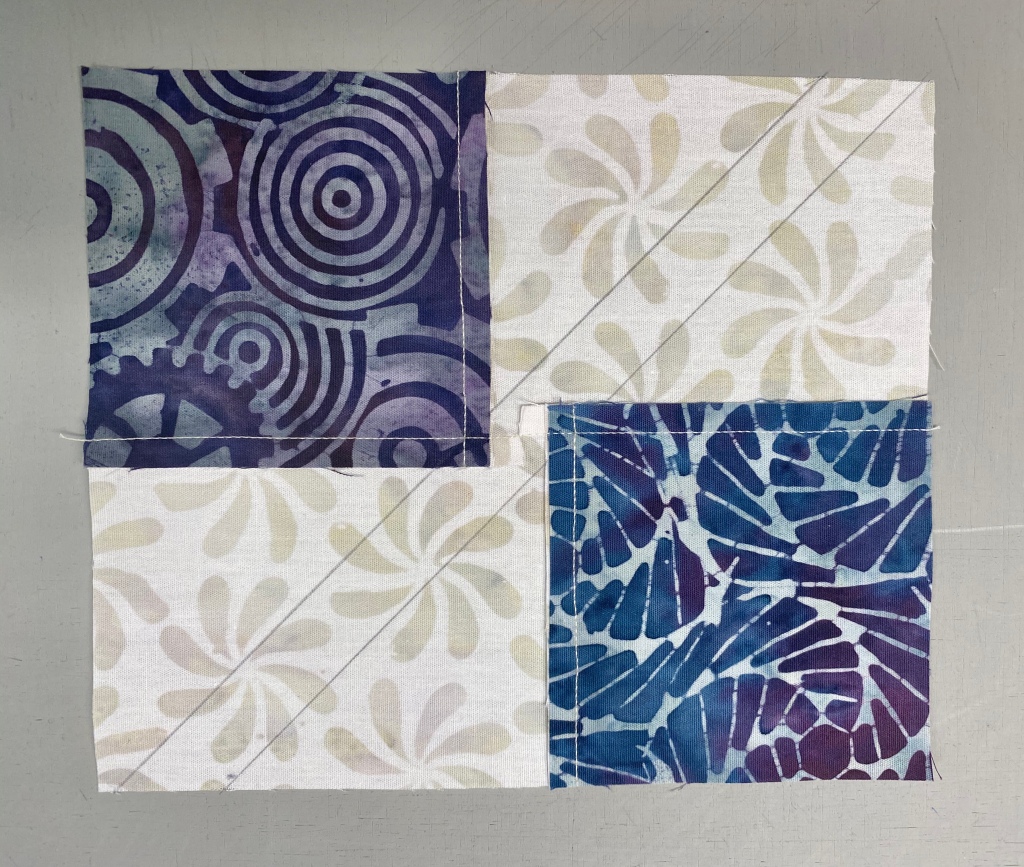
Step 6 – Mark two stitching lines ¼” on either side of the center diagonal line of the pieced Half Square Triangles.
Mark back of HSTs
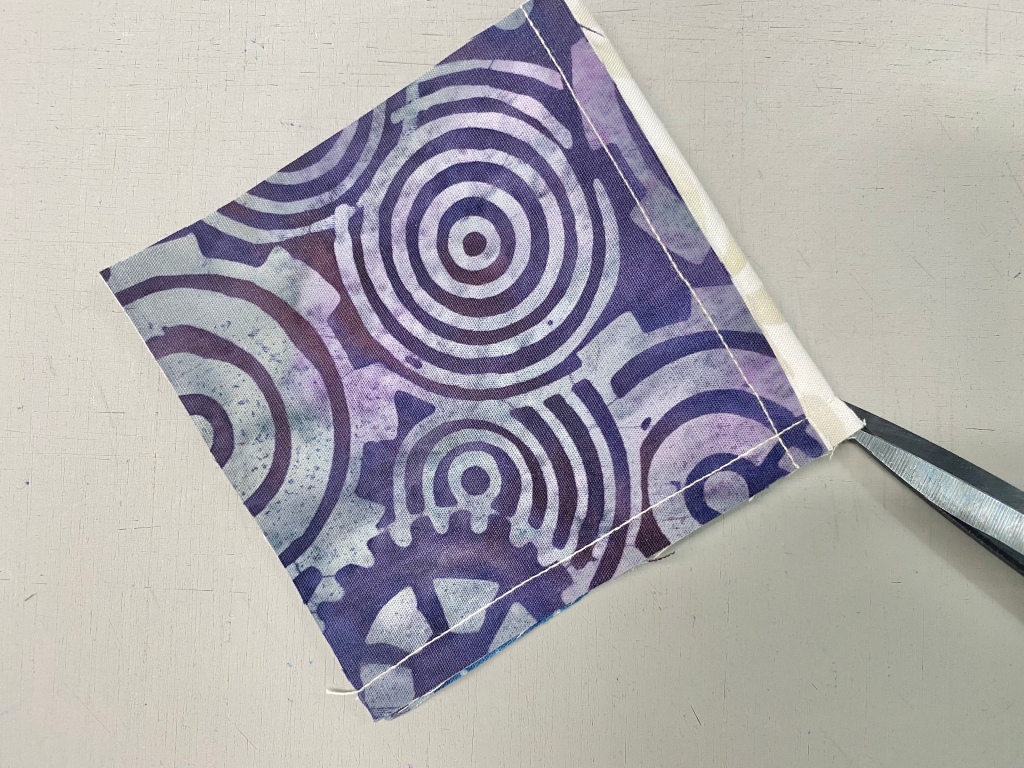
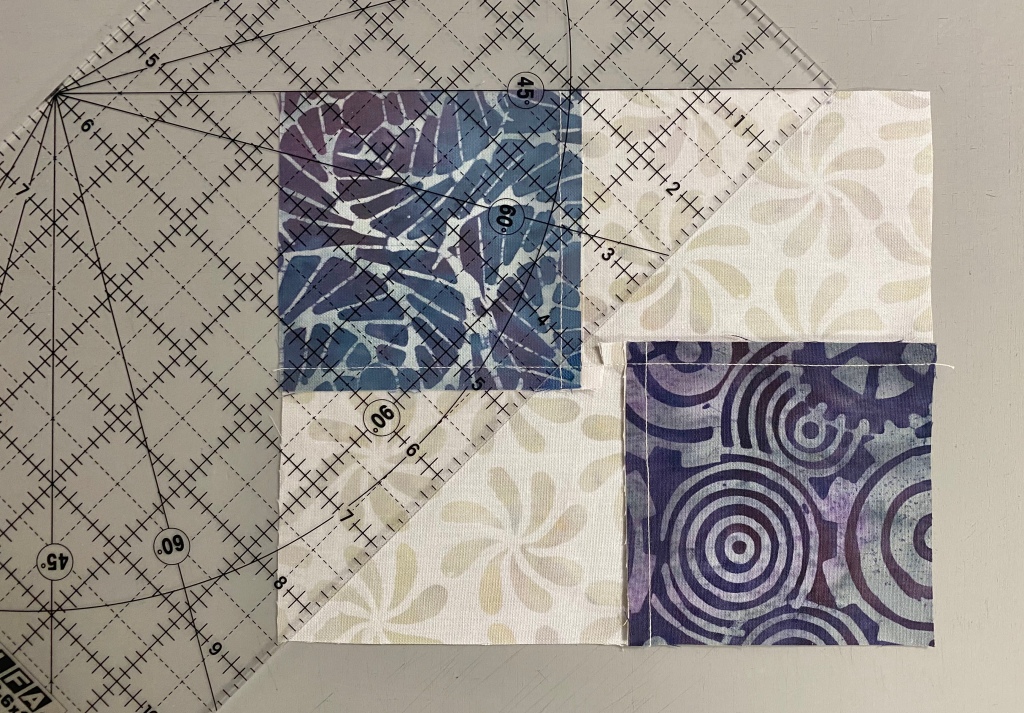
Step 7 – Position the pieced squares right sides together with the 7½” Print 11 squares. Note that the edges are not intended to match. Stitch on the lines, then cut down the middle. Press toward the large triangle.
Stitch, cut apart & press.
Step 8 – Trim the units to 6½” using the Tucker Timmer® I. Align the 6½” Sizing Diagonal with the long seam and the Common Diagonal with the short seam. Trim the first two sides.
First Trim
Step 9 – Rotate the unit 180o and align the Sizing and Common Diagonals with the seam as well as the 6½” cleanup lines with the trimmed edge. Trim the remaining two sides to create your precise Combination units. Label them Unit D.
Second Trim
Congratulations, you have learned to make half square triangles and combination units using your Tucker Trimmer I.
Journey’s Month 1 will start shipping September 29th. I will post the Month 1 blog on October 6th, 2020. In the meantime if you haven’t used your Four Patch Square Up tool yet watch Deb Tucker’s Four Patch Square Up Video:
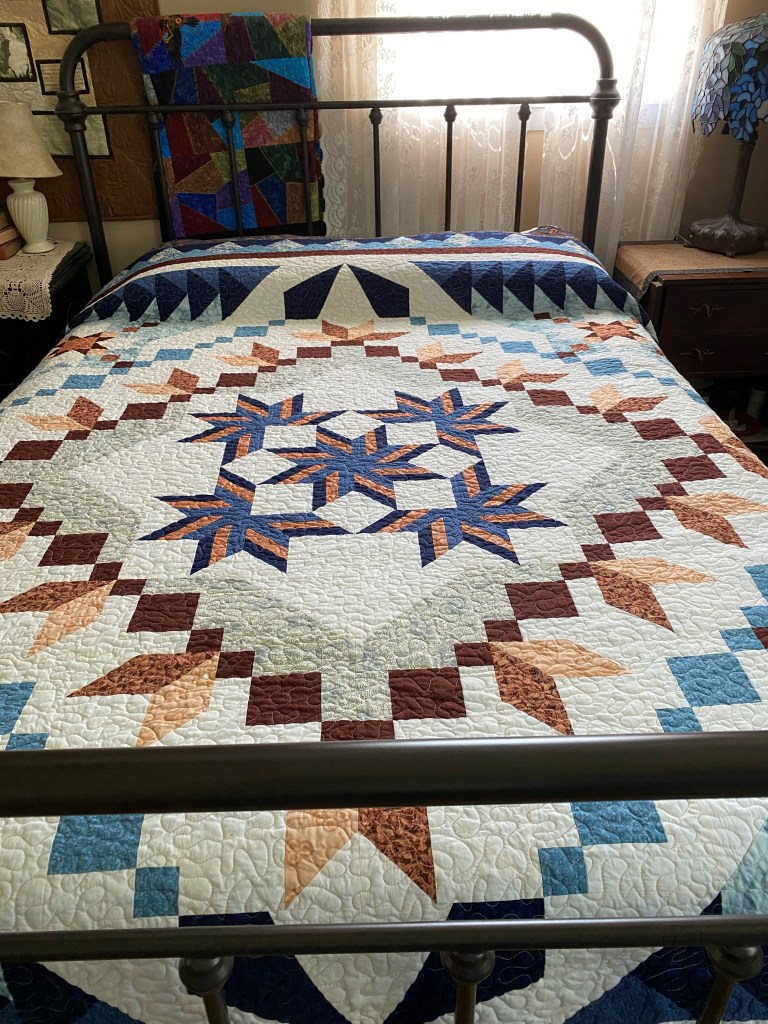
Are you Ready for Journey’s BOM? We are getting close. I am shooting for Journey’s Month 1 to be posted September 29th, IF everything is in place by then. I will keep you posted (get it, LOL). The photo above is the Journey’s I made to test the pattern last Spring. It was not made with the beautiful fabrics you are getting from Stitchin Heaven & Jason Yenter.
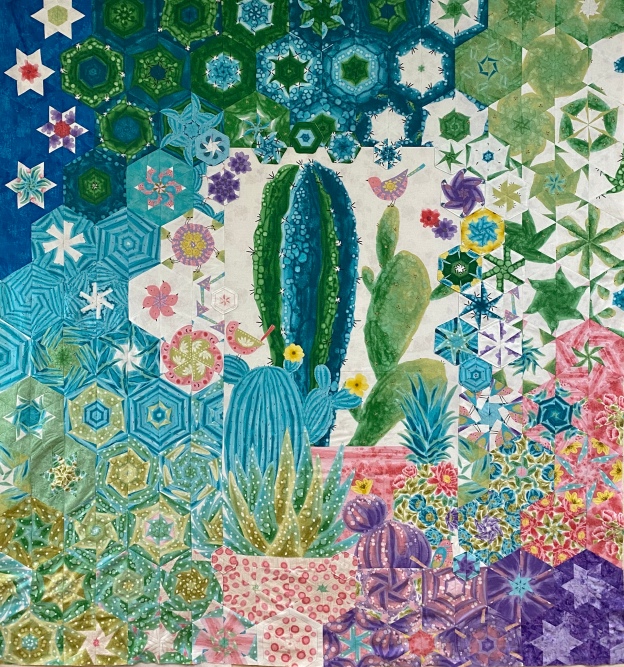
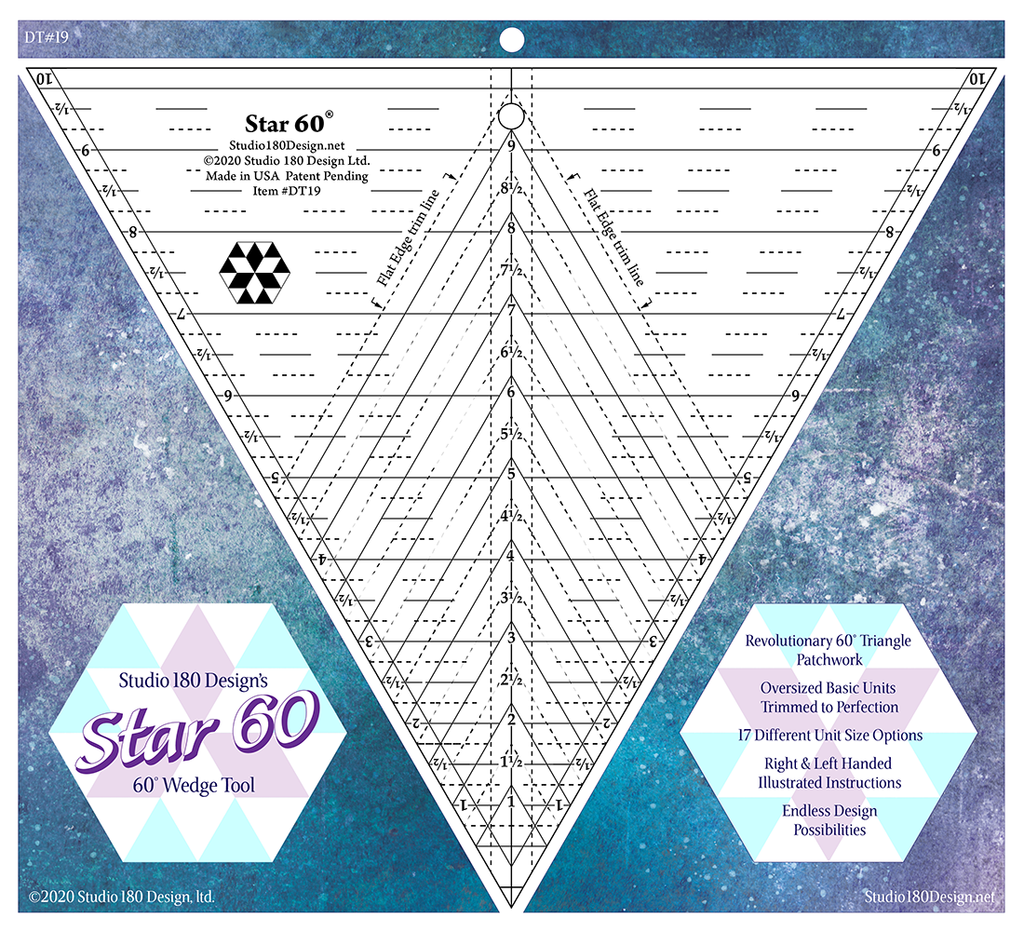
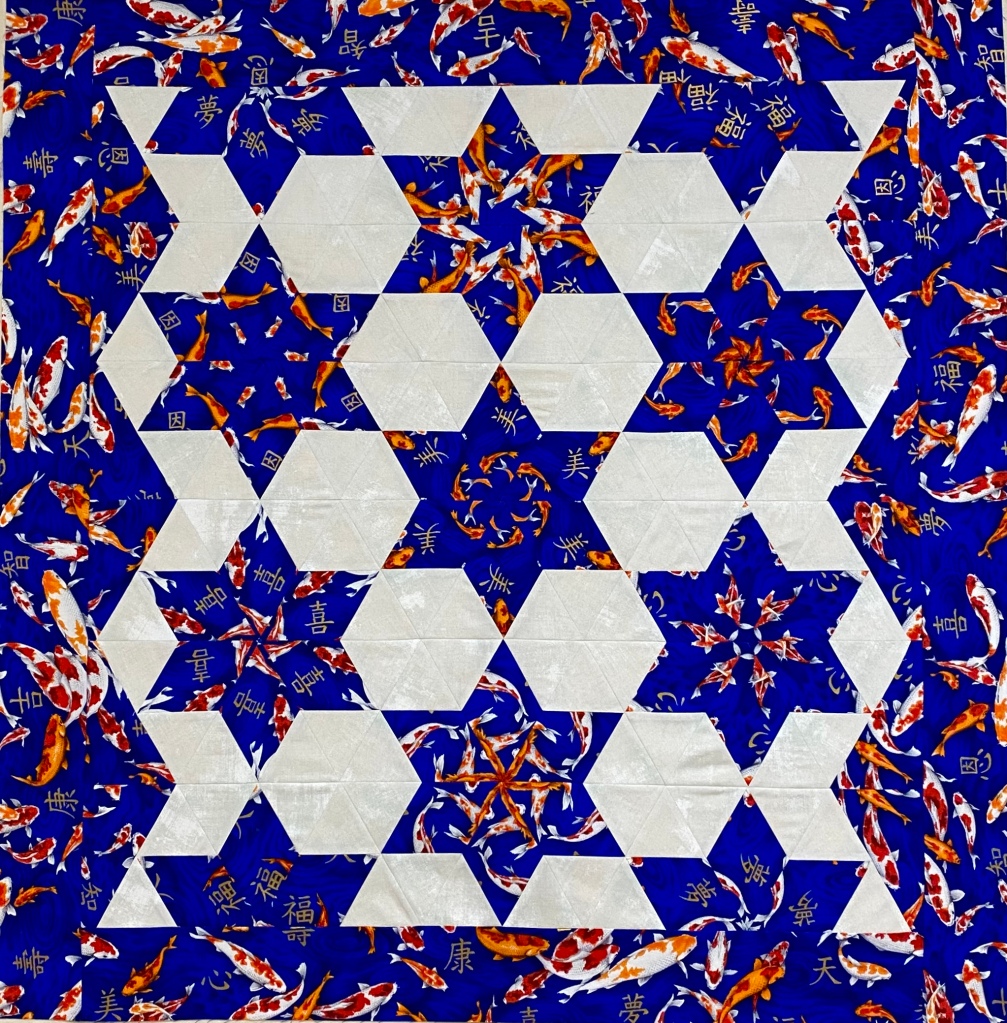
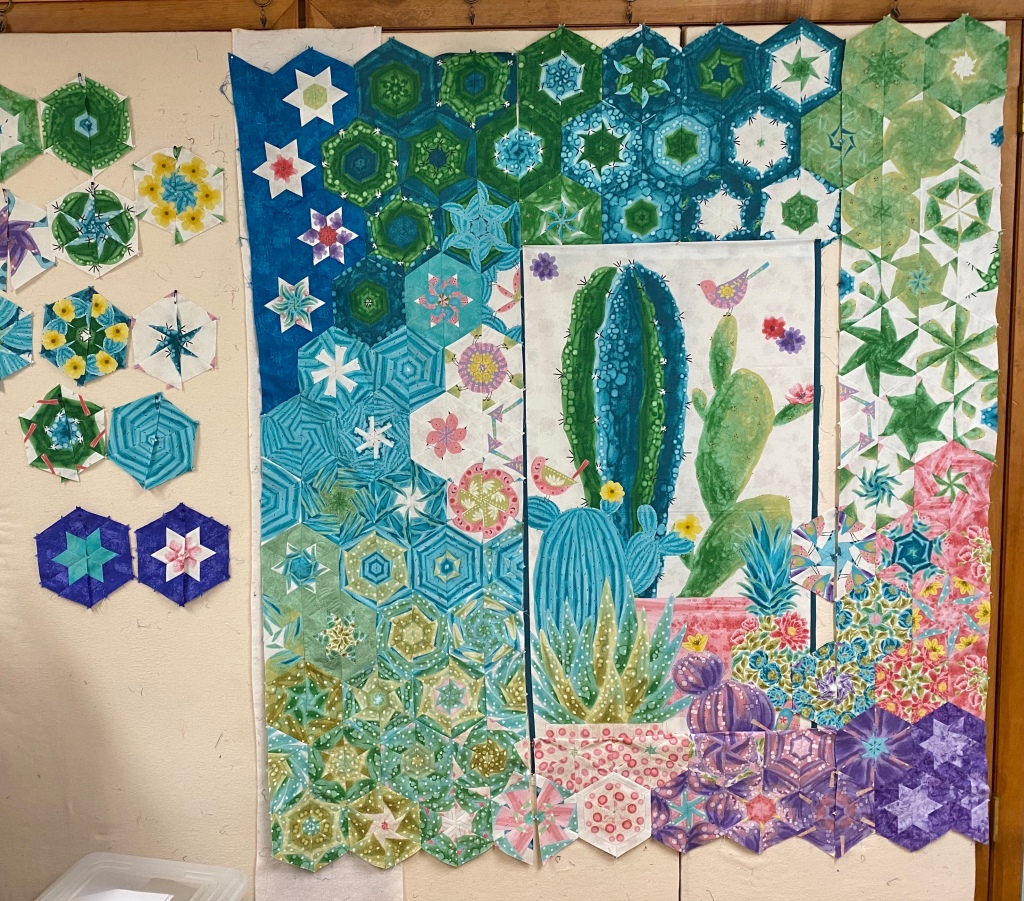
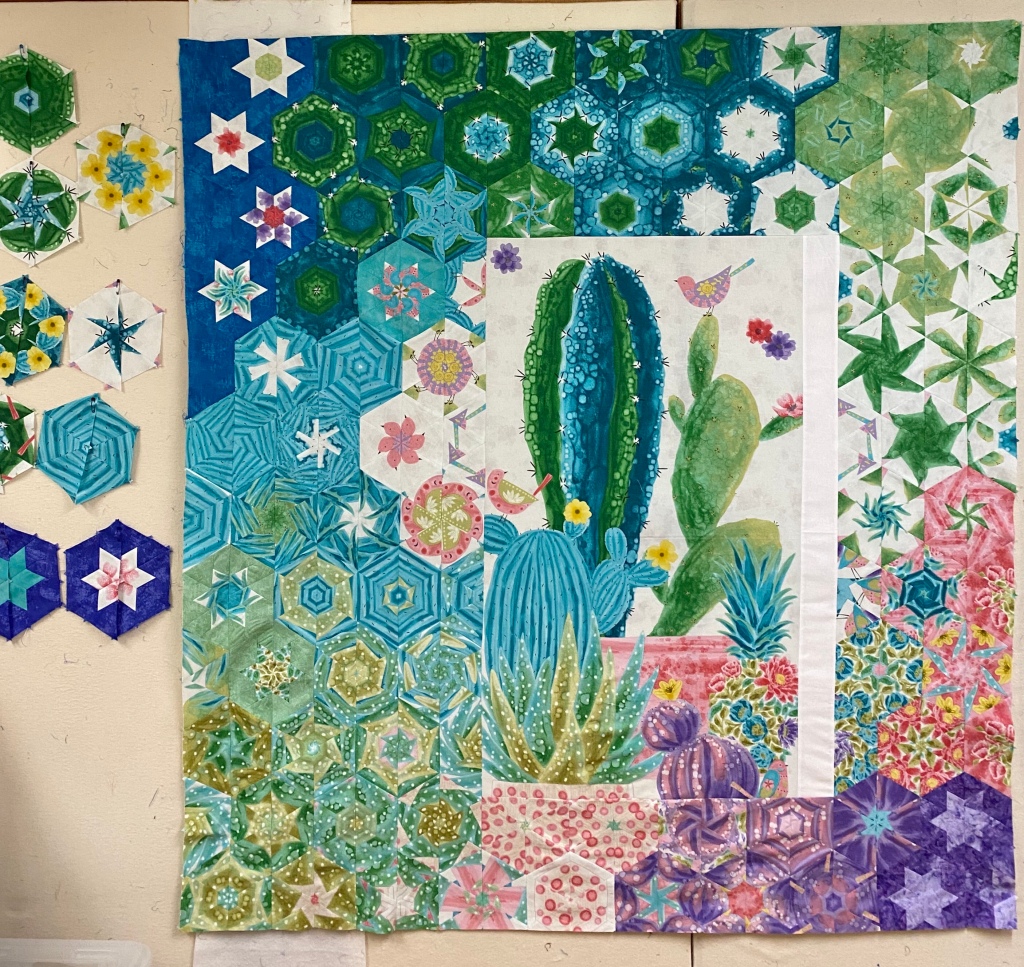
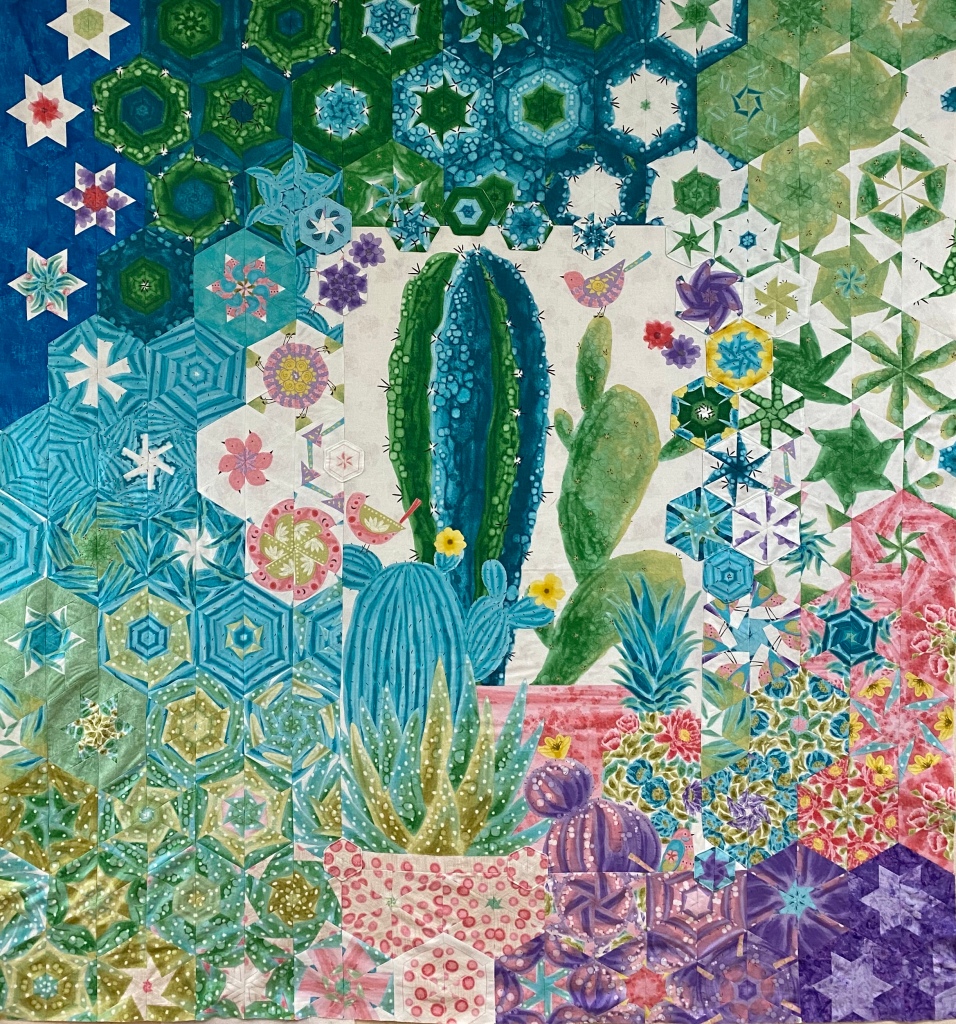
Yes, I’m at it again! Actually I’ve had this panel cut out since last Fall. I love One Block Wonders (OBWs). Sometimes I add cubes to create design interest or just for fun. It occurred to me that Studio 180 Design has a new Star 60 tool.
You can use this tool to cut equilateral triangles easily, along with 60 degree diamonds and side triangles in 17 sizes to create a multitude of 60 degree designs.
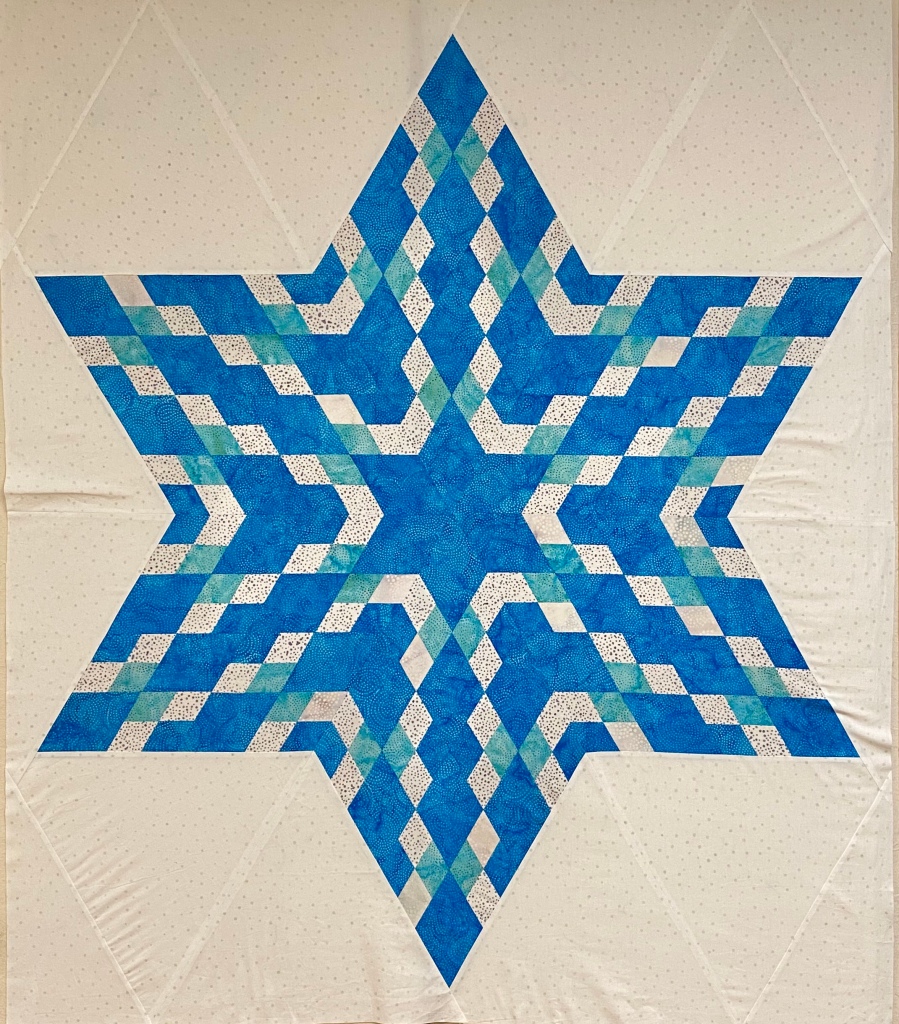
I played with Star 60 and created kaleidoscope stars and this 48″ star. Light Bulb moment!!!! Instead of inserting cubes in my OBW, why not a star?
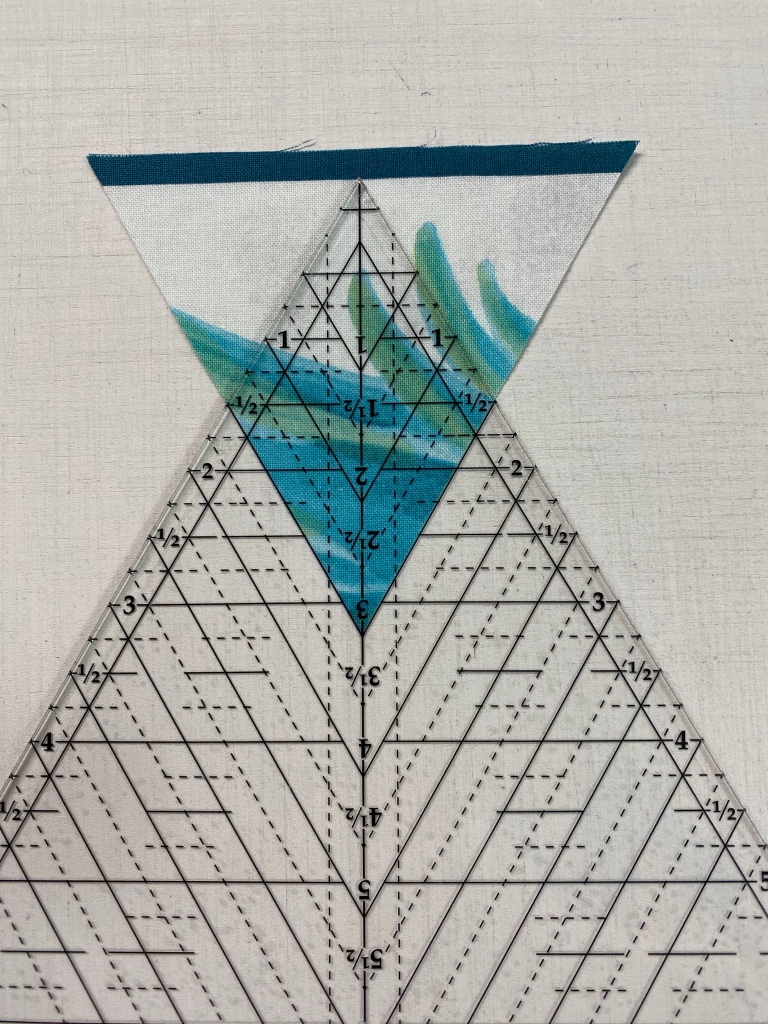
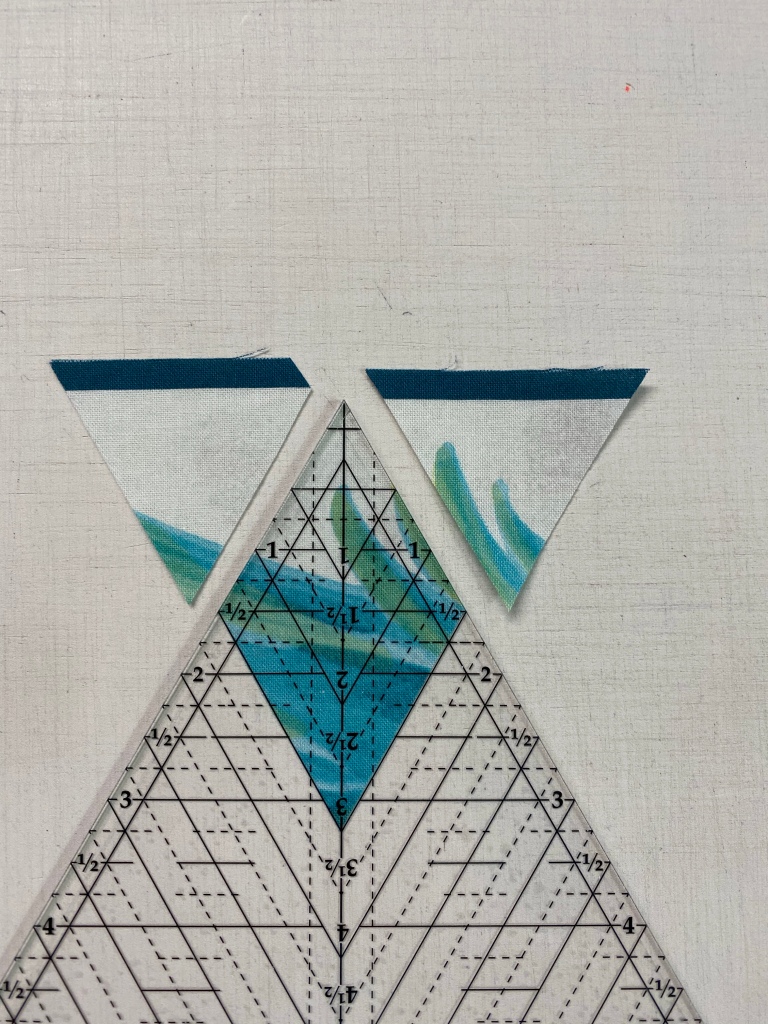
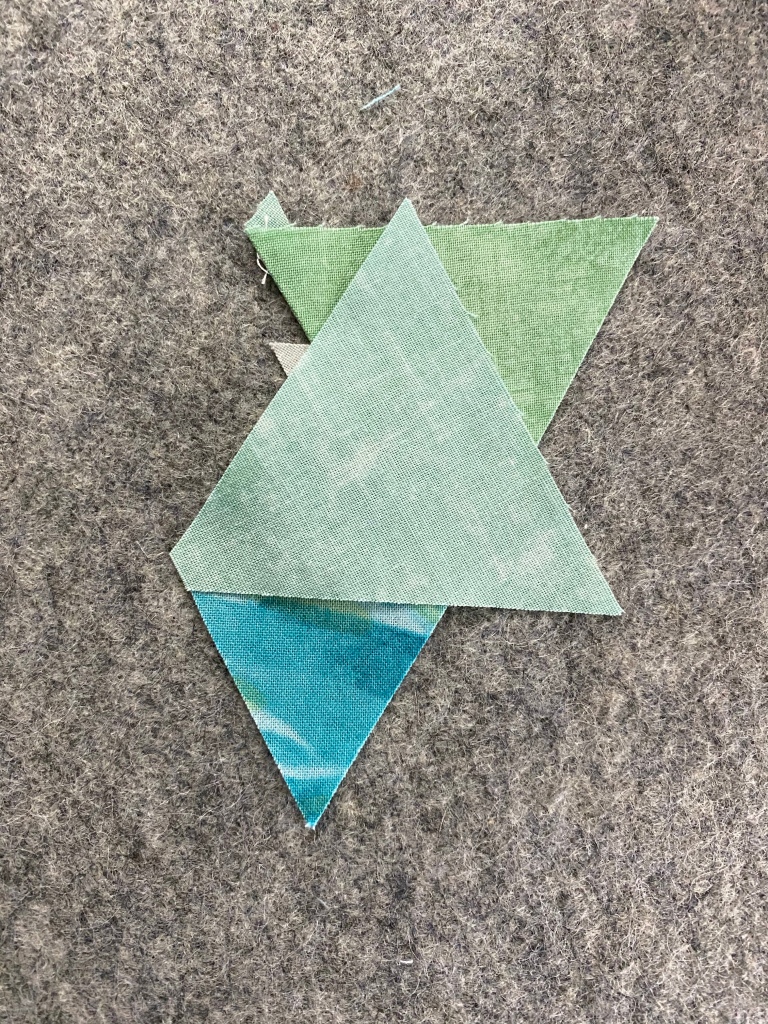
I usually have left over triangles when designing my OBW’s. I had equilateral triangles cut that had a dark edge that was larger than a 1/4″. I was thought it might not make a pretty hexie. These triangles had been cut from 3 3/4″ strips. I laid my Star 60 tool on the triangles and discovered I could cut 3″ diamonds from it. This allowed me to use these left over triangles in a different way.
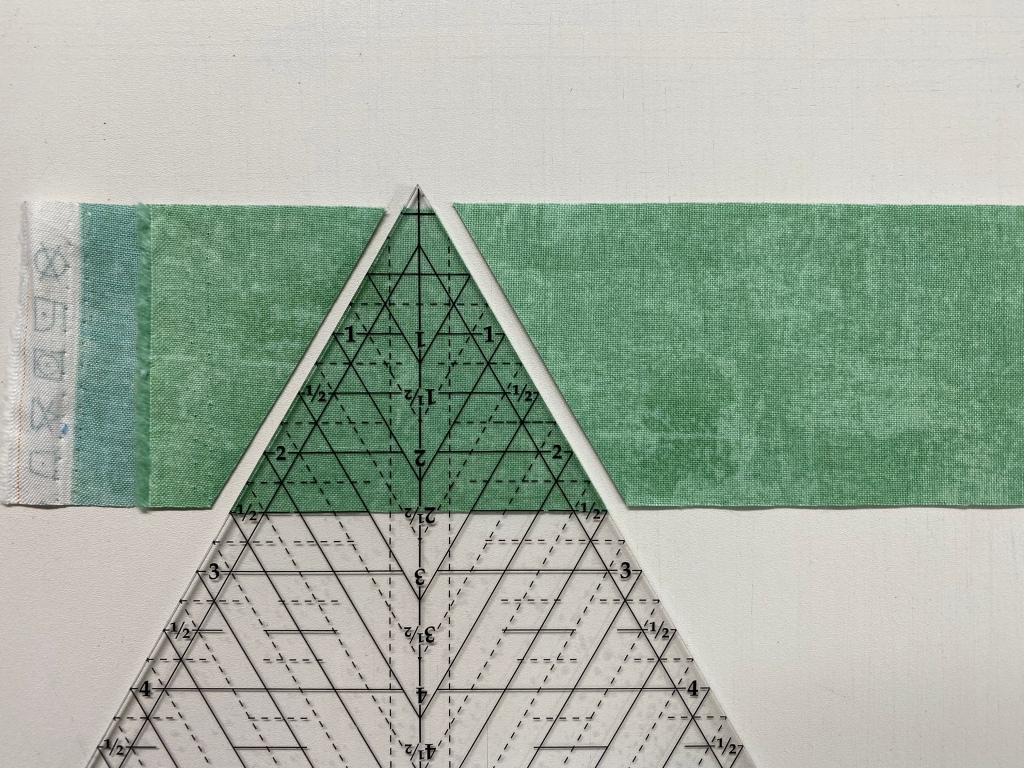
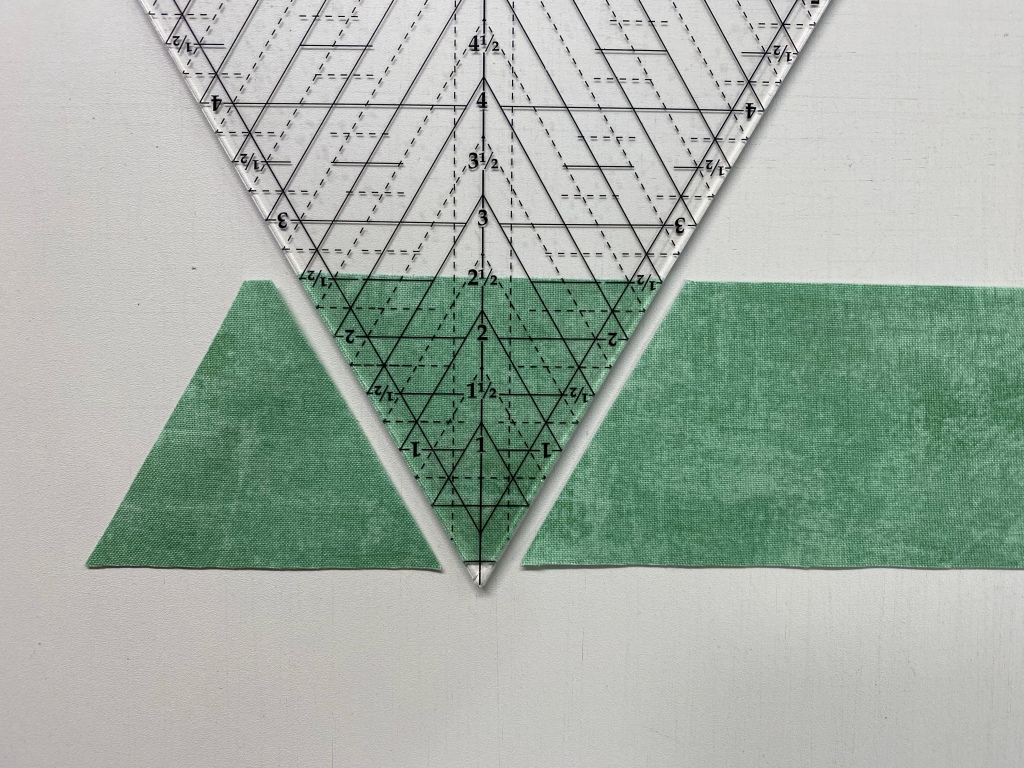
Way cool! Now I needed side triangles for the star points. I checked the size chart for 3″ diamonds and cut the appropriate size strip,
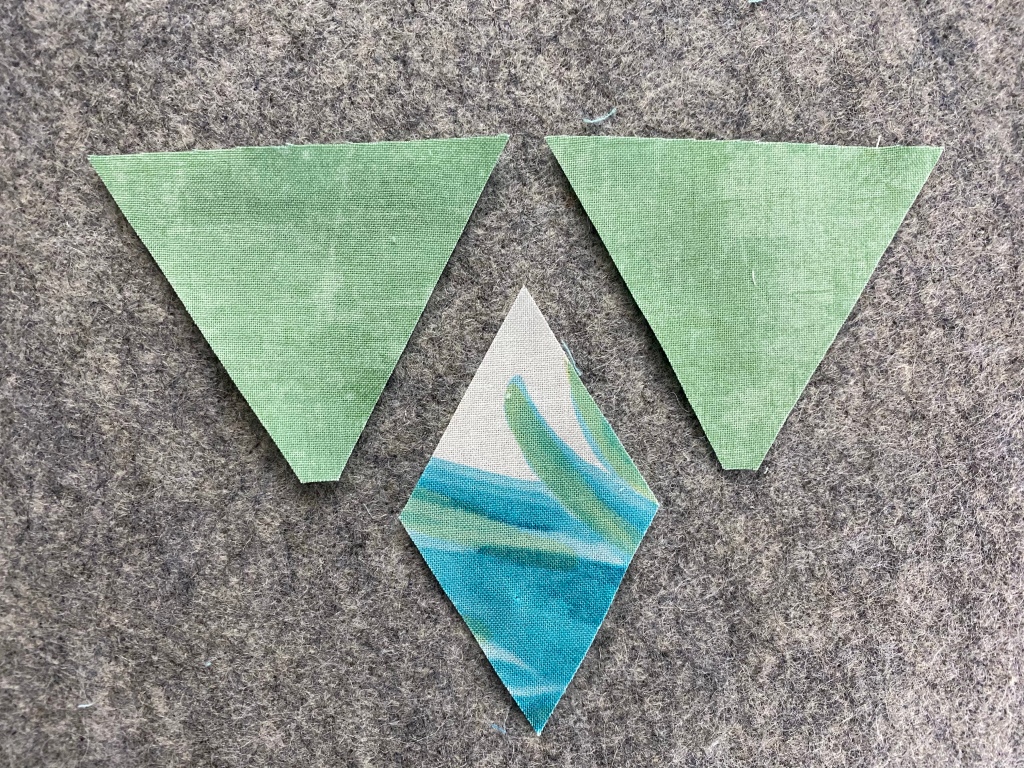
I cut the side triangles for my diamond star points.
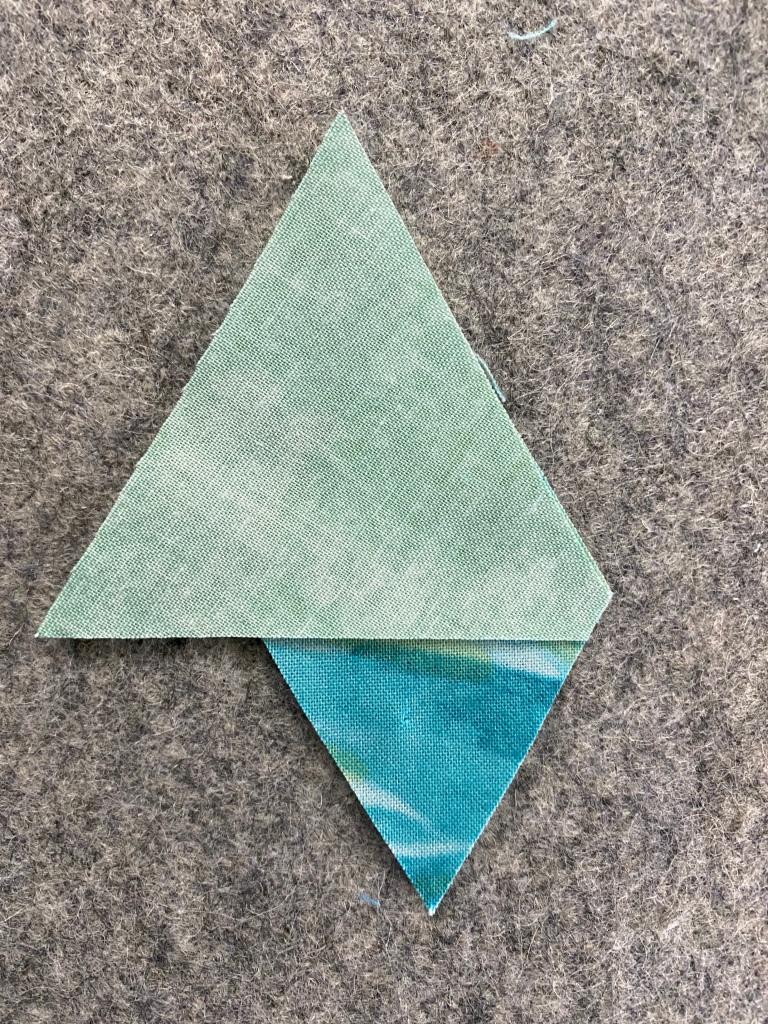
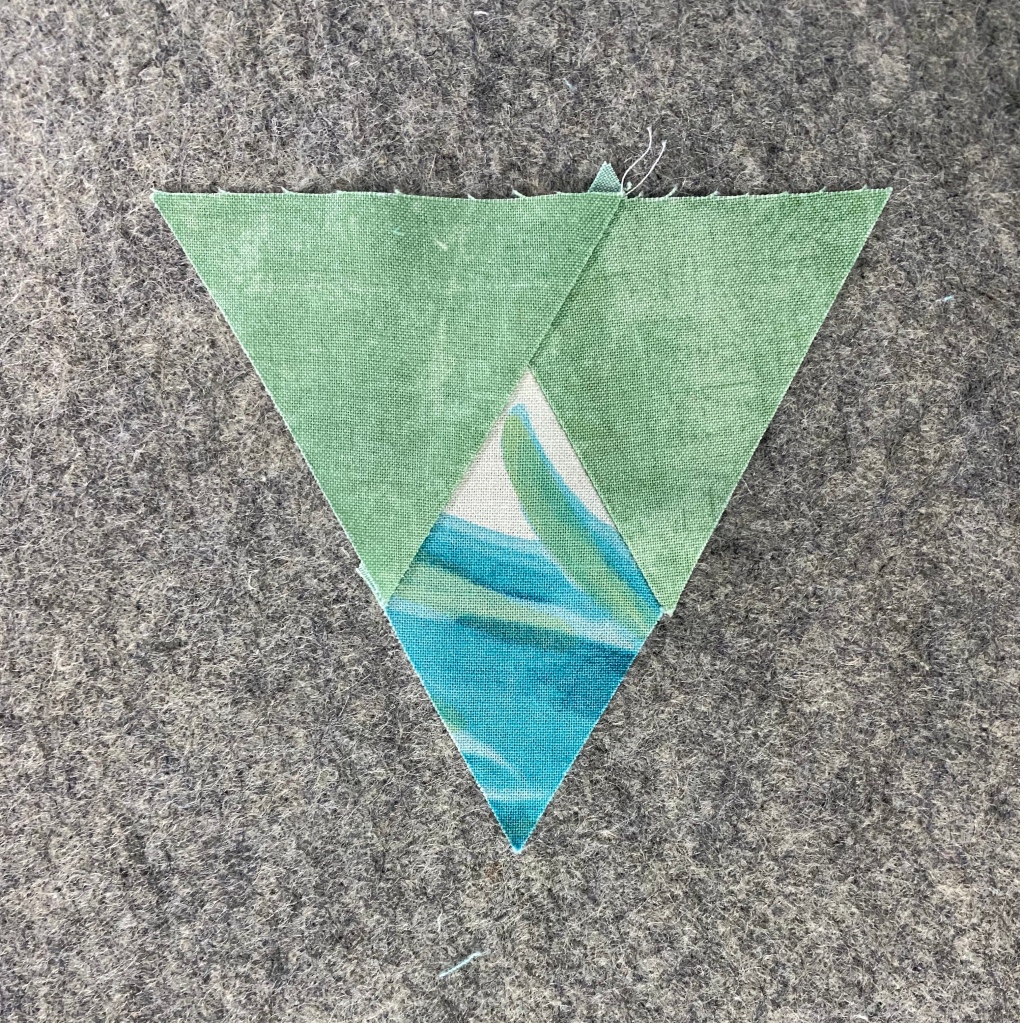
Lay out your units. Stitch the first side triangle to the diamond and press toward the diamond.
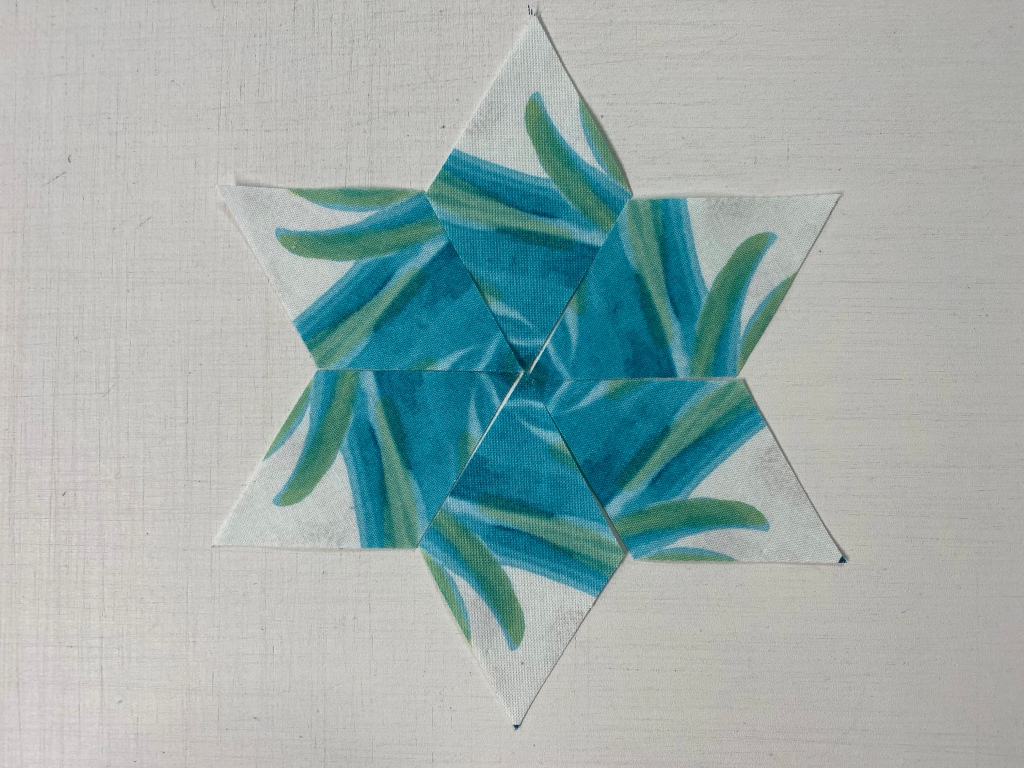
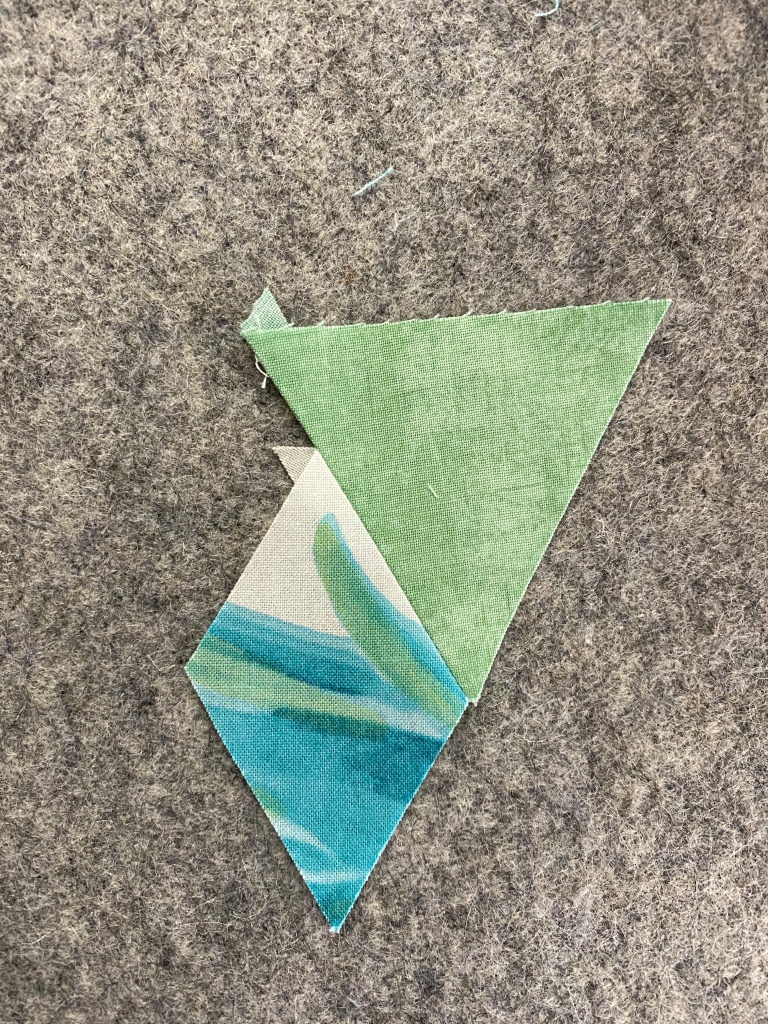
Stitch the opposite side triangle, press toward the side triangle. LOOK what you have! An equilateral triangle.
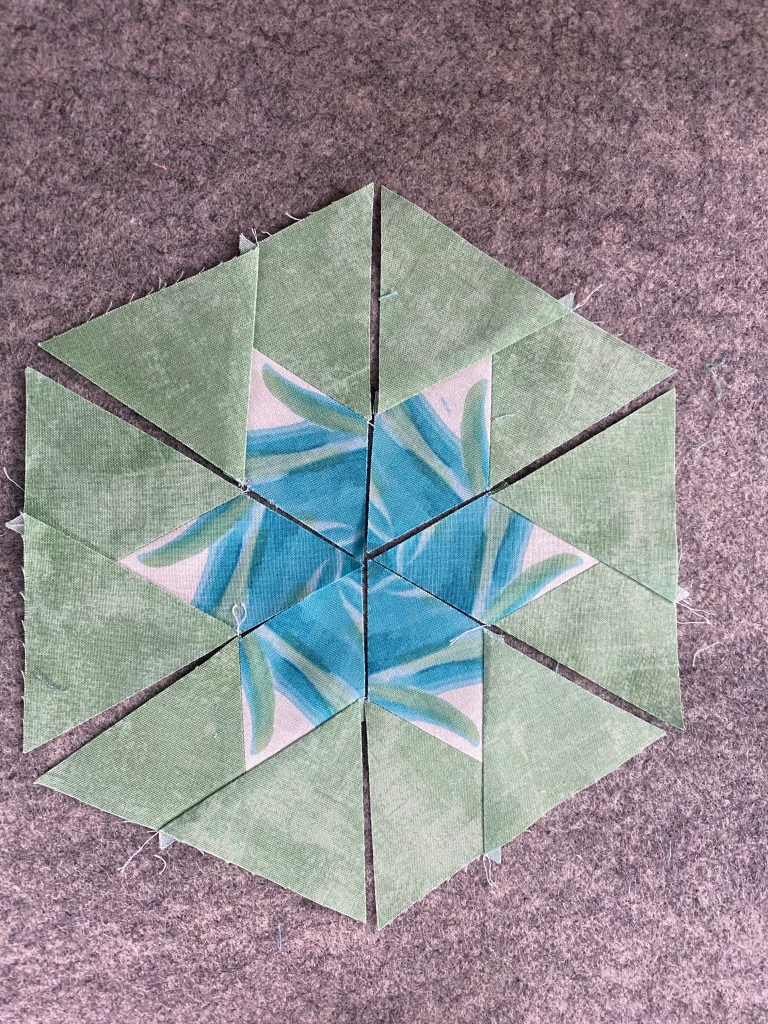
Stitch 3 triangles together, and then the other 3 together, press seams open as you would a regular hexagon.
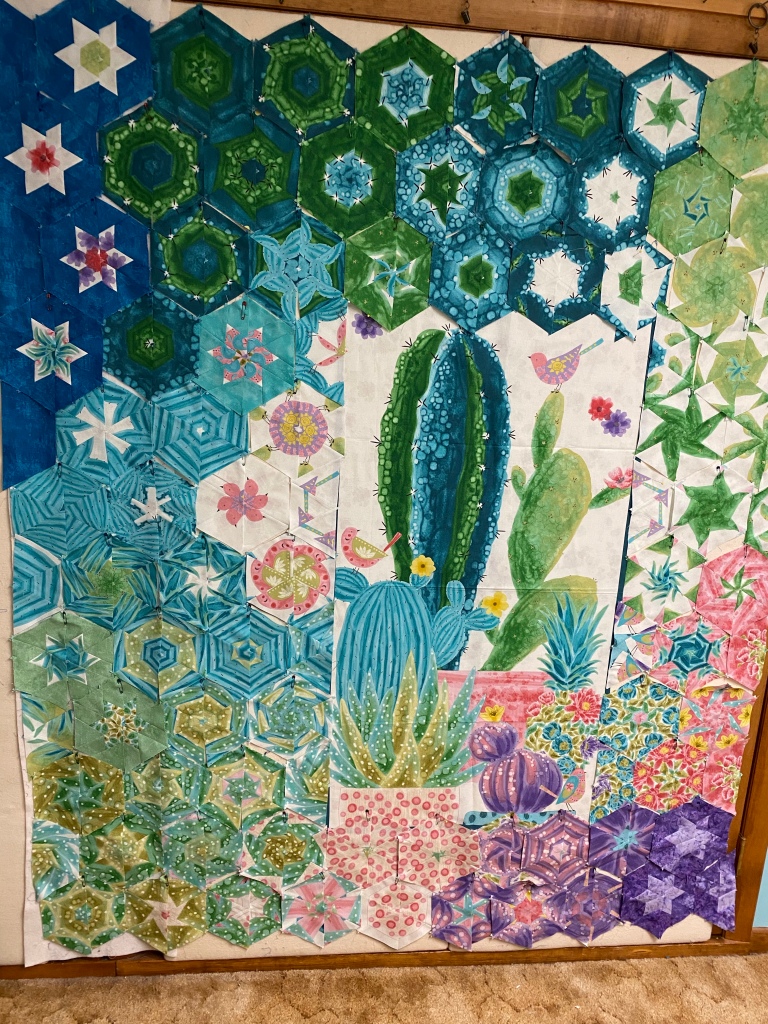
I began designing around my panel. I had great fabric “Canvas” from Northcott. This rich colors worked so well with panel.
I have stitched my hexie’s into four sections to add to my panel. My hexies were cut from 3 3/4″ strips, which means they will finish as a 6″ hexagon. For 6″ hexies to fit evenly across the width this panel should measure 18″ or 24″ wide. This panel is less than 24″ wide.
I did not want to trim my panel to 18″ so I added enough fabric to the panel to bring it up to 24″ wide and would be evenly divisible by 6″. Now to hide the strip.
There are 9 & a 1/2 Star 60 hexie’s in this quilt. The Star 60 tool also made it easy to cut half & whole hexagons. I’ve just barley scratched the surface of cool 60 degree design’s that can be added to a One Block Wonder. You can download my hints for using panels in a OBW below:
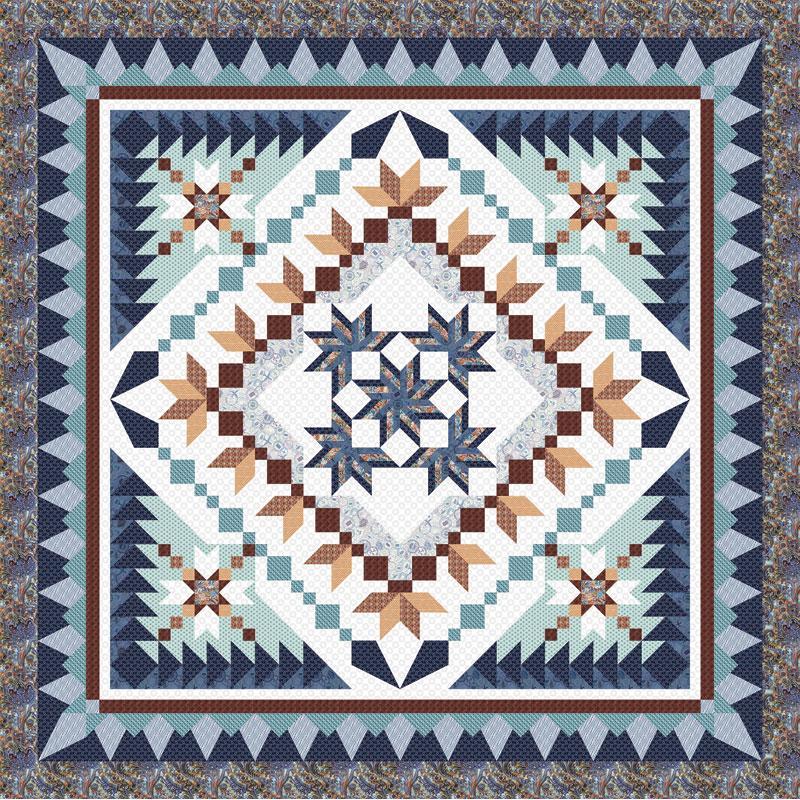
Stitchin Heaven Quilt Shop is excited to announce a new collaboration of a unique BOM program from Deb Tucker (Studio 180 Design), NYT and USA Today best-selling author Marie Bostwick (Between Heaven and Texas, Hope on the Inside, and the Cobbled Court Quilt Series, including A Single Thread), Deb Luttrell (Stitchin’ Heaven), and Jason Yenter (In the Beginning Fabrics). In this 12-month program you will take your own Journeys through an exclusive novella written by Marie Bostwick. Each month you will receive a chapter from the book which is exclusive to this program. It is a page-turning tale of love, loss, and new beginnings for PJ Lloyd, an adventurous young woman who defies her family and risks her future to make a difference after the attack that plunged America into the second World War.
I will be your guide on this “Journey”. Every month I will post a tutorial showing you how to use the tools required for this beautiful quilt and answering your questions.
Throughout the Journeys BOM you will be on your own journey to learn how to use 8 of the tools from Studio 180 Design. Tools include: V Block, Corner Pop, Four-patch Square Up, Tucker Trimmer, Rapid Fire Lemoyne Star, Square Squared, Wing Clipper, Corner Beam. The final quilt measures 102″ x 102″. A beautiful collection of fabrics have been designed by Jason Yenter of In The Beginning Fabrics, that will make this project an heirloom favorite.
I tested the pattern with fabrics from Deb Tucker’s stash. It is truly a beautiful quilt I can’t wait for you to make your own! The Journey’s BOM program is due to start in September 2020. We will be sure to keep you up to date and informed on all the details.
A conversation with Deb Luttrell, Deb Tucker & Marie Bostwick
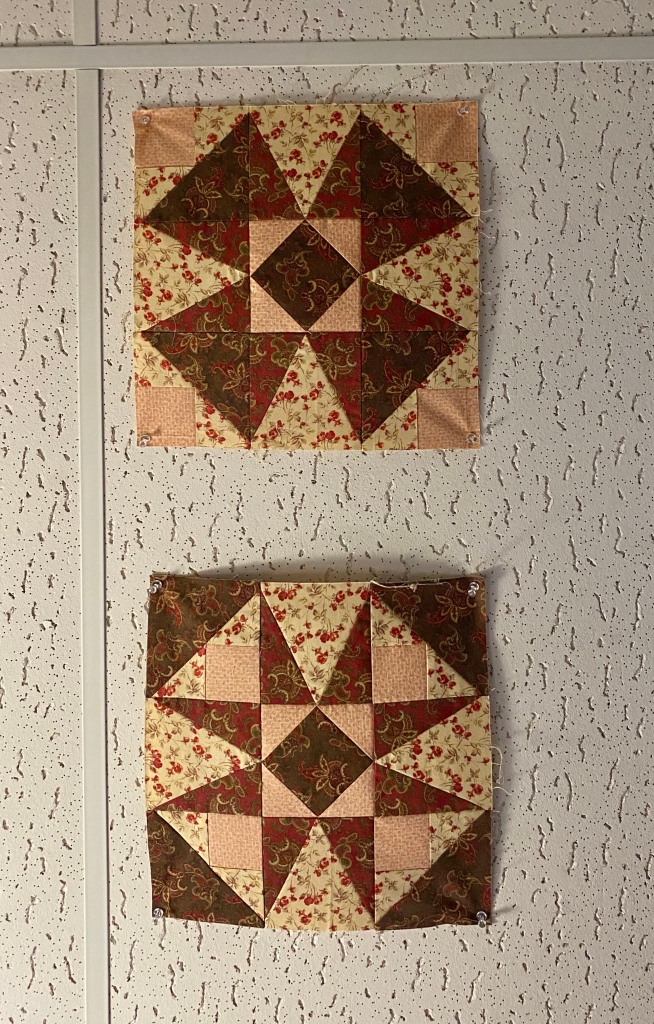
I’m sitting here in Tuckerville, watching TV, looking at my ceiling. I pin orphan blocks on my drop ceiling.
Two of a Kind
These two blocks are made from the same fabric and units. They both have a Square Squared for the block center, 4 V Block units for the star points and 4 Shaded Four Patch Units (with the Tucker Trimmer I) in the block corners. The top block has the Shaded Four Patch unit small square facing out, while the bottom block has the Shaded Four Patch unit small square facing in. Two very different looks from the same block.
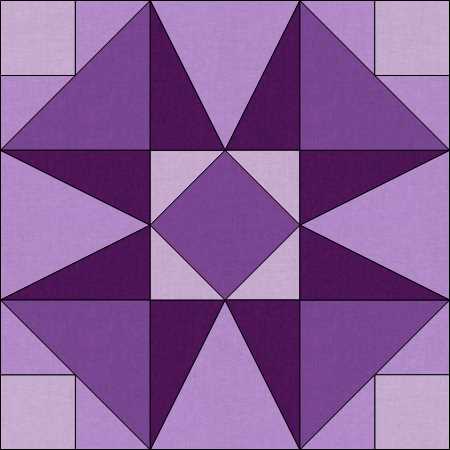
As I stared at these blocks on the ceiling I wondered what the secondary design would be if I put them in a quilt. Time to break out EQ8!
I used shades of purple and lavender because I thought my sister may like it. This is pretty cool. EQ8 is fun to use and brings quilt designs to life. Time to break out my Studio 180 Design tools get busy!
Got some fat quarters? Deb Tucker has many free patterns for you and this one is called Twilight Paths. It uses 14 fat quarters and a background with the Tucker Trimmer I. Twilight paths uses 5″ finished Shaded Four Patch units (5.5″ unfinished). The Shaded Four Patch Technique Sheet shows you haw to make this unit in 21 sizes! This whole quilt is made with Shaded Four Patches!
This is Twilight Paths using Deb Tucker’s Twilight Chic fabric line from Island Batik!
Download your pattern and let’s go!
Group 1
Group 2
To get a great scrappy quilt, Deb suggests that you split your fat quarters into two groups. Group 1 along the 22″ side, cut two 3 1/4″ strips and one 6″ strip, sub-cutting into 3 – 6″ x 7″ rectangles. Group 2 along the 22″ side, cut one 3 1/4″ strip and two 6″ strips, sub-cutting each into 3 – 6″ x 7″ rectangles. Cut one more 3 1/3″ strip from leftover from Group 1.
From your assorted dark fat quarters you will need 22 – 3 1/4″ strips, and 64 – 6″ x 7″ rectangles. From your background you will need 22 – 4 1/4″ strips.
Step 1 – Position each 3 1/4″ strip right sides together with a 4 1/4″ wide background strip and stitch lengthwise. Press seams toward the wider strip.
Step 2 – Pair two of the pieced strips right sides together with the narrow strips on opposite sides, so that each narrow strip faces a wide background strip. Sub-cut the strip sets every 3 1/4″ units until you have 128 rectangles.
128 – 3 1/4″ units Pick up each unit the same way when stitching one side.
Step 3 – Keep the two rectangles paired; stitch each pair of cut pieces together along one long side. Note the seams are not supposed to nest.
Snip
Snip the seam allowance at the half way mark between the two squares all the way to the seam.
Press each half of the seam allowance away from the square as shown above.
Step 4– Mark stitching lines. Select a ruler with a 45 degree angle marked on it. Draw a 45 degree sewing line from top to bottom, through the corner of the square where the stitching lines meet. Draw a 2nd line through the corner of the other square.
Step 5 – Center each marked, pieced rectangles right sides together with a 6″ x 7″ rectangle.
Stitch on both lines.
Trim seams 1/4″ from the stitching lines.
Press all seams toward the large triangles.
Step 6 – Trim the 128 oversized units with your Tucker Trimmer I to 5 1.2″ x 5 1/2″. Align the 5 1/2″ Sizing Diagonal with the diagonal seam of the unit. Position the common diagonal so it passes through the center of the unit. Trim the two sides.
Step 7 – Rotate the unit and line up the 5 1/2″ cut size lines on the tool with the previously trimmed edges, align the sizing diagonal and the common diagonal as before and trim the other two edges.
Step 8 – Layout 80 units according to the diagram on page 5 to create the quilt center.
Stitch the units into rows and then stitch the rows together. Press all seams open.
Step 9 – Attach the Inner Border. Stitch the inner border strips to the quilt center.
Step 10 – Assemble the Outer Border. Stitch the remaining units together into 4 border strips containing 12 units each. Make sure you orient the units as shown in the pattern. Press all seams open. Finish as indicated.
My top is not yet quilted. I used Deb Tucker s Steam Engine fabric line by Island Batik in my quilt top. So I guess I will call mine Steam Engine on the Tracks!
I was entertaining my self with Facebook when I saw a post by my friend and fellow Studio 180 Design Certified Instructor, Karen Overton The Quilt Rambler. Here is some of what she wrote: “The idea began with a talented quilter named Jessica of Jessica Quilter also known on Instagram as @Jessicaquilter. Seems the good folks at Just Wanna Quilt picked up on her inspiration and ran with it! More details can be found here on the JWQ website. Jessica had an idea to use a little bit of her favorite fabrics from her “inventory” and the rest they say is history”. Karen was chosen as a Featured Designer, you can read the rest of The Quilt Rambler’s blog Inventory Quilt Project here.
I was inspired to check my “Inventory”
I had this wonderful collection by Tula Pink called Spirit Animal. I have had this fabric in my “Inventor” for over two years.
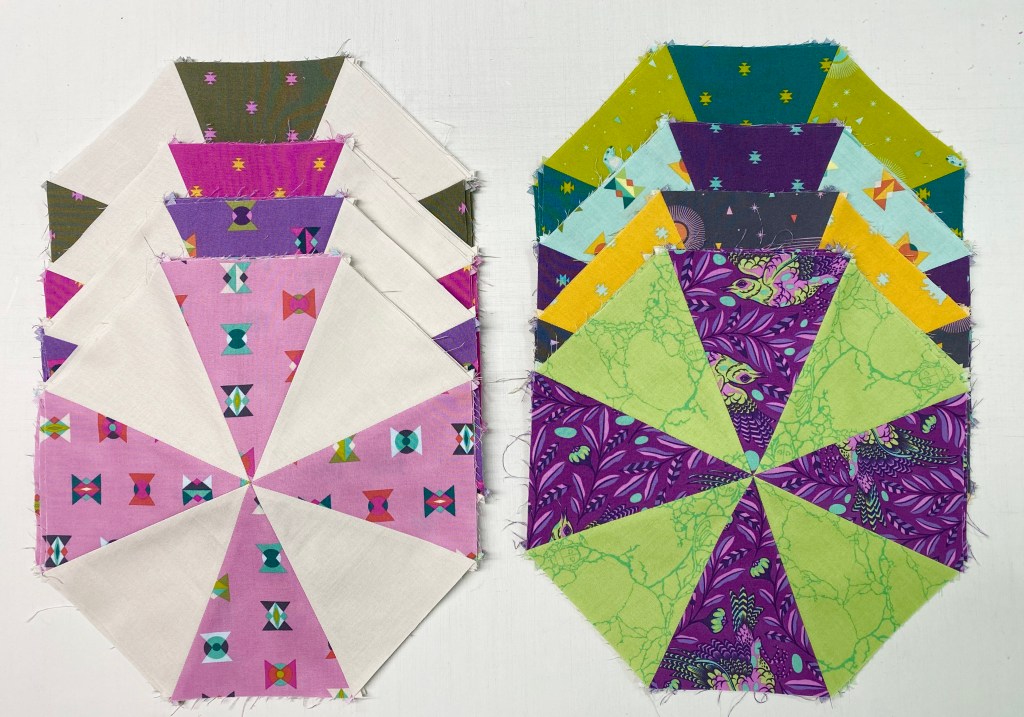
I decided to make Hallucination by Deb Tucker. This is a great pattern to get yourself acquainted with the Wedge Tool. You will also need a Tucker Trimmer III. To accomplish a scrappy Hallucination I had to put on my Rose colored glasses. I needed light, medium and dark fabrics. Whenever I have trouble sorting fabrics by value I use red lenses to help.
I began cutting my large wedges for Block “A” which consisted of medium and dark wedges.
Once the wedges are cut position a dark wedge with a medium wedge aligning the raw edges, being sure to always put the dark wedge on top. This will assure you will alternate between dark and medium wedges in your block. Stitch into pairs using your best 1/4″ seam allowance.
Remove the “dog ears” and “sliver trim” the wedge pair by aligning the common diagonal line on your Tucker Trimmer with the seam and trim the dog ears, and true up the 90 degree angle. Note there may be just a few whiskers trimmed here.
Continue for all the “A” Blocks and the “B” Blocks.
You need to make a halfway registration mark on all 8 wedges of all “A” & “B” Blocks. You can do this by placing the center line of the wedge tool on the seam and mark on the right side of the fabric with a removable marker. My thin chalk pen broke so I folded the wedges in half matching the seams and then pressed with my iron to give a centerfold line.
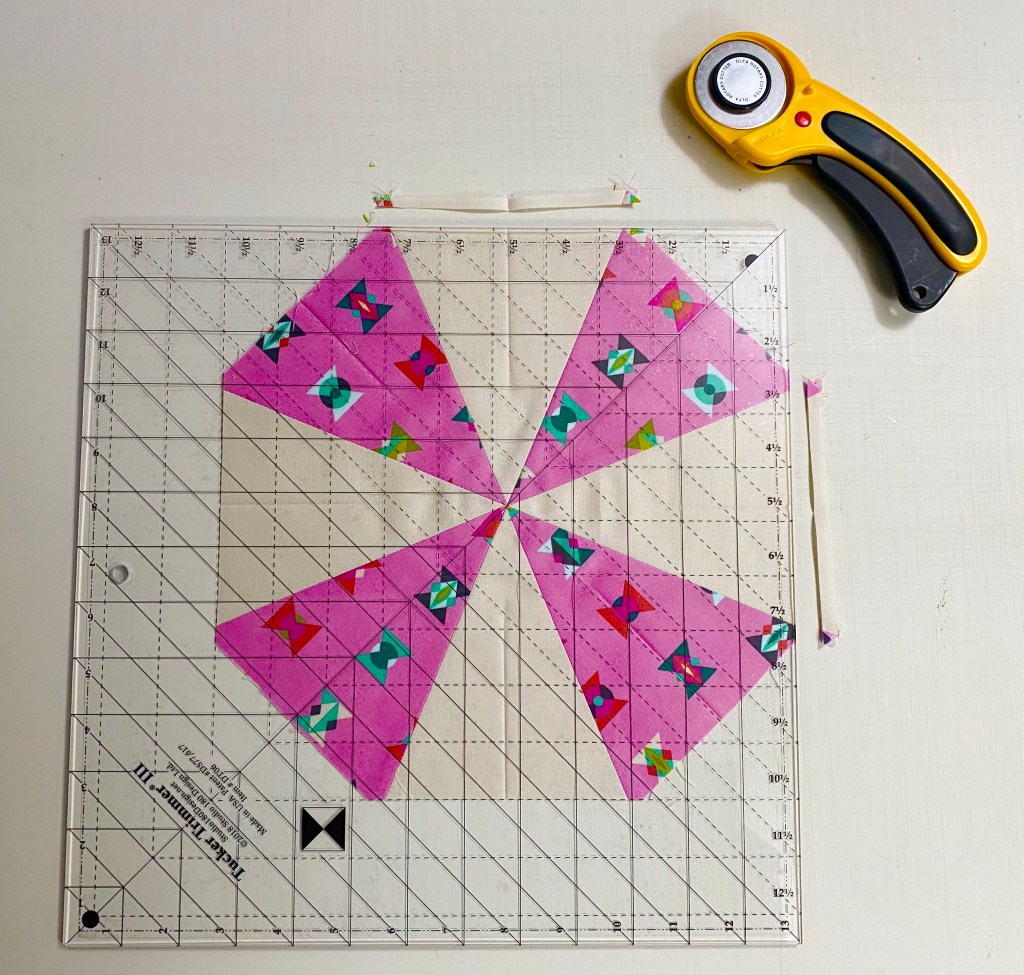
Block A: Position the dark wedges north, south, east and west on your cutting mat. Align the 10 1/2″ sizing line and the common diagonal line with the registration marks and the intersection of the lines with the center of the block. Trim up the side and across the top. Rotate realign and trim again. The dark wedges are trimmed so we can add corners to the block. The medium wedges will be trimmed after the corners are added.
Center the oversized corner triangles over the just trimmed dark wedges and stitch. Press toward the corner triangles.
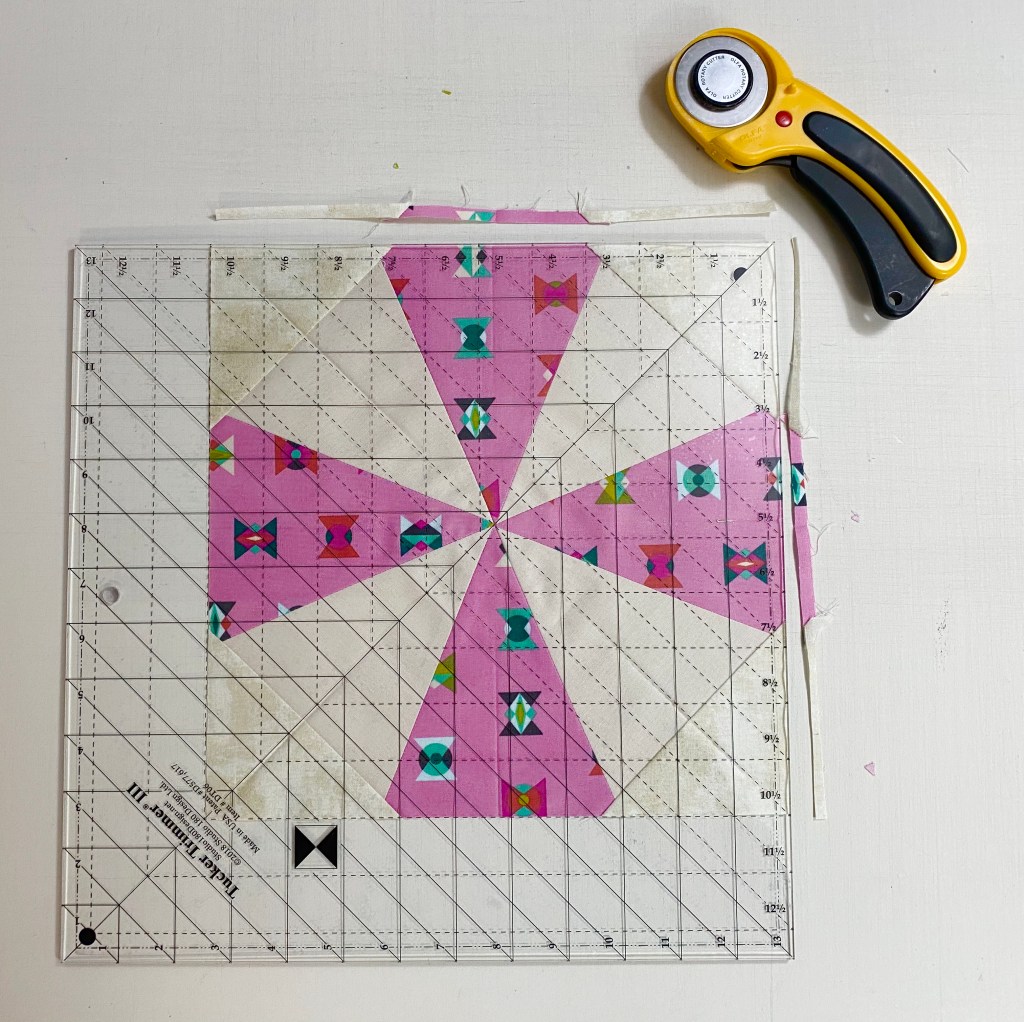
Using your Tucker Trimmer III, align the common diagonal and the 10 1/2″ sizing line with the registration marks and lines intersecting over the center of the block, trim up the side and across the top. Rotate the block and trim again.
Block B: Position the light wedges north, south, east and west on your cutting mat. Align the 10 1/2″ sizing line and the common diagonal line with the registration marks and the intersection of the lines with the center of the block. Trim up the side and across the top. Rotate realign and trim again. The light wedges are trimmed so we can add corners to the block. The medium wedges will be trimmed after the corners are added.
Center the oversized corner triangles over the just trimmed light wedges and stitch. Press toward the corner triangles.
Using your Tucker Trimmer III, align the common diagonal and the 10 1/2″ sizing line with the registration marks and lines intersecting over the center of the block, trim up the side and across the top. Rotate the block and trim again.
Block C:
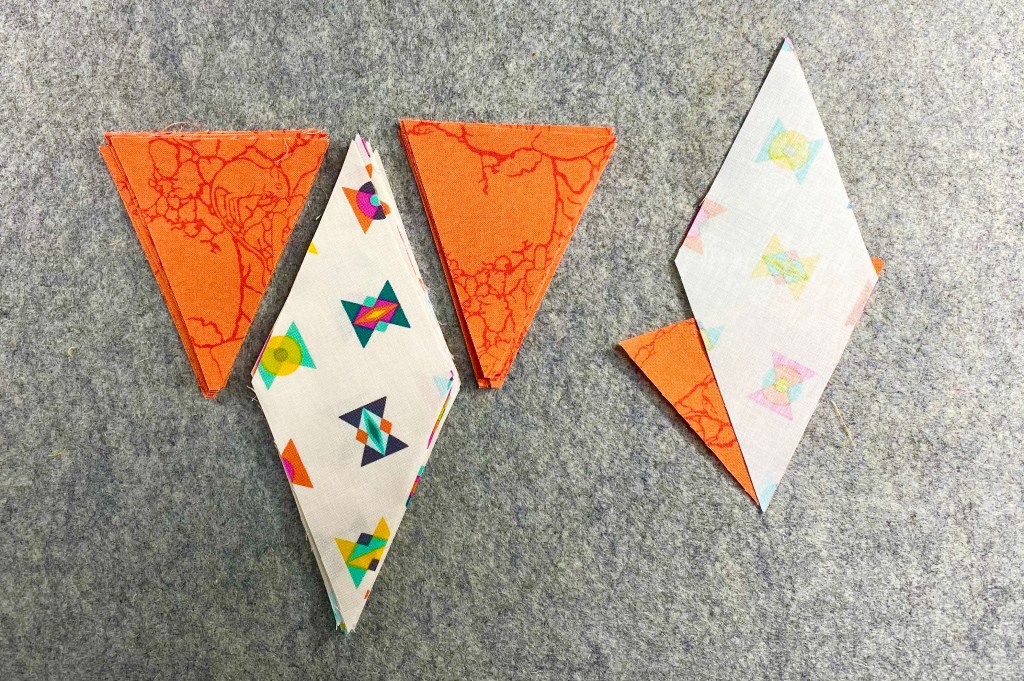
Cutting the Diamonds for Block C: Lay your strip horizontally on the cutting mat. Using your wedge tool align the edge of the Wedge Star tool with raw edge of the strip close to end of the strip. Using another ruler with a 45 degree line, bump it up to slanted edge of the Wedge Star tool, this helps to establish the 45 degree angle. Cut, keep cutting till you have the desired number of diamonds.
Lay out your small wedges and diamond units as shown. Position a small wedge from the right hand side of the top of the diamond. Match the point of the diamond with the corner of the wedge and align the raw edges.
Stitch with the diamond on top.
Press toward the diamond. Remember “whatever you are pressing toward, goes on top”!
Trim off the dog ear. Position a remaining small wedge to the other side of the diamond point. Align the raw edges and center the shapes right sides together. Press toward the small wedge. Trim the each diamond wedge using the 10″ line in the Diamond Trim Down Section on the Wedge Star tool.
Lay out the Diamond Wedges and the dark Large Wedges for the C Block.
Consistently place a diamond Wedge on top of a dark Large Wedge right sides together.
Stitch the point end first. Press seams open. Trim the dark wedges as before and add the triangle corners. Trim the block with your Tucker Trimmer III.
In fact be sure you press all seams open during block construction. I find the Strips Stick very helpful!
Lay out your finished A, B & C blocks, stitch into rows. Add your inner and outer Borders.
I’m loving this scrappy version of Hallucination!
This project was Tucker approved with Aurifil Thread, Quilters Dream Batting, my Reliable Iron, and the Strip Stick. Not to mention my wonderful Studio 180 Design Tools.
The fabrics shown in this post were given to me by Island Batik.
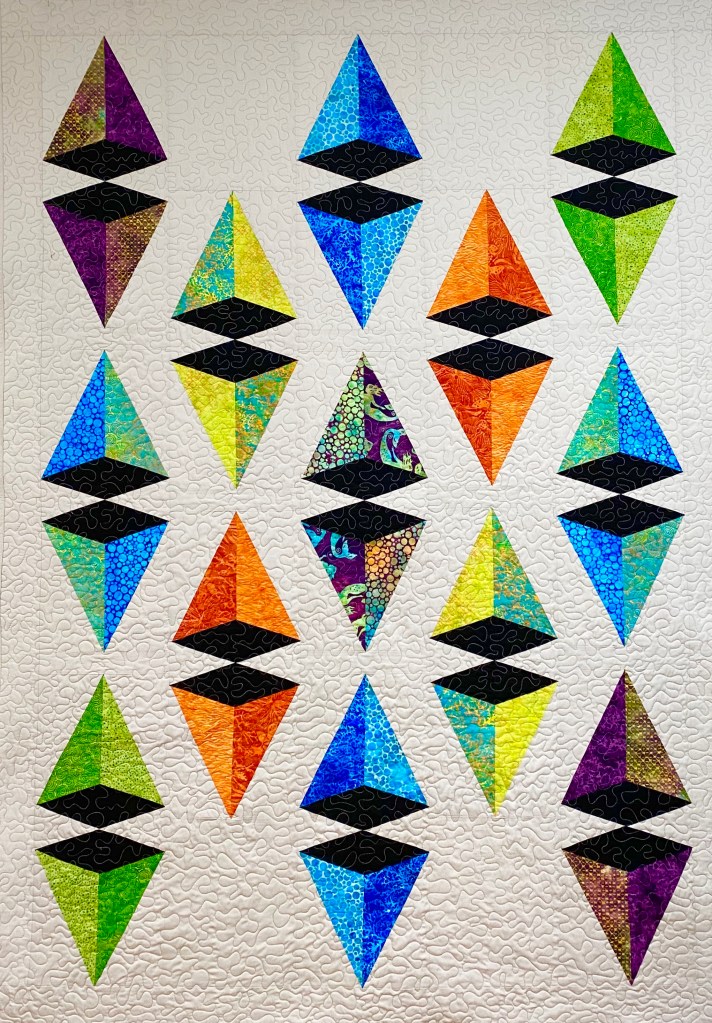
December’s challenge is to explore the world of 3D by using optical illusions, textures, trapunto or whatever else will make your quilt pop into life! I chose to make Pyramid Power, a pattern by Running with Scissors & Studio 180 Design. I think the design looks like perfectly folded boxes that must contain wonderful chocolates inside.
It is a bright sunny day here in Central NY and a balmy 11 degrees outside!
This pattern uses Studio 180 Design Corner Pop II & Corner Pop III. These tools give you perfectly popped corners with little waste. The Corner Pop II pops corners with a 2 to 1 ratio while the Corner Pop II gives a 3 to 1 ratio.
I used Island Batik’s Tropical Escape line due out in January.
The key is to stay organized. I chose 7 light & 7 dark scraps Fat Eighths. I paired each dark fabric with a light fabric of the same color.
We will be making Type 1 and Type 2 Triangle Units.
I use paper plates to keep me organized. As I cut the triangles with the Corner Pop II, I placed Type 1 on the right plate and Type 2 on the left plate. Do the same thing for the Background Triangles.
Once you have constructed your Triangle Units it’s time to pop off the corner with the Corner Pop III.
Cut your replacement triangles with the Corner Pop III and get ready to stitch them to the triangle units.
Center the triangle unit over the replacement triangle and stitch.
Trim the unit using Corner Pop III.
I used my Magic Wand to mark the 1/4″ seam to help line up and carefully pin to stitch one Type 1 unit to a Type 2 Unit.
Pyramid Power Twin Size measures 51″ x 72″. Pieced with Aurifil thread and finished with Hobbs Cotton Batting.
It has been my great joy to be an Island Batik Ambassador for 2018 & 2019. I was so honored to included in a this group of widely talented & creative quilter’s. I will not be returning for 2020, I will miss you all so much. But I am excited to see what Ambassadors with be sharing next year!


























 If These Threads Could Talk